Just to be on the same page…
CSS is responsible for the visual design of your website.
CSS helps us select HTML elements and style them.
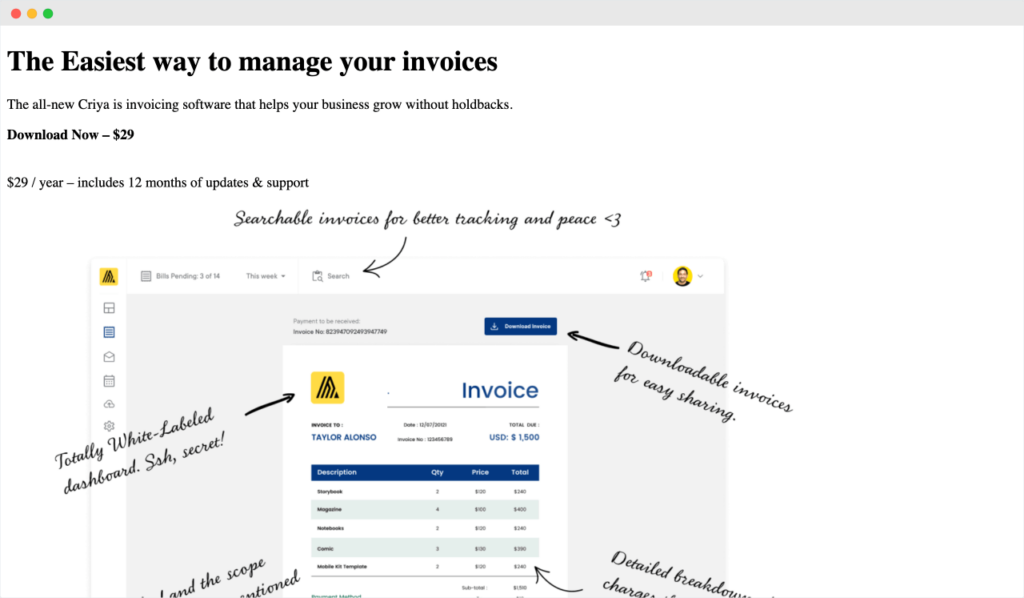
A webpage without CSS
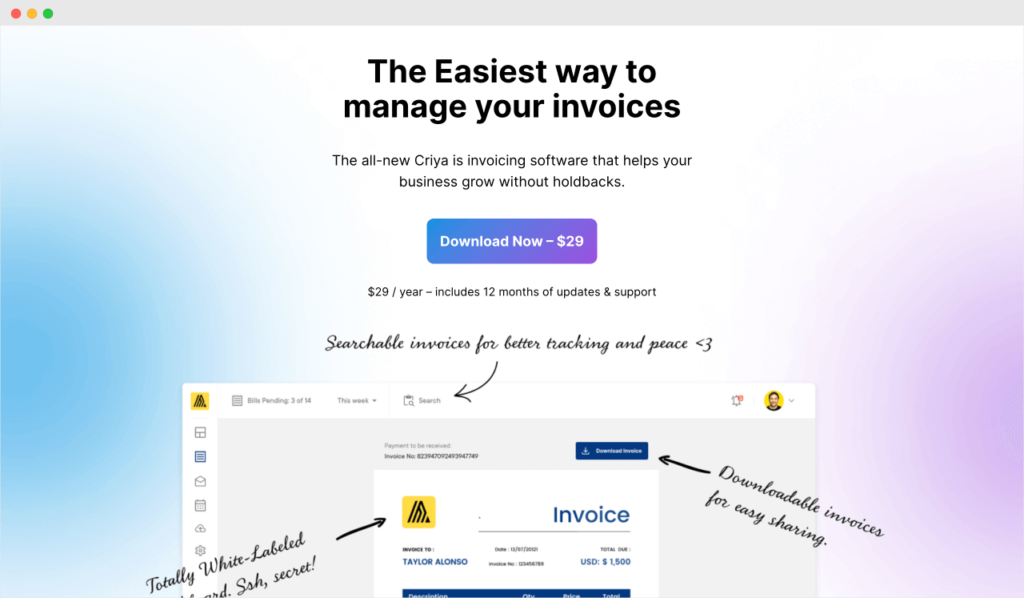
A webpage with CSS
Simply put, it gives you control over the following aspects of your website:
Here is how a sample CSS code looks like:
.footer-copyright{
  display:none;
}
For more clarity, read this article.
Now that we are on the same page…
Editing CSS or customizing CSS could mean two things:
Adding or Editing CSS in WordPress is more of a theme-related task.
style.css file and other helper CSS files. If you’re using a third-party theme like GeneratePress without a child theme, don’t edit their CSS files at all (more explanation on this later).You could only edit the CSS code of a custom theme or a child theme.
These are your options.
We will learn each of the above methods in a detailed way from here on wards.
Based on your specific need, use the table of contents below and start adding or editing your CSS code.
Most of the WordPress themes in the market support something called “Customize” screen.
And the “Customize” has an option called “Additional CSS” and we can use it to add or edit CSS to our website.
We can achieve this in four easy steps:
Step 1: Log into the WordPress Admin Dashboard
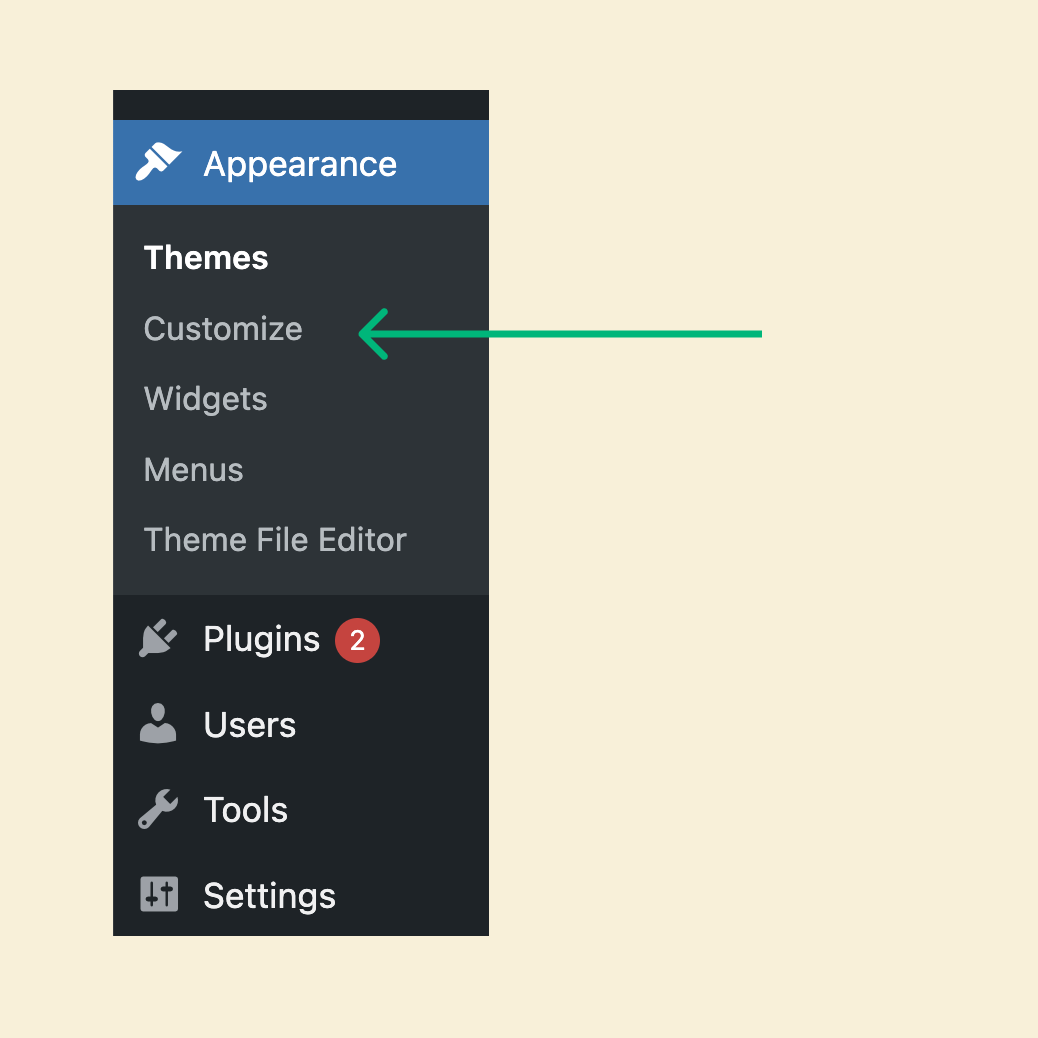
Step 2: From the admin menu on the left, click on “Appearance” and then click on “Customize”.
3) Next, inside the “Customize” screen, find the “Additional CSS” panel.
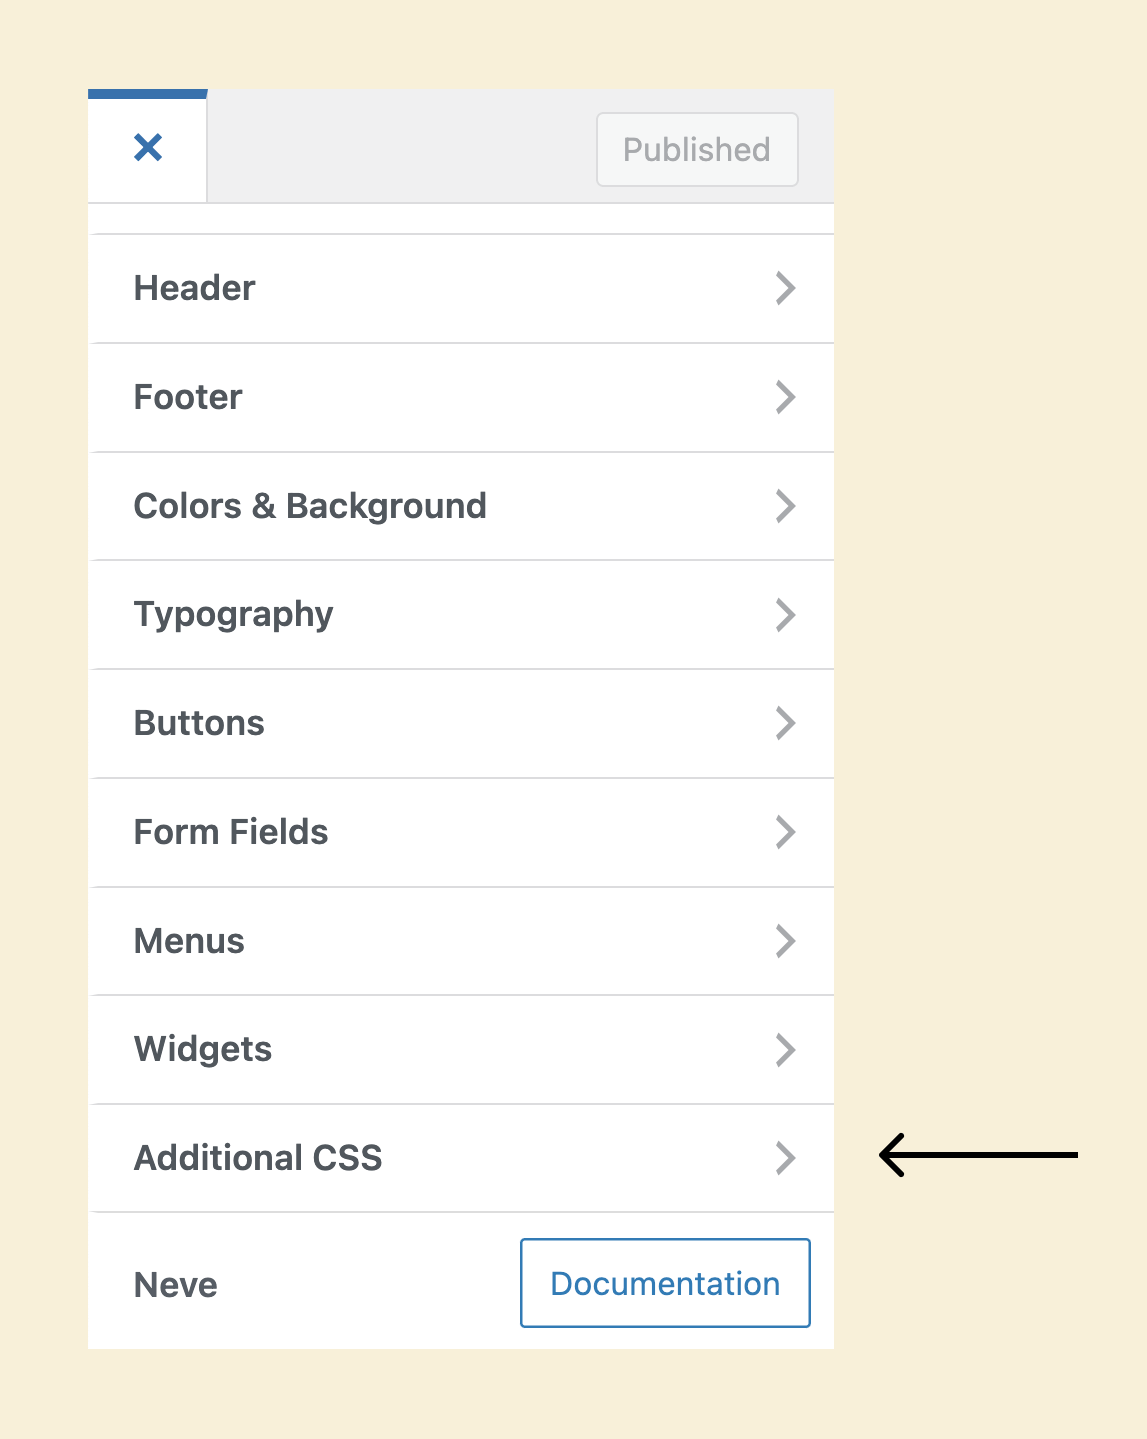
It is usually located at the bottom left-hand corner of the “Custom CSS” screen. But some themes hide it under different panels.
4) Anyway, click on “Additional CSS” option to go inside it.
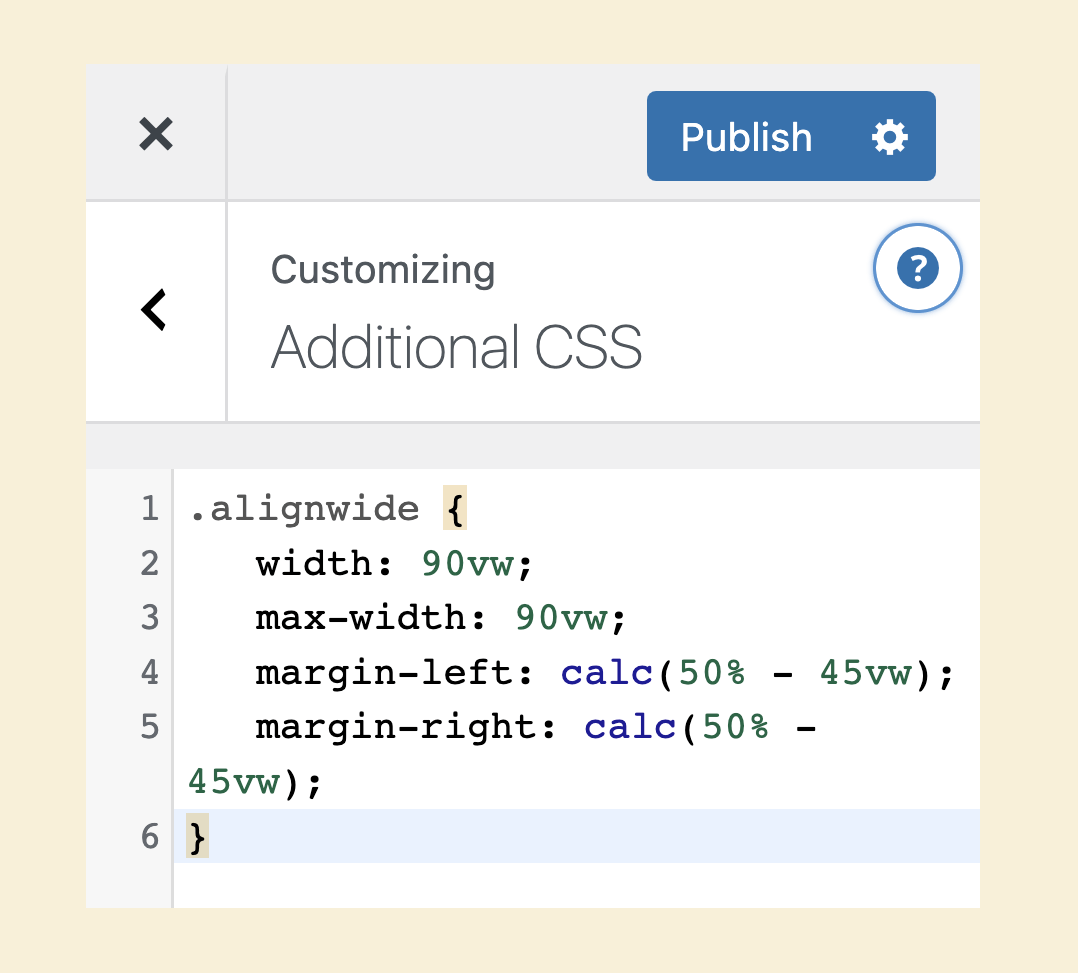
Once you’re inside, you’ll find a CSS code editor where you can type or paste your code.
Finally, do the CSS modifications and click on the “Publish” button to save your changes.
That’s all.
This method works with any theme that supports the Customizer screen.
If you’re using a third-party theme like Avada or GeneratePress, you can safely update the theme without losing the CSS code added to the “Additional CSS” panel.
Only file-based CSS changes made inside the third-party theme are lost when you update it. Not the CSS inside the “Additional CSS” panel.
⛔ Do not edit the CSS files of a third-party theme
✅ Instead, use the Additional CSS panel
Having said that, you will lose this additional CSS when you switch between parent and child themes or a different theme altogether.
For example, let’s just say you are using GeneratePress theme and added some CSS code to its “Additional CSS” panel.
But later, you have decided to create a child theme for the GeneratePress by understanding the value of best practices or to modify one of its PHP files.
In this case, the original GeneraPress theme becomes the parent theme and the child theme you created depends on the parent theme.
Now be careful in this scenario.
If you have added some additional CSS code to the parent GeneratePress theme and are switching to a child theme, you need to copy the CSS code from the parent theme’s “Additional CSS” panel and paste it inside the child theme’s “Additional CSS” panel.
WordPress doesn’t do this automatically for you.
This “Additional CSS” panel for the child theme is different from that of the parent theme. The child theme doesn’t use the Additional CSS of its parent theme.
The same rule applies if you’re switching back to a parent theme from a child theme.
“Got it! But bro, I use Divi, and I couldn’t find the Additional CSS option!”
Divi is a page-builder-based theme, and it doesn’t support the Customizer screen and the “Additional CSS” option.
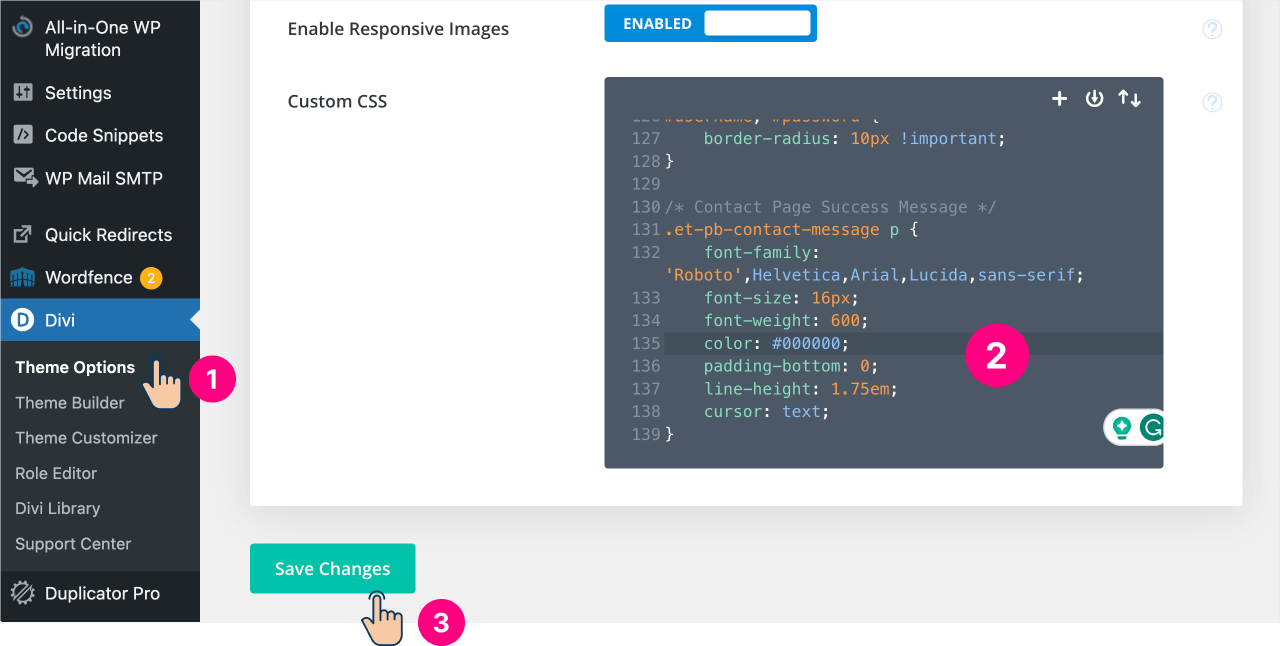
Divi comes with its own CSS panel inside the “Theme Options” page of Divi settings.
Not just Divi, most page-based themes do not support the Customizer screen. They come with their own Additional CSS option.
For further instructions, look at the table of contents of this article and jump to your favorite page builder.
“Hey! My theme doesn’t support the Customizer screen, and it is not Divi. What should I do?”
Oh yeah, there are many themes like that, too 😛
If that is the case, we have to edit the necessary CSS files directly or use a plugin like Simple Custom CSS to get the job done.
But don’t worry.
If you know what you’re doing, editing the CSS files is the most reliable way to add the CSS code.
Here is how…
An active theme is nothing but the current theme of the website.
Every WordPress website has an active theme that is responsible for the design of your website.
Simply put, the active theme takes care of the look and feel of your website.
For more clarity, read this article.
And, there are three types of themes:
Unfortunately, we can’t directly add CSS code to a third-party theme because you will lose your CSS code when you update the theme.
For example, in the video below, I demonstrated how adding custom CSS code to a third-party theme is not a good idea:
Third-party themes like GeneratePress or Avada are the kind of themes that receive regular updates from their developers.
And those updates could be about:
So, it is important that we update the third-party themes regularly.
But whenever you update a third-party theme, all the CSS changes and other code changes you made inside the theme are lost because a theme update replaces the entire old theme folder with the new version.
And this is where a Child theme comes in.
A Child theme let’s you extend and customize the parent third-party theme.
It helps you override certain parts of the parent theme without affecting the parent theme.
And the best part is, you can preserve all the changes you make inside the child theme.
Simply put, even if you perform updates on the Parent theme by downloading the new version, those updates will not impact the code you out inside child theme.
First, we need to create a child theme and you can learn how to do it by reading this article from WPBeginner website.
You can also search for a blank child theme on the internet.
Just type “Theme name child theme”.
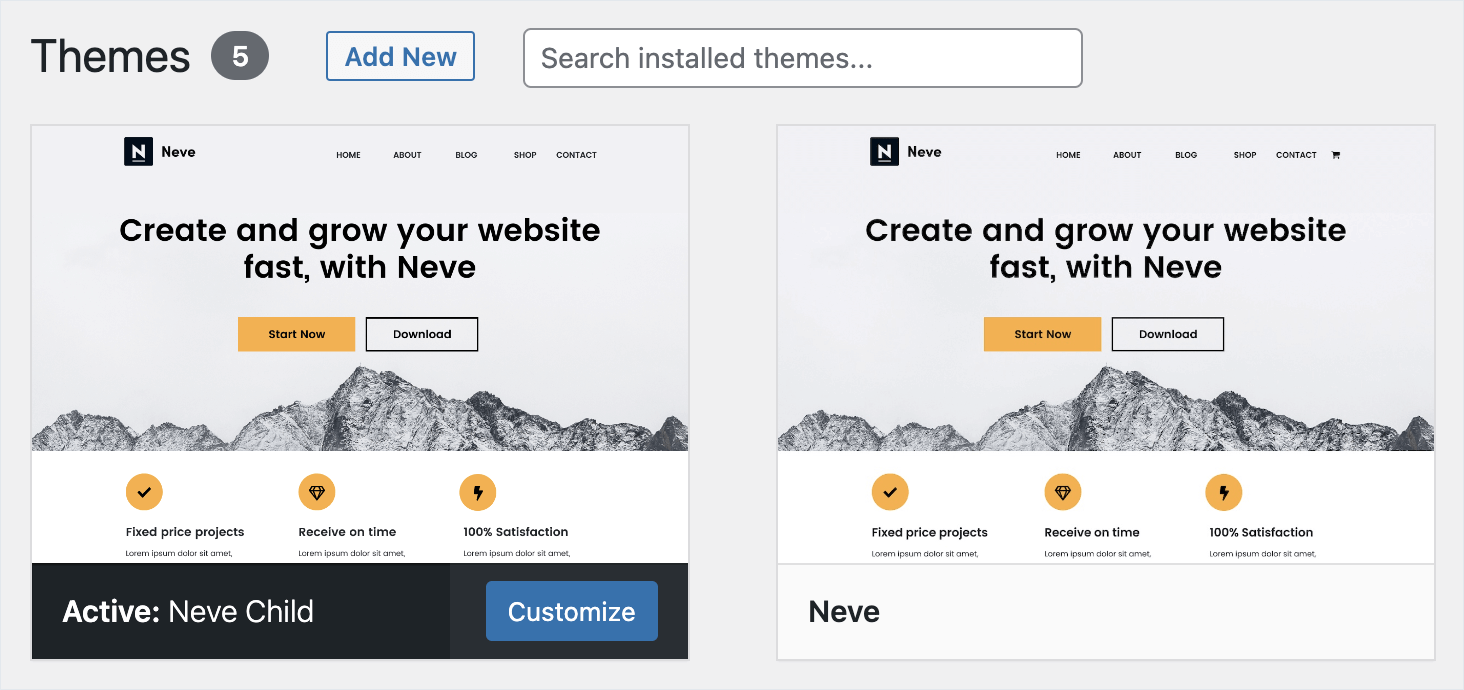
For example, if the theme name is “Neve”, search for “Neve Child theme” and most probably, you’ll find the pre-coded child theme on the theme developer’s website it self.
In my case, I found it on the Neve theme’s documentation website.
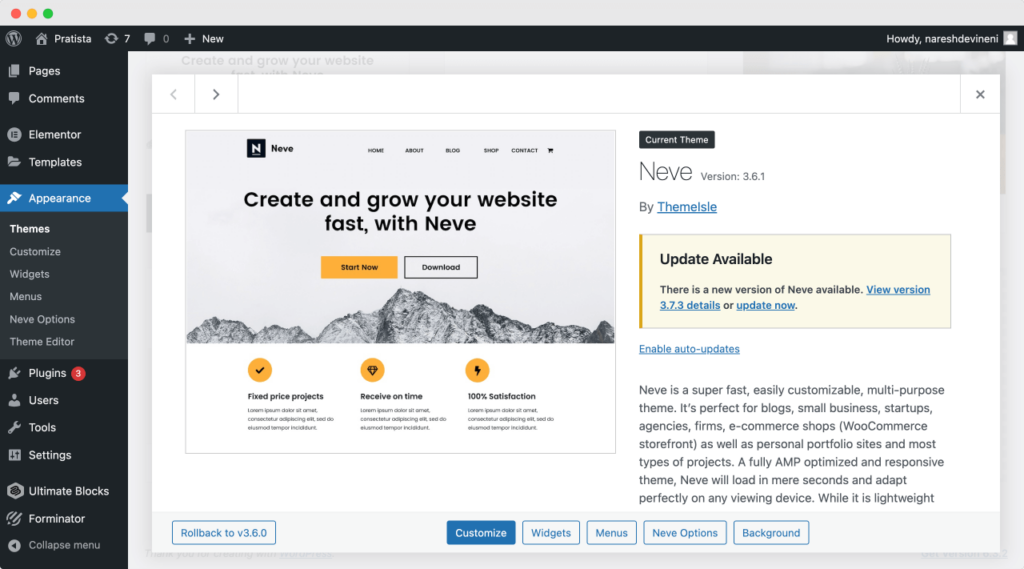
Anyway, I have now downloaded the child theme from the above resource, uploaded it my website where the parent Neve theme is active.
Finally, I have activated the theme:
Once the child theme is active, there are two ways add or edit its CSS code:
style.css file of the child theme via FTPThe most reliable and secured way of editing the CSS files is by using something called FTP Client.
If you have no clue about what FTP means, read this article and comeback here after doing following:
Next, we need to find the child theme’s directory.
Theme files are located inside the “wp-content” directory.
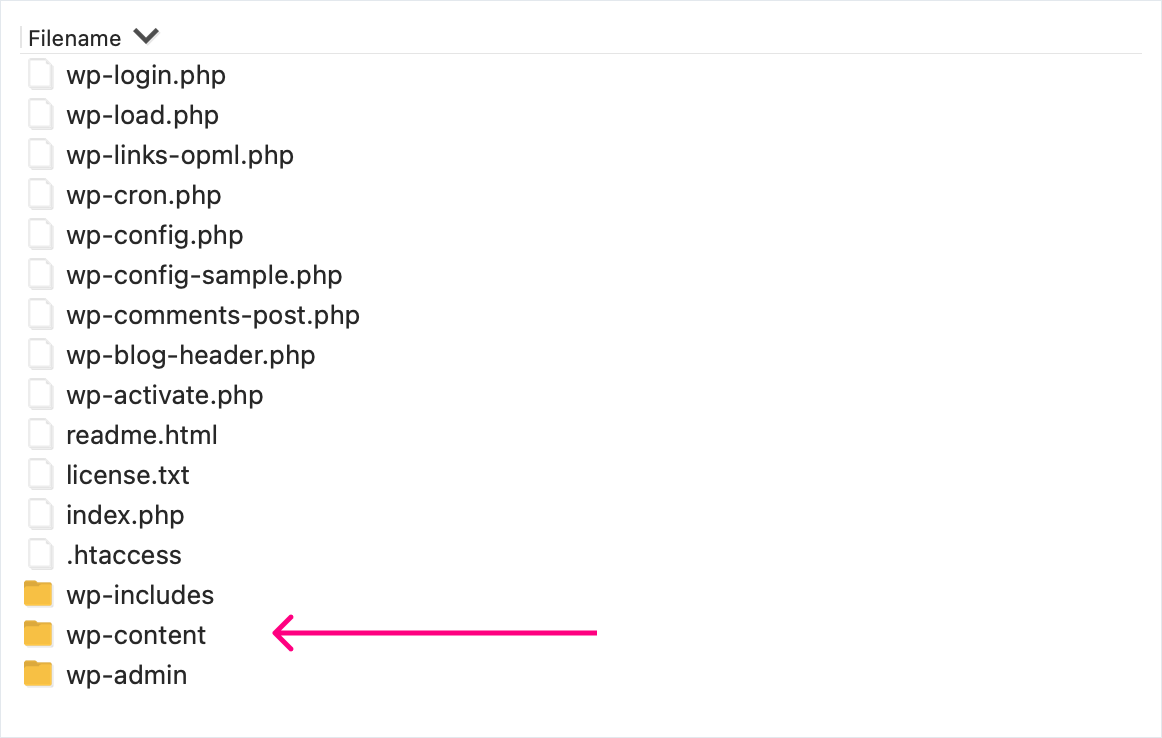
Double click on the “wp-content” directory to go inside it.
Next, go inside the “themes” directory.
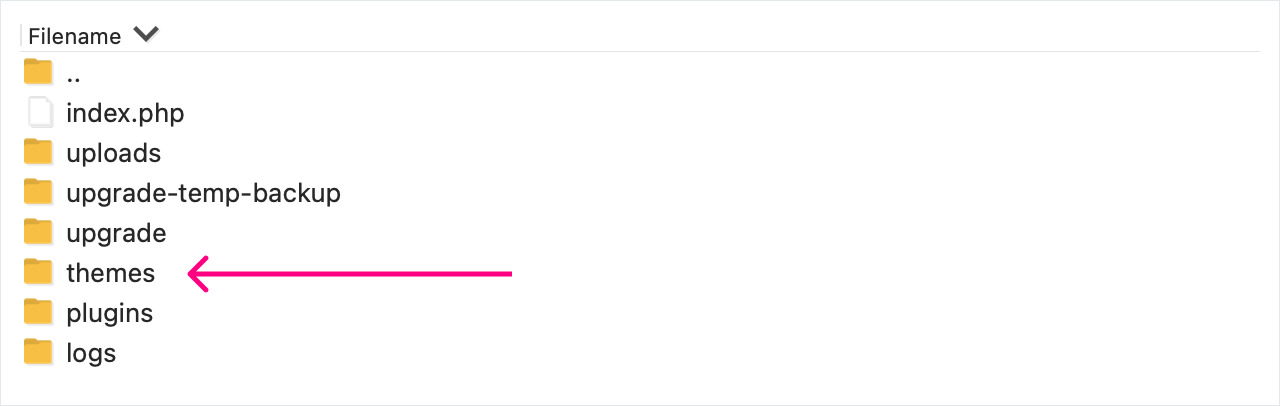
Then, go inside your child theme’s directory:

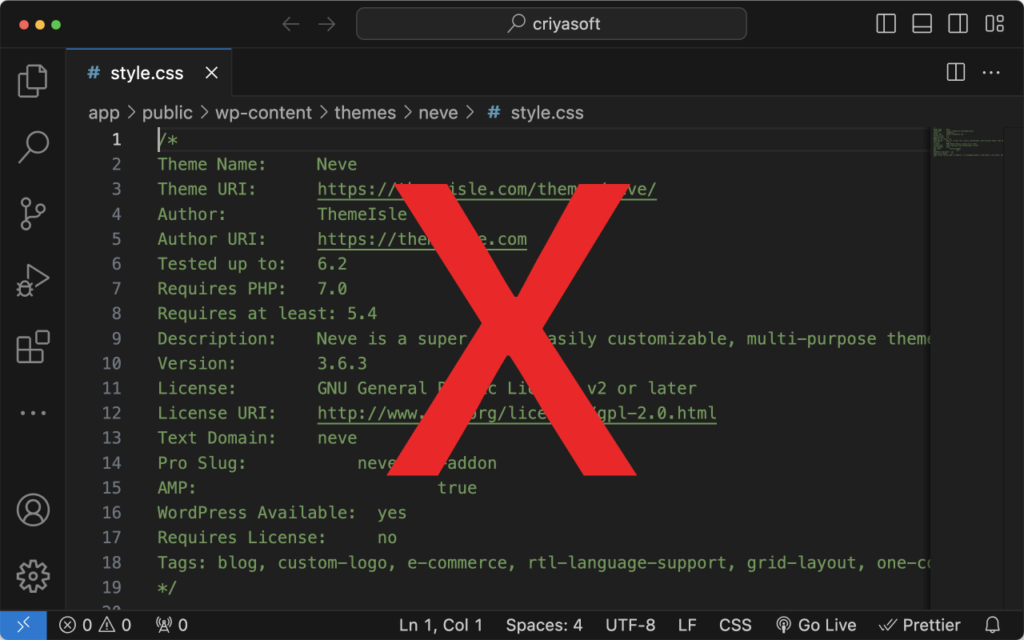
Next, find the CSS file you want to edit. Usually, it will be the style.css file.
To edit style.css file, right-click on it and then select on “View/Edit”:
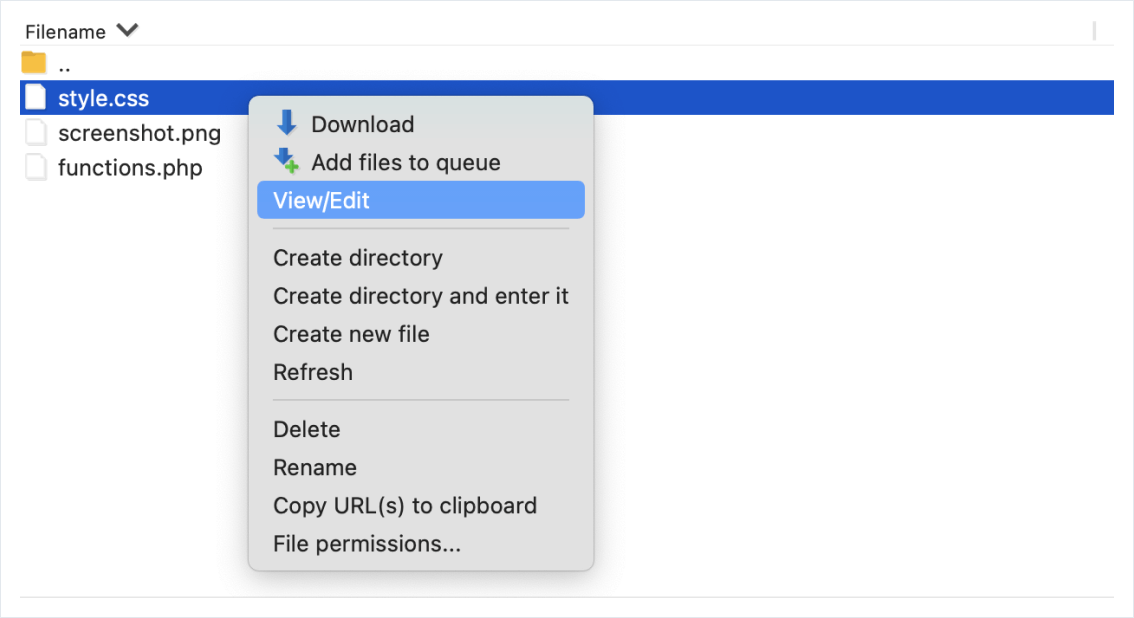
This will open up the CSS file inside the Text editor installed on your computer.
I have a Code Editor called Sublime Text installed on my computer, so the CSS file got opened using it:
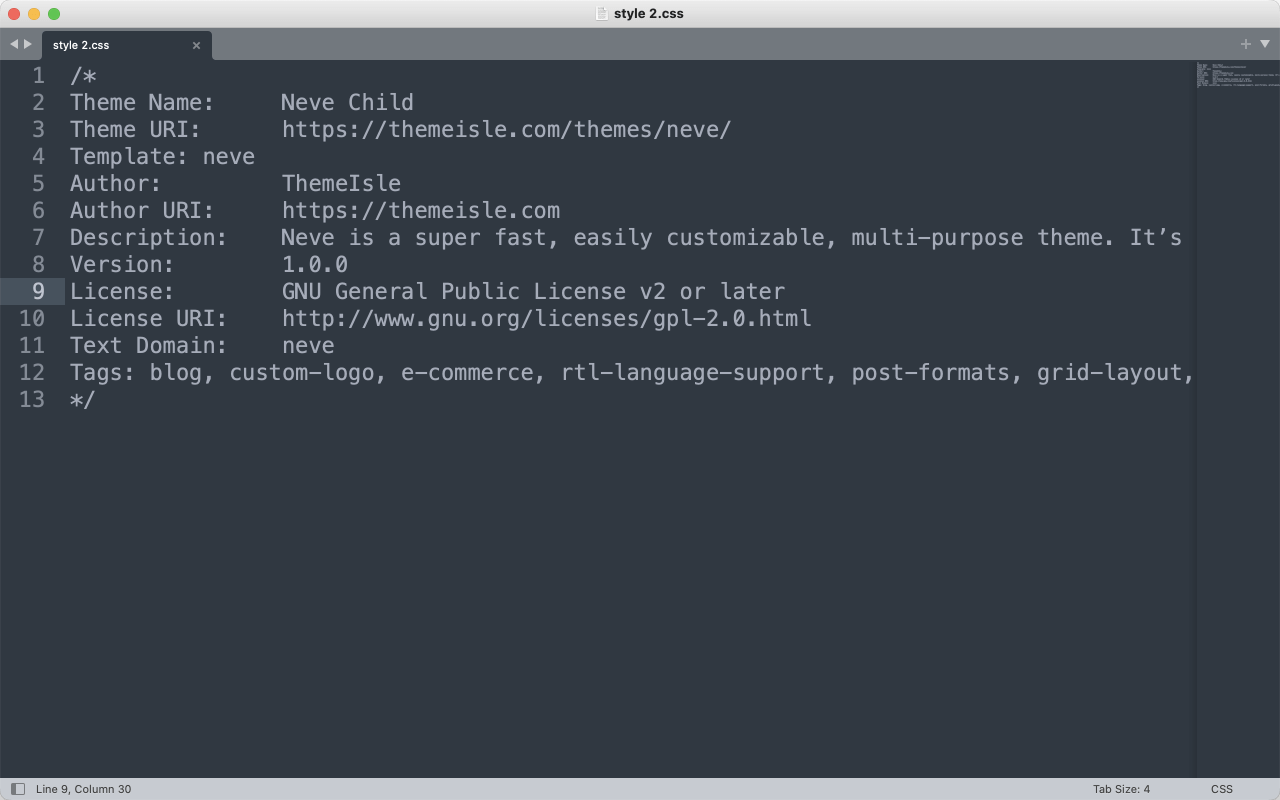
Once the CSS file is open, add new CSS code or edit the existing code and save the changes.
Important: If you’re editing the style.css file of your child theme, please do not change or remove the CSS comment at the top of the style.css file. If you modify it, WordPress might not recognize the child theme at all and your website could break.
That’s all.
That’s how you edit the CSS in WordPress using FTP.
If you have a custom theme, you don’t have to create a child theme at all because custom themes do not get updates like third-party themes.
So, you can directly edit the CSS files of a custom theme by using the same FTP process mentioned above.
“Hey! I don’t have access to the FTP credentials. What do I do? :(“
It’s okay. There a couple of other methods.
I don’t recommend this approach for security reasons.
But if you don’t have access to the “Additional CSS” panel or FTP credentials, the “Theme file editor” screen is one of the better options when compared to using a plugin for the job.
Anyway, you can access the “Theme File Editor” screen by going to:
WordPress Admin Dashboard → Appearance → Theme File Editor
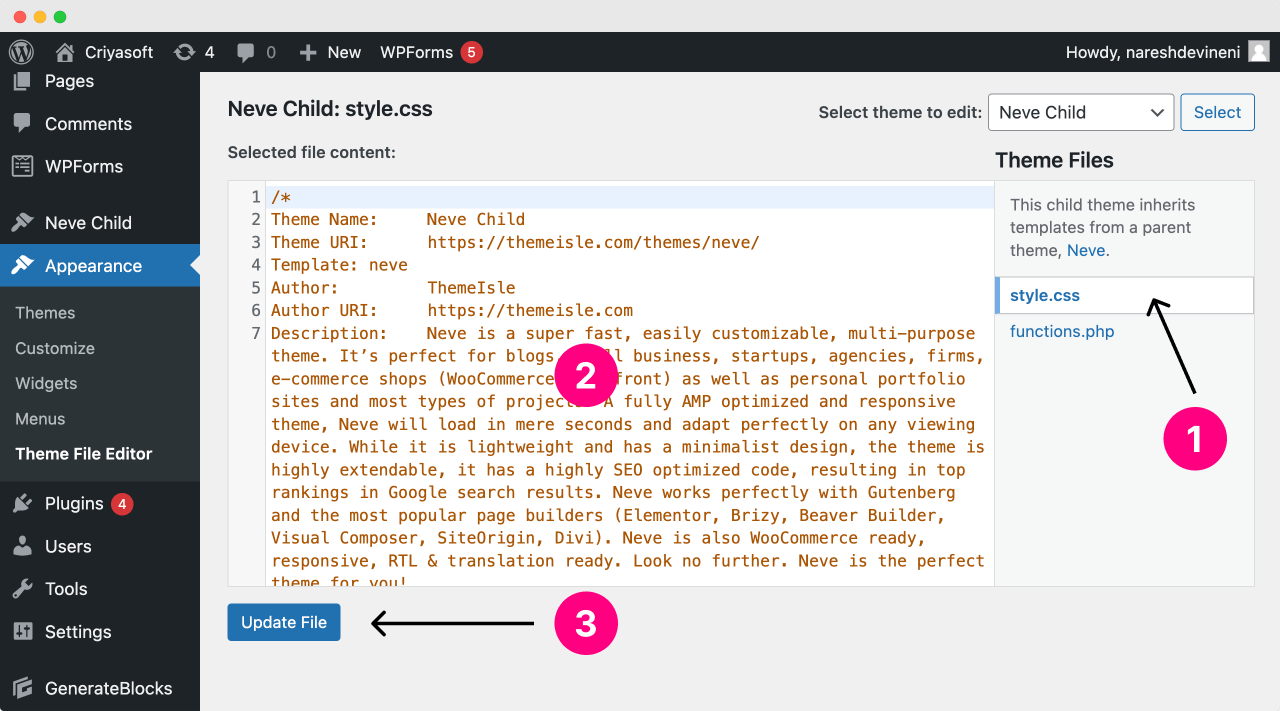
Once the Editor is open, it selects the style.css by default.
style.css file or any other CSS file to open it.That’s all.
“Brooooooo!”
Hahaha. What?
“For some reason, I can’t find the Theme File Editor at all. Am I missing something?”
As I said before, there are security concerns around using the “Theme File Editor”.
So, some plugins or developers will disable the File Editor altogether.
That’s why you’re not finding it.
“Then how should I edit my CSS?”
Don’t worry.
We have our final resort 😛
Go to WordPress Admin Dashboard → Plugins → Add New
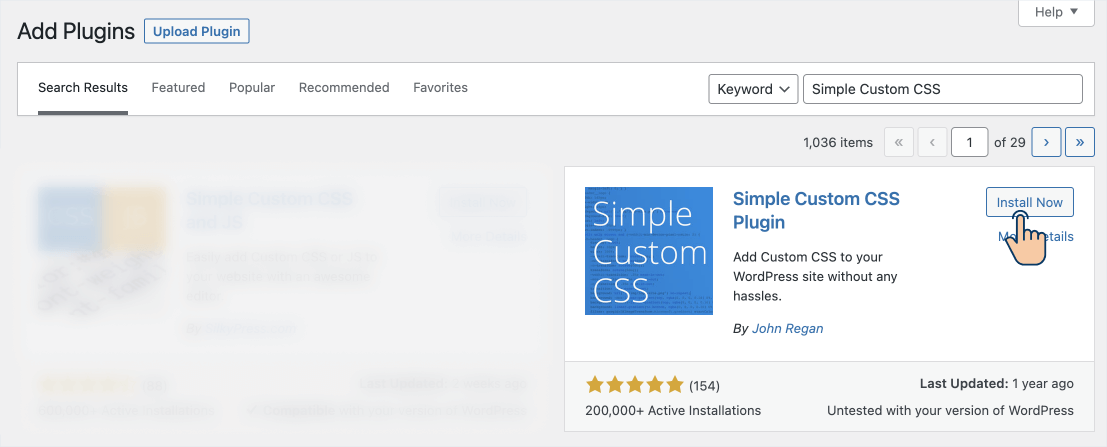
Next, search for “Simple Custom CSS Plugin”, install it, and activate it.
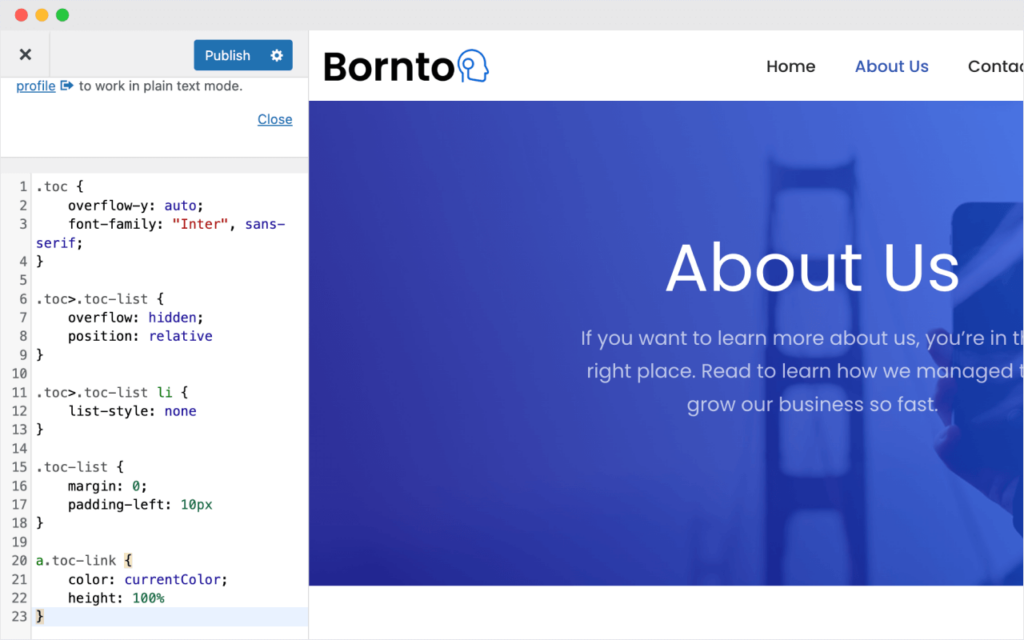
Once the plugin is activated, it adds a new screen called “Custom CSS” and you can access it by going to:
WordPress Admin Dashboard → Appearance → Custom CSS

It works similar to the “Additional CSS” panel inside the “Customize” screen.
The reason why I am teaching this last because adding CSS code via plugins could slow down your website and has the same security risks of adding CSS code via the “Theme File Editor”.
Lastly, let’s take a look at how to edit CSS custom inside the Divi theme.
Divi theme doesn’t support the “Customizer” screen. So, you can’t access the “Additional CSS” panel either.
So, your options for editing CSS are:
Make sure you’re logged into WordPress Admin Dashboard.
That’s all.
I will see you in the next article.