A Featured image ( Post Thumbnail ) is nothing but an image which acts as the main image of a particular page or a blog post. That’s all.
Sometimes a featured image conveys the type of information that is present on the page. But, sometimes it is just there for aesthetic purposes.
If you remember, in the first lesson of this module, although we have added the text content for the About page, we did not add the featured image.
Let’s do that now.
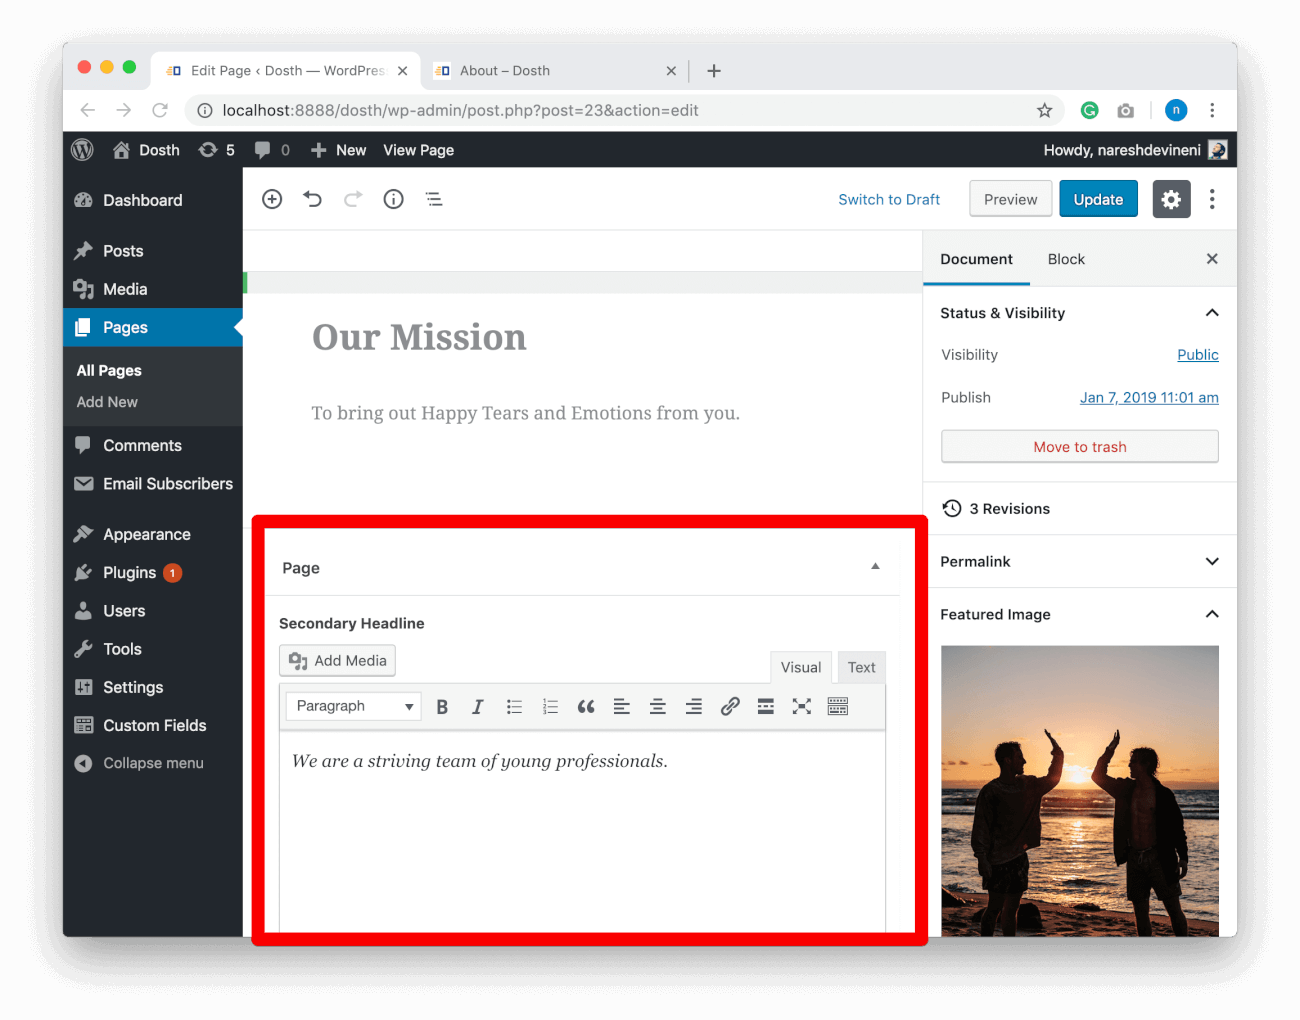
Go to Admin Dashboard -> Pages -> About -> Edit Screen
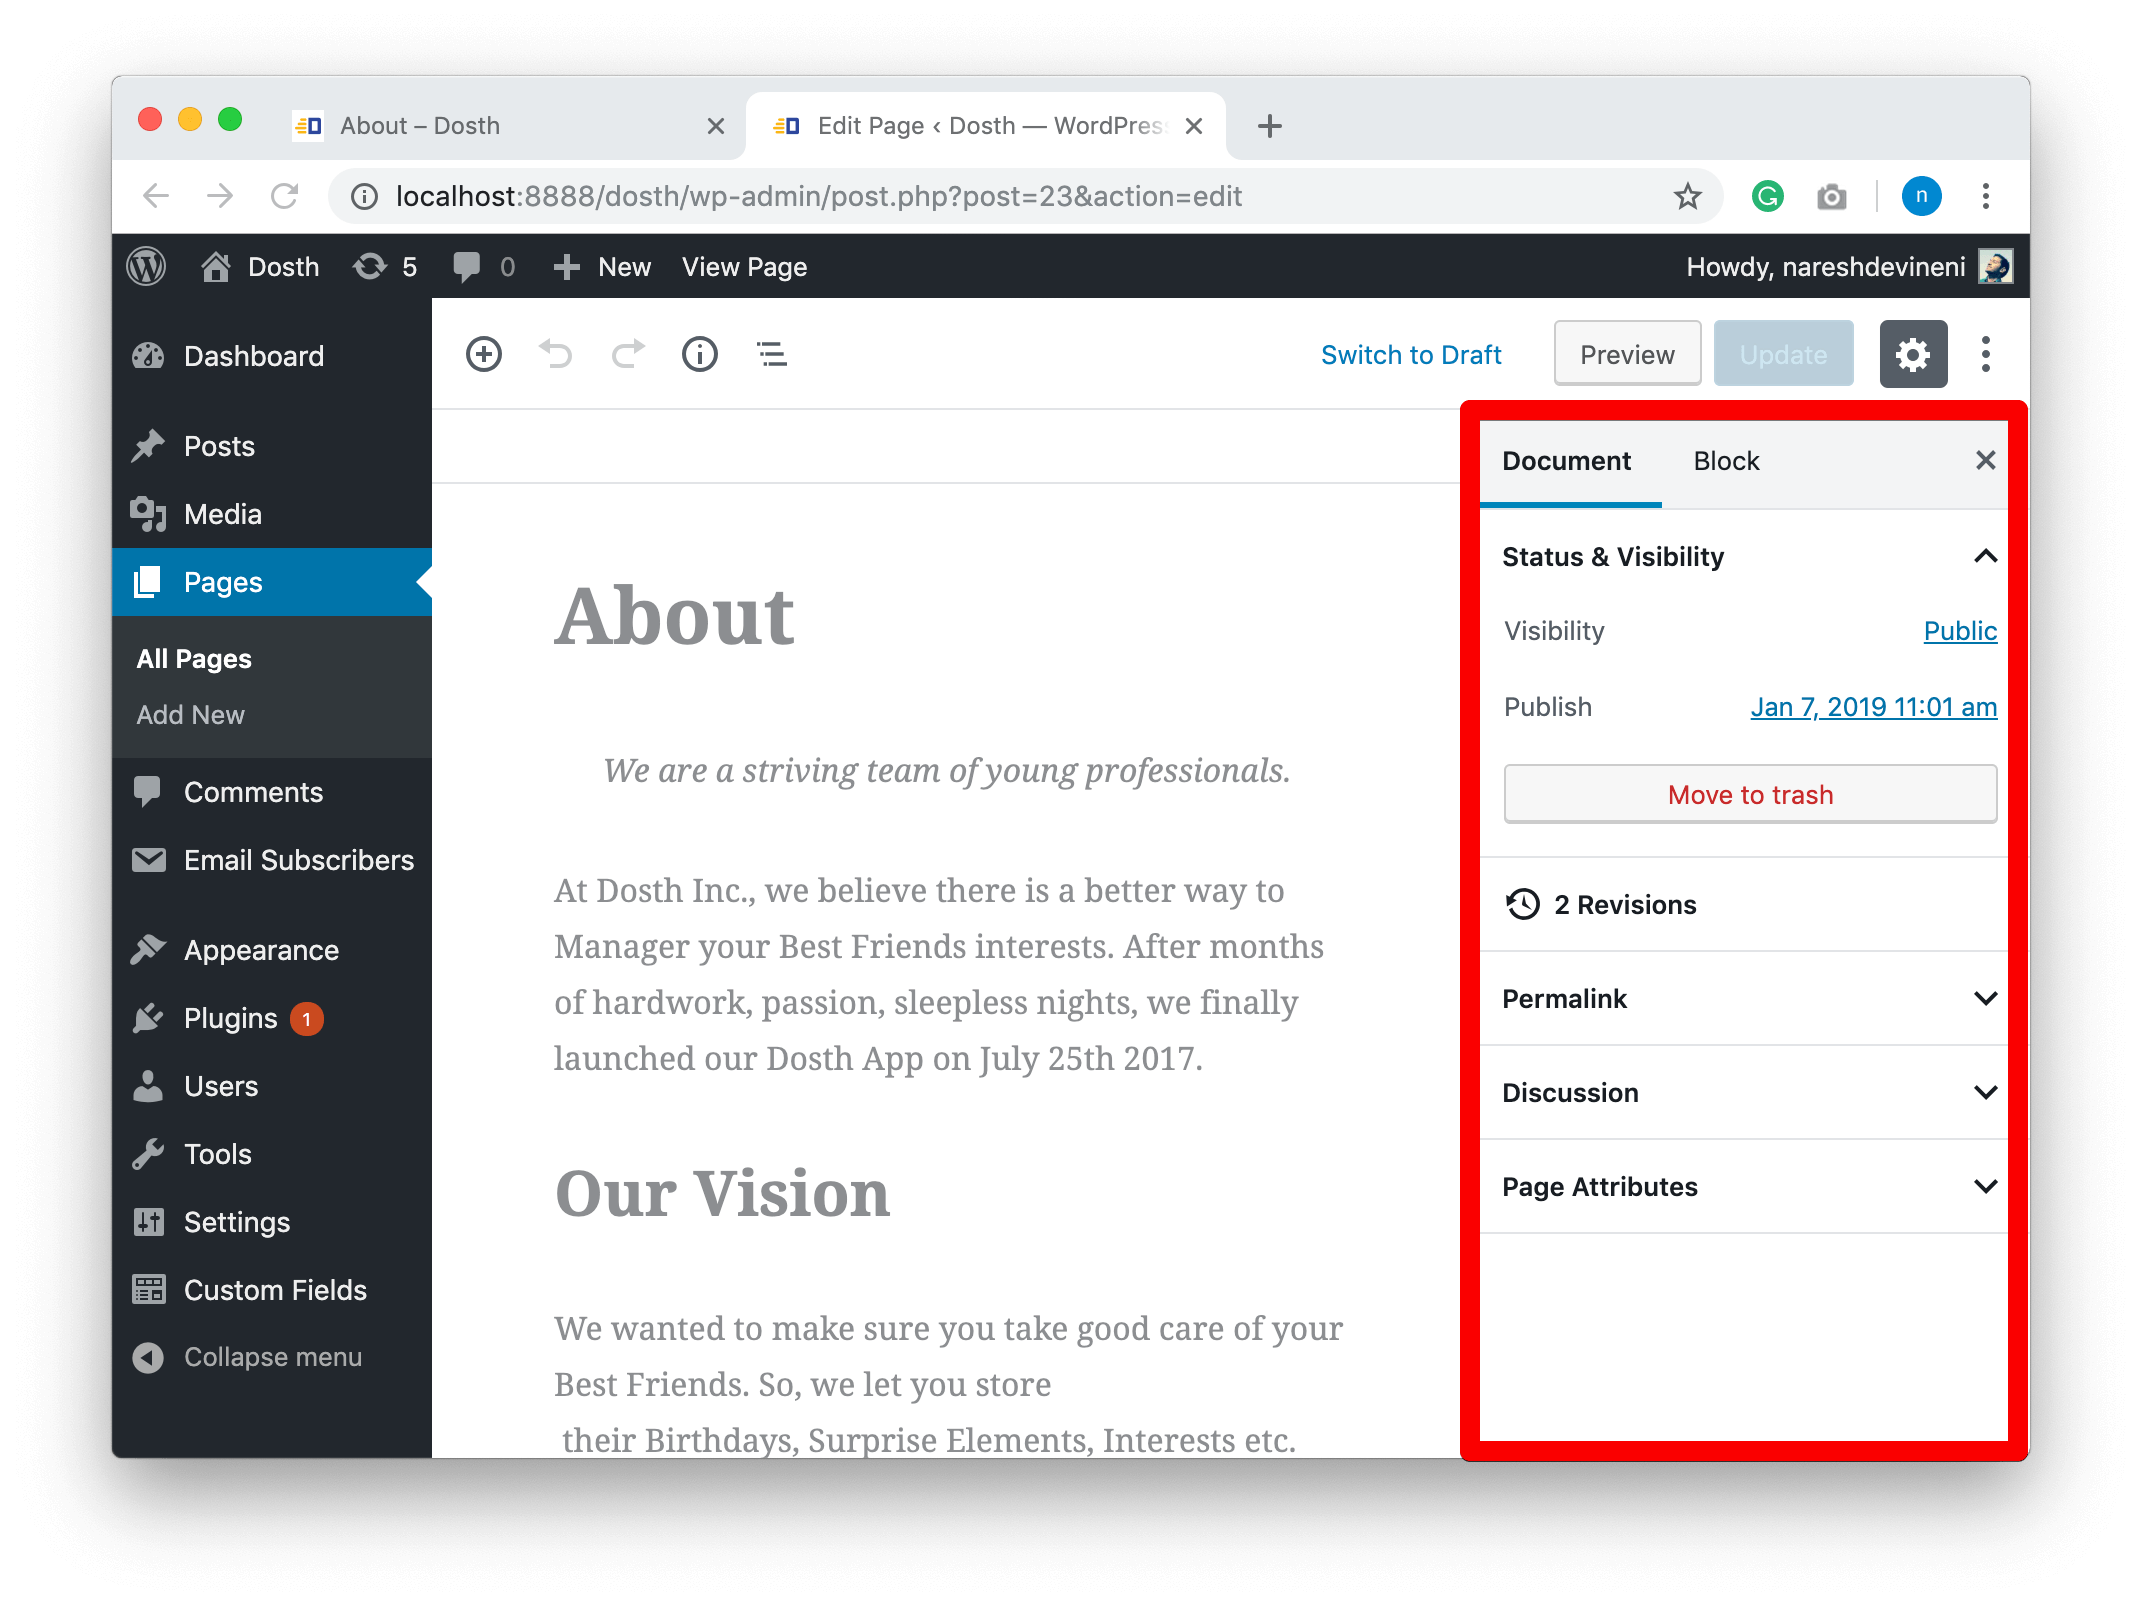
Ah! Bummer. If you notice the Document Options on the right-hand side of the screen, there is no Featured Image section at all.
This is because “Featured Image aka Post Thumbnail” is also a theme specific feature and we need to enable support for it.
“Hey! I understand that a Featured Image is same as Post Thumbnail. You don’t have to repeat it all the time.”
Oh, Thanks 🙂
Anyway, open up the functions.php file and put the following code inside the nd_dosth_theme_setup action:
// Add Featured Image support
add_theme_support( 'post-thumbnails' );
Now, let’s go back to the Admin Dashboard -> Pages -> About -> Edit Screen
And Voila! Now you can set a Featured Image for both pages and blog posts of our site.
Nothing Surprising. WordPress just works as expected.
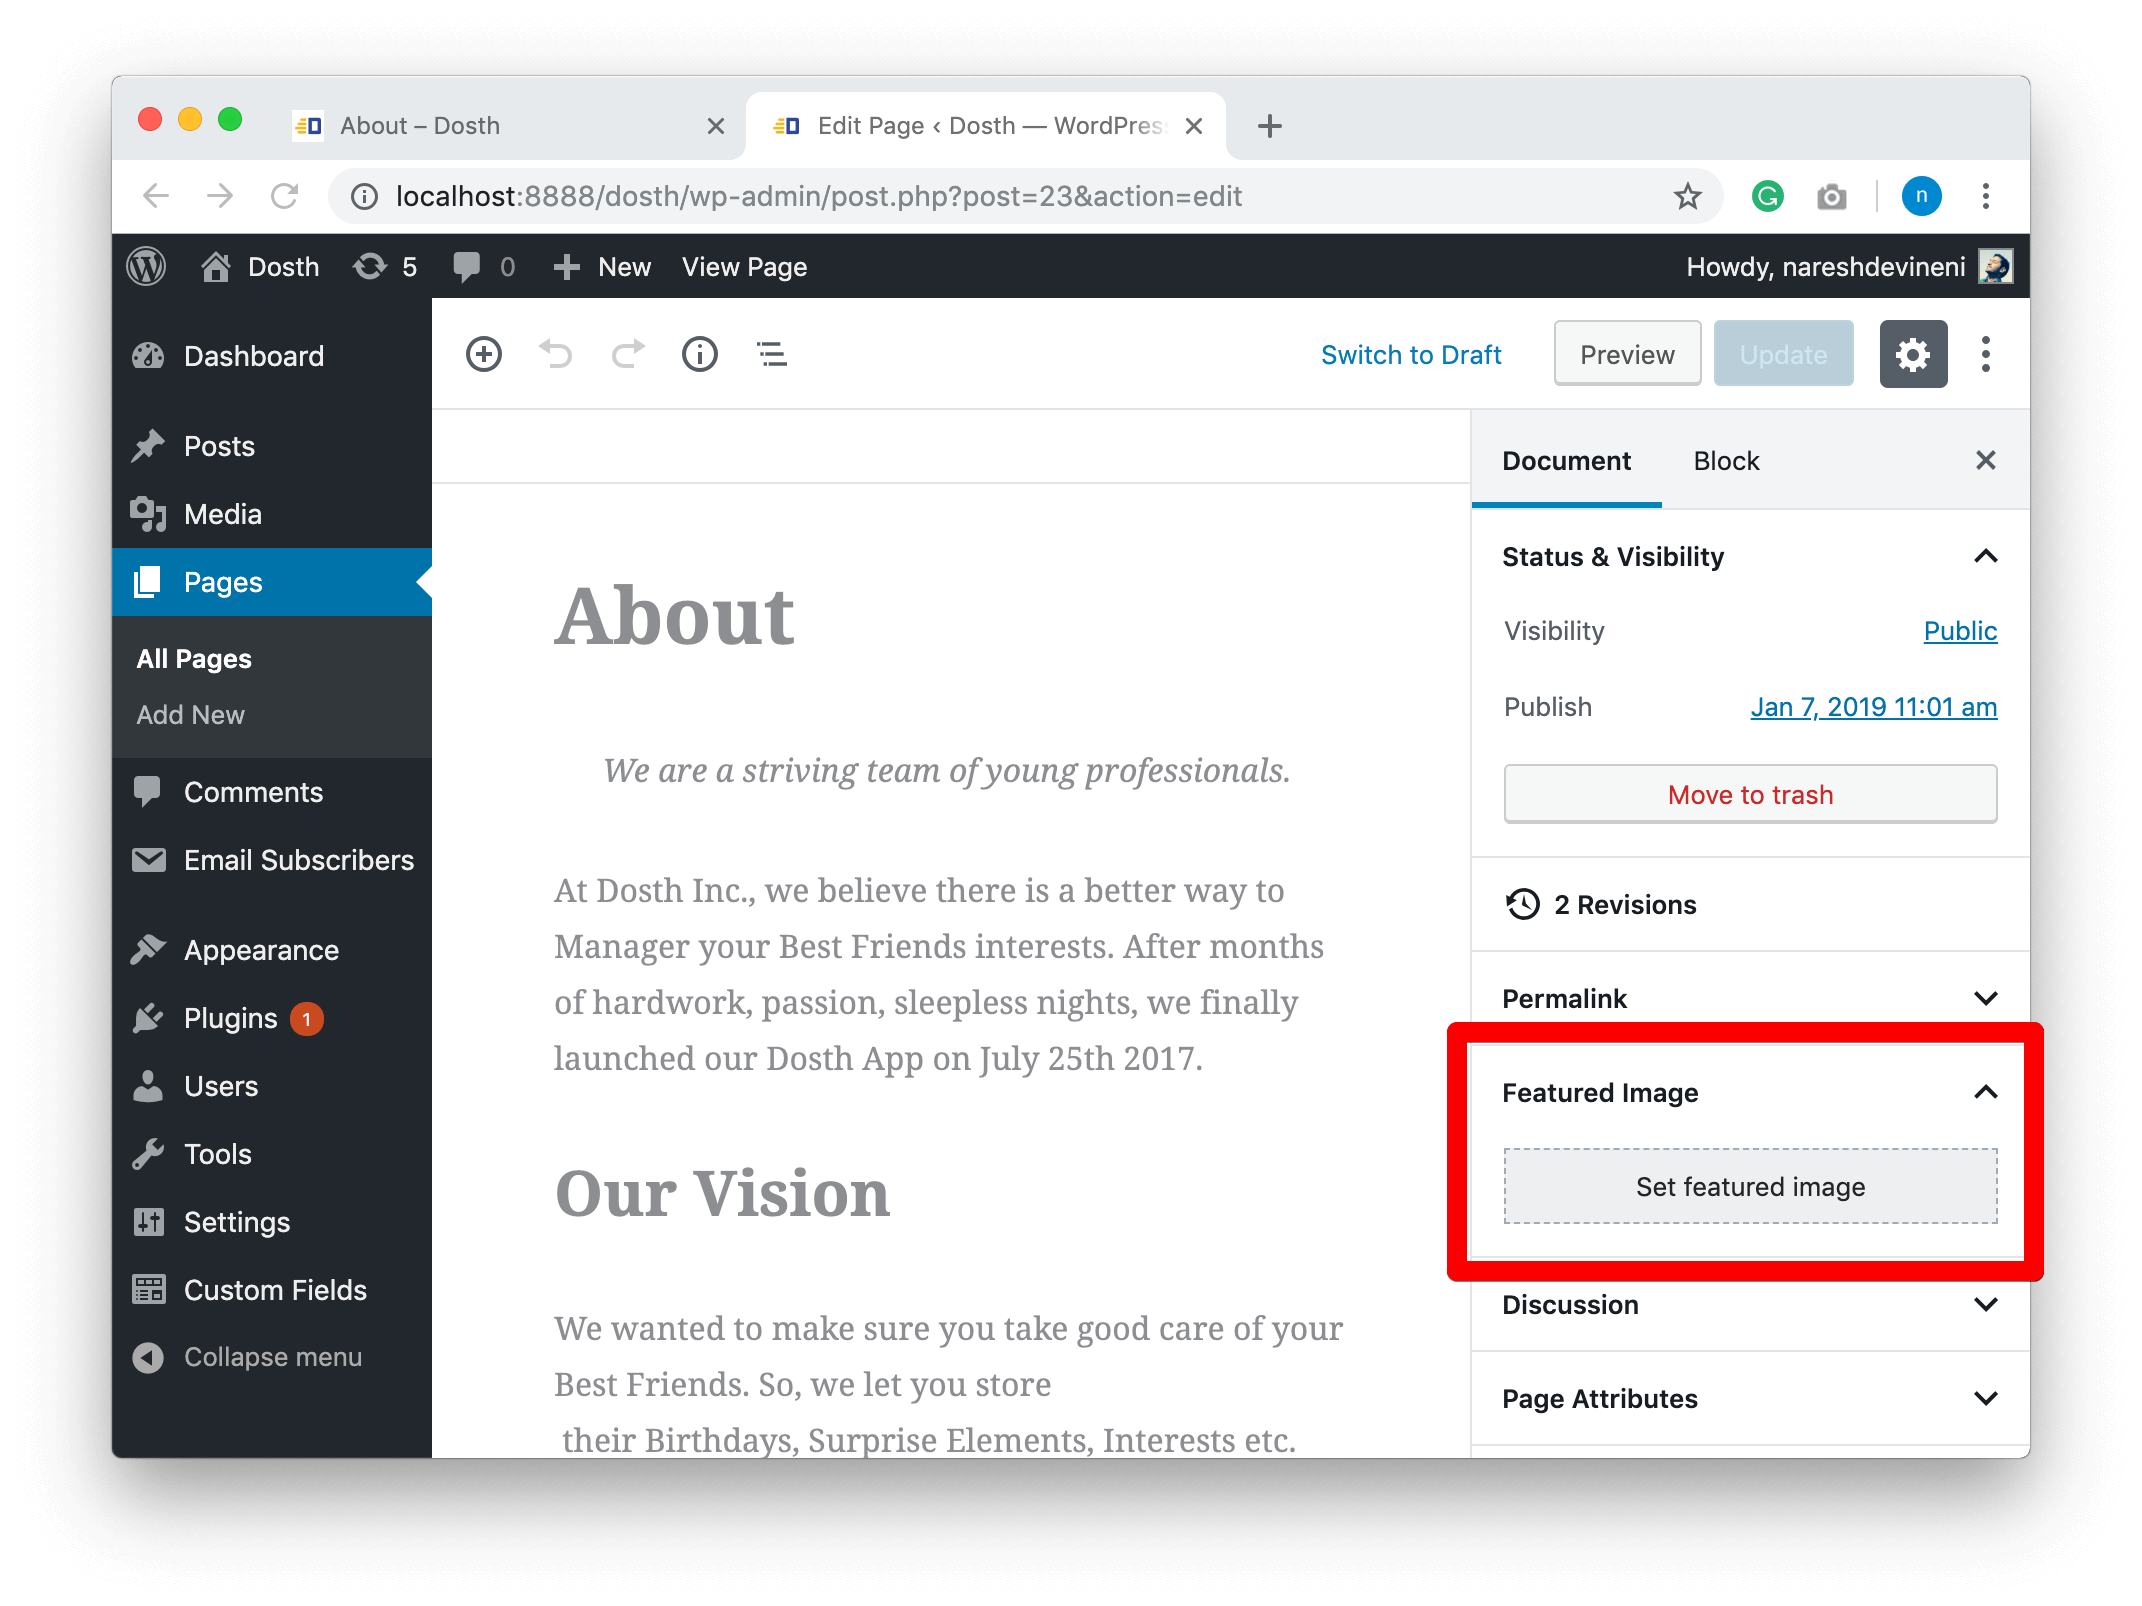
Now, let’s upload the featured image for the About page. You can find the image inside the dosth-site-content.docx file -> About Page Content.
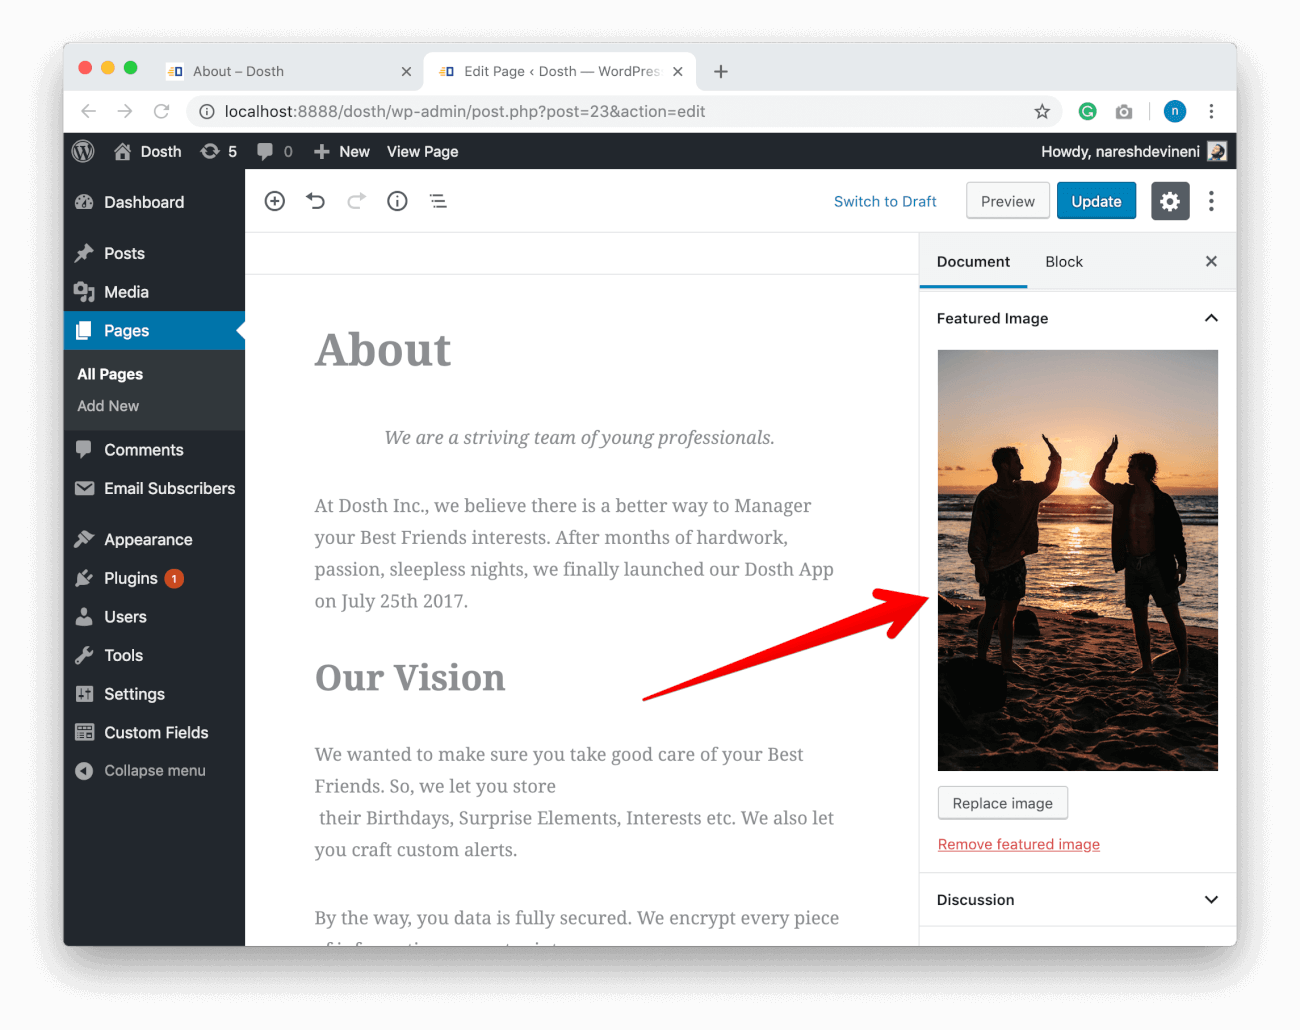
Don’t forget to click on the “update” button to save the changes.
Finally, let’s output the Featured Image on the frontend.
You already know how to output the featured image.
Remember outputting the logo in the Header? We used wp_get_attachment_image_src function to output the logo.
And now, we will be using the same technique and function to output featured image as well.
So, open up the page.php file and put the following code inside the <div class="featured-image"> container.
<?php if ( has_post_thumbnail() ) :
    $featured_image = wp_get_attachment_image_src( get_post_thumbnail_id( $post->ID ), 'large' ); ?>
    <img src="<?php echo $featured_image[0]; ?>" alt='' />
<?php endif; ?>
First, we are checking to see if the page has a featured image with the help of has_post_thumbnail() function. This function will return true only if we have set a featured image for a particular page.
In our case, the has_post_thumbnail() function returns true. So, we go inside the IF condition.
And inside the IF condition, we are first getting the details of the Featured Image like its URL, dimentions etc. using the wp_get_attachment_image_src function call.
It accepts three parameters. We are only interested in the first two of them.
wp_get_attachment_image_src( get_post_thumbnail_id( $post->ID ), 'large' );
We are getting the Post Thumbnail ID by using the get_post_thumbnail_id() function. This function needs the Post ID / Page ID as the parameter. And, because we are inside the loop, we can access the Post ID / Page ID by using the global $post->ID variable or the get_the_id() function.
I went with the $post->ID variable because it is easy to type :P. Convenience matters you know?
Don’t Remember $post variable? When we learned about the Loop, we also learned that the_post() function inside the loop sets up the global $post variable.
wp_get_attachment_image_src( get_post_thumbnail_id( $post->ID ), 'large' );
As I have said before, WordPress automatically generates various thumbnails sizes for every uploaded image. Featured image is not an exception. So, We need to specify the image size that we are interested in. If we don’t specify the image size, by default, WordPress gives us the image data for the thumbnail version of the actual uploaded image.
And here is the full list of the default image sizes that WordPress generates.
When it comes to the featured Image, depending on the page design, some times we need to display the thumbnail version of the image and sometimes full version.
We usually display the thumbnail version of the image inside archive pages. You’ll learn about archive pages when we build the blog.
In our case, we are going with the full version of the image by keeping the responsive layout in mind for smaller devices.
Now, there are some better ways and advanced techniques to deal with responsive images. At the end of the day, it all depends on how much budget the client has.
Irrespective of the budget, always compress images and try to keep the image dimensions below 1000px width and height.
Once the wp_get_attachment_image_src function call returns an array with all the featured image details like its dimensions, URL etc. We are storing the array inside the $featured_image variable.
$featured_image = wp_get_attachment_image_src( get_post_thumbnail_id( $post->ID ), 'large' );
The first item inside the $featured_image array is the image URL that we need.
So, we are finally outputting the Featured Image URL inside the source attribute of the Image Tag:
<img src="<?php echo $featured_image[0]; ?>" alt='' />
That’s all. This is the technique you’ll be using to output a featured image that belongs to any post type in WordPress. Most probably for the rest of your WordPress career.
Here is the final code for page.php file’s Loop:
<?php while( have_posts() ): ?>
    <?php the_post(); ?>
    <div class="content-container">
        <h1 class="page-title"><?php the_title(); ?></h1>
        <div class="container">
            <div class="row">
                <div class="col-sm-8 actual-content">
                    <?php the_content(); ?>
                </div>
                <div class="col-sm-4">
                    <div class="featured-image">
                        <?php if ( has_post_thumbnail() ) :
                            $featured_image = wp_get_attachment_image_src( get_post_thumbnail_id( get_the_ID() ), 'large' ); ?>
                            <img src="<?php echo $featured_image[0]; ?>" alt='' />
                        <?php endif; ?>
                    </div>
                </div>
            </div>
        </div>
    </div>
<?php endwhile; ?>
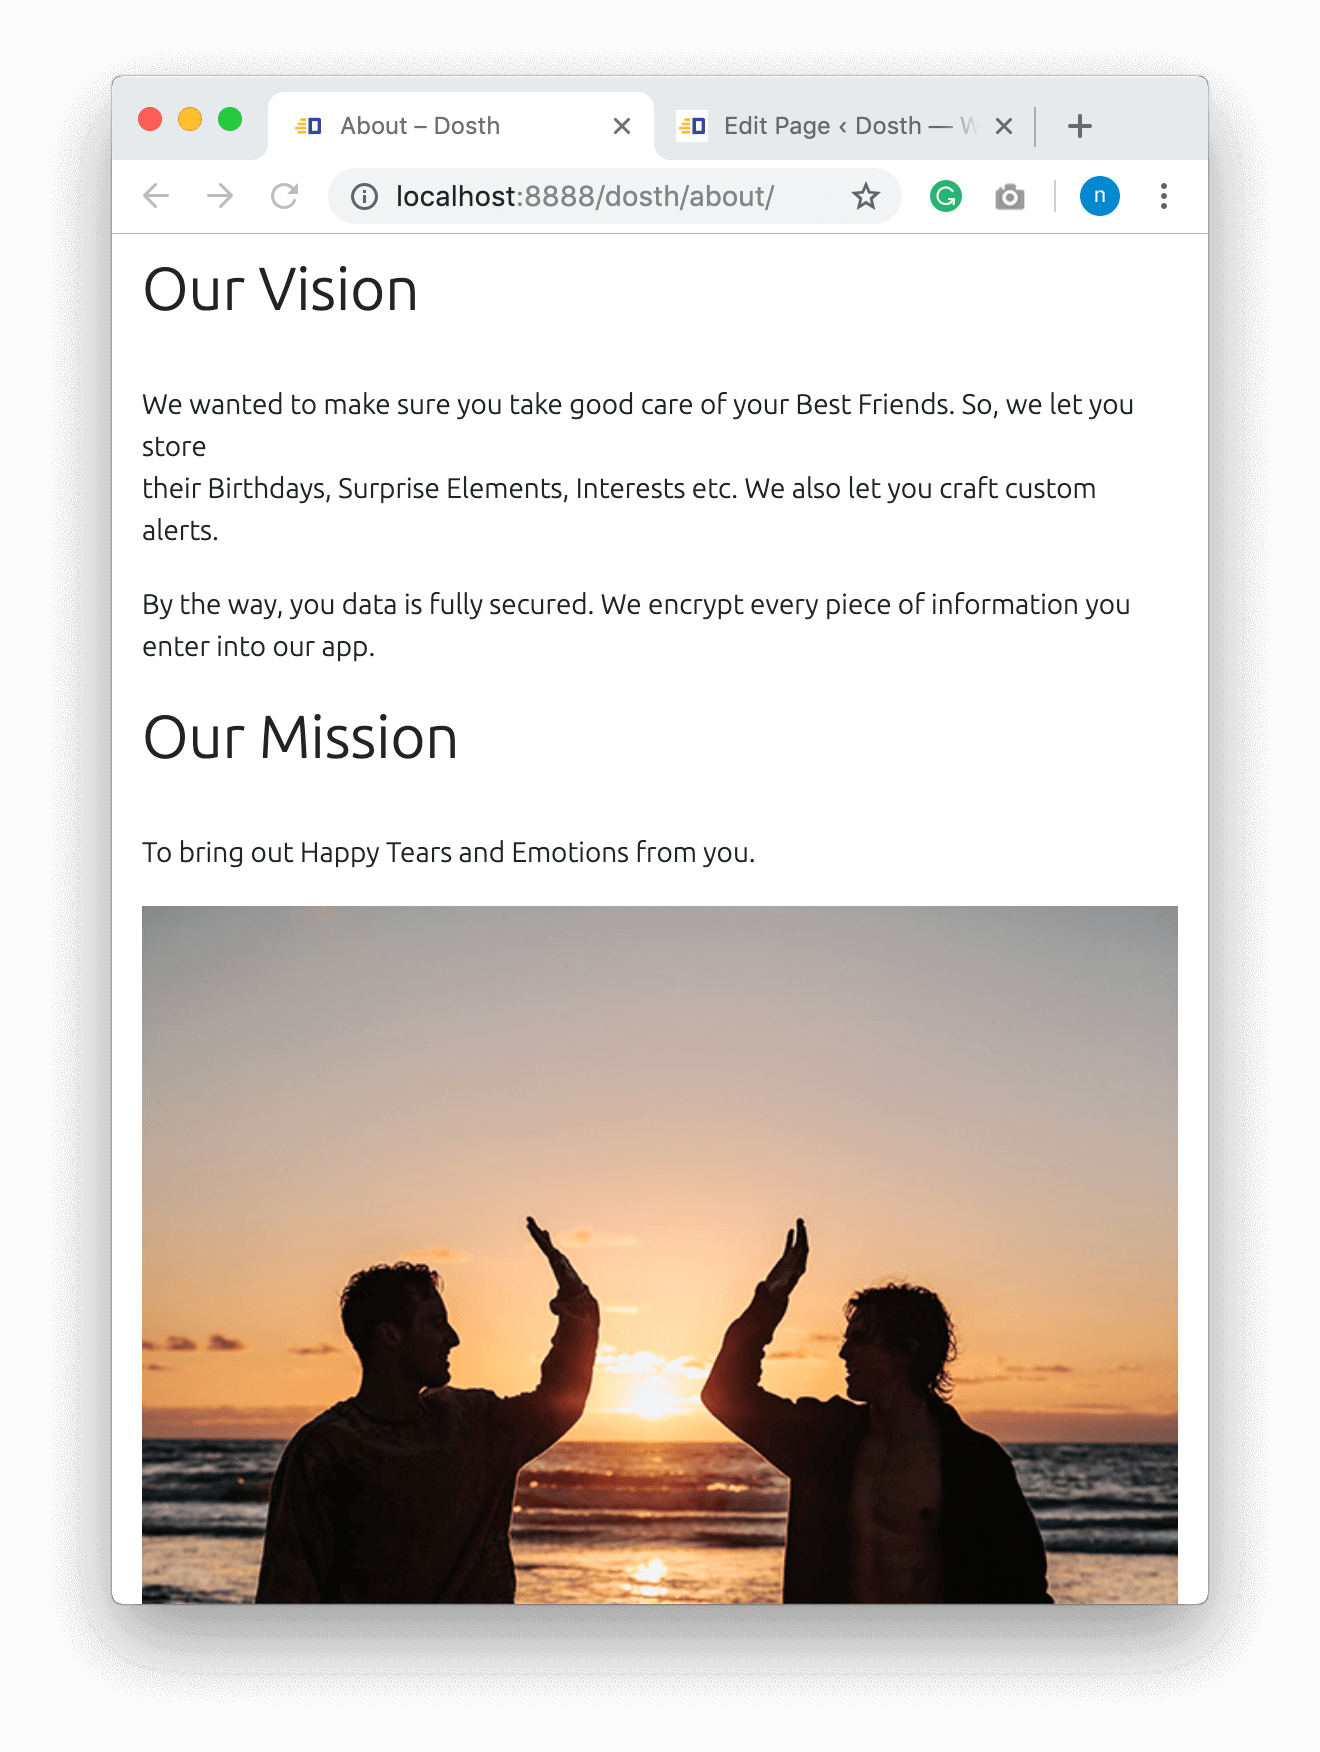
Here is the output in the browser:
I know, currently, it doesn’t look anything like the Mockup.
To fix this problem, add the following CSS to the end of the style.css file:
/*-------------------------------------------------------------------------------
  11.Internal Page Styling
-------------------------------------------------------------------------------*/
.content-container .page-title{
    background-color: #fdb813;
    padding:46px 15px;
    text-align:center;
    font-size:56px;
    text-align: center;
    color:white;
}
.content-container .featured-image{
    margin:40px;
    position:relative;
}
.content-container .featured-image:before{
    position: absolute;
    background-color:#f2f2f2;
    width:100%;
    height:100%;
    content:"";
    left:-20px;
    top:20px;
    z-index: -1;
}
.page-template-default .actual-content{
    padding-top:40px;
    padding-bottom:40px;
}
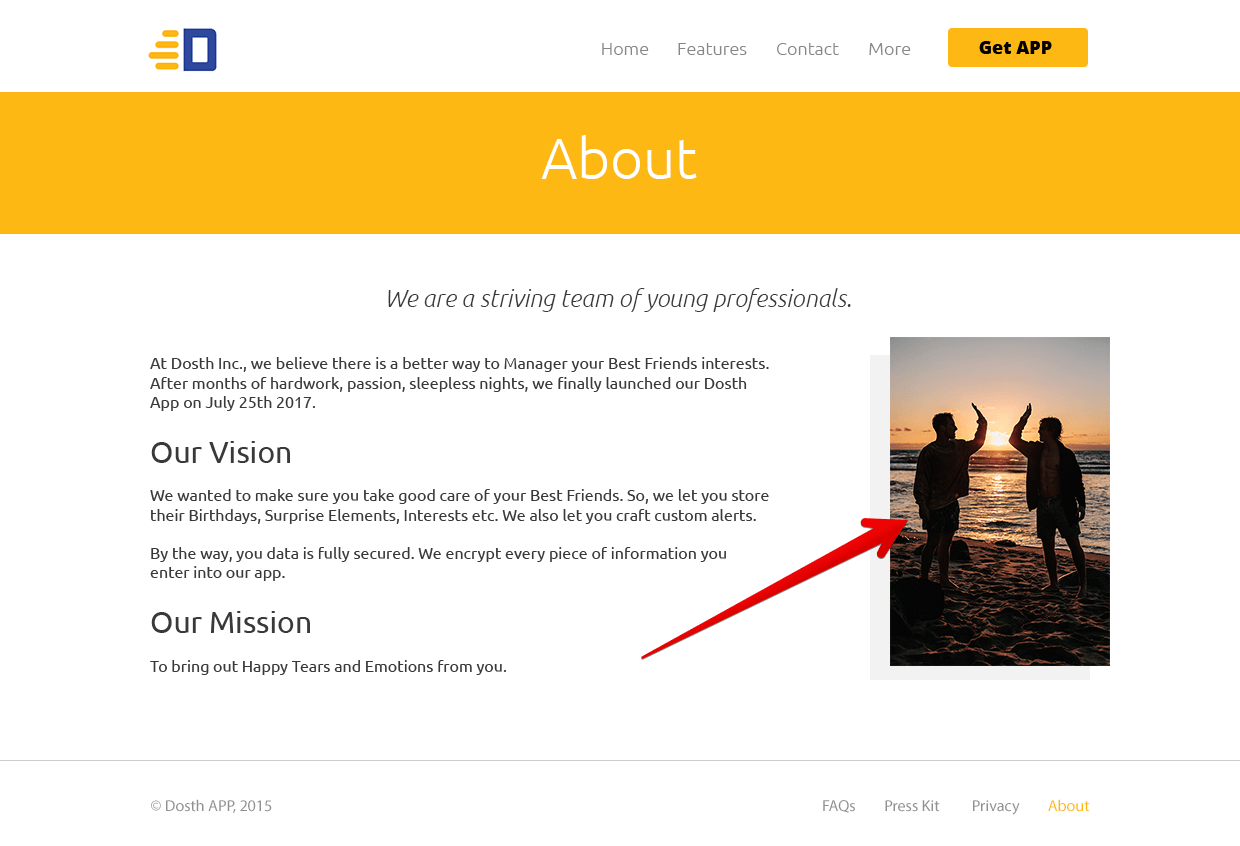
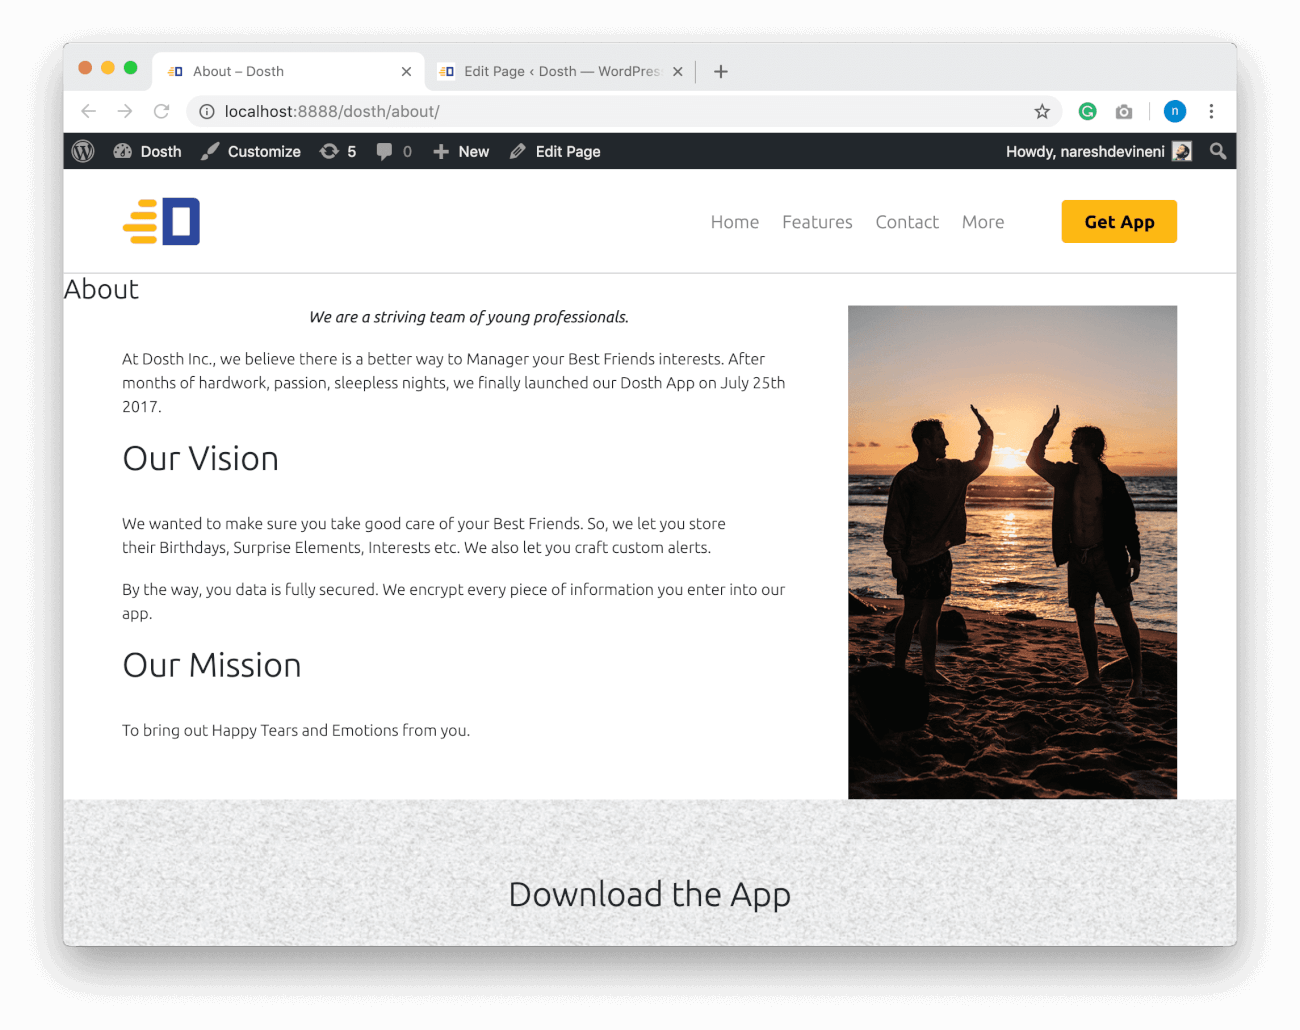
Here is the final output of the About Page:

“Hey, it is a bit different from the mockup! The top line in the italic must be bigger in font-size and at the center of the page, right?”
Yep! Correct. That’s your exercise.

You can fix the problem by using the ACF based custom field, for example:
You already know how to use ACF. You have to use the same technique that you have used for the Hompage.
Anyway, if you now go ahead and look at the other internal pages of the site, all of them would look the same as the About page.
This is the power of default templates files in WordPress. From now onwards, if we do not set up a custom template for a page, WordPress will use the page.php file to render the static page.
In the next lesson, we will learn how to create and make use of Custom Page Templates in WordPress.