How to create the blog posts index page in WordPress
As I have said before, the blog posts index page displays all the blog posts irrespective of their category, tag, author or published year.
Based on the type of the Website, A blog posts index page could be a Homepage or an Internal Page.
Blog Posts Index page as the Homepage
For example, If it is a news-based website, usually, the blog posts index page is the homepage.
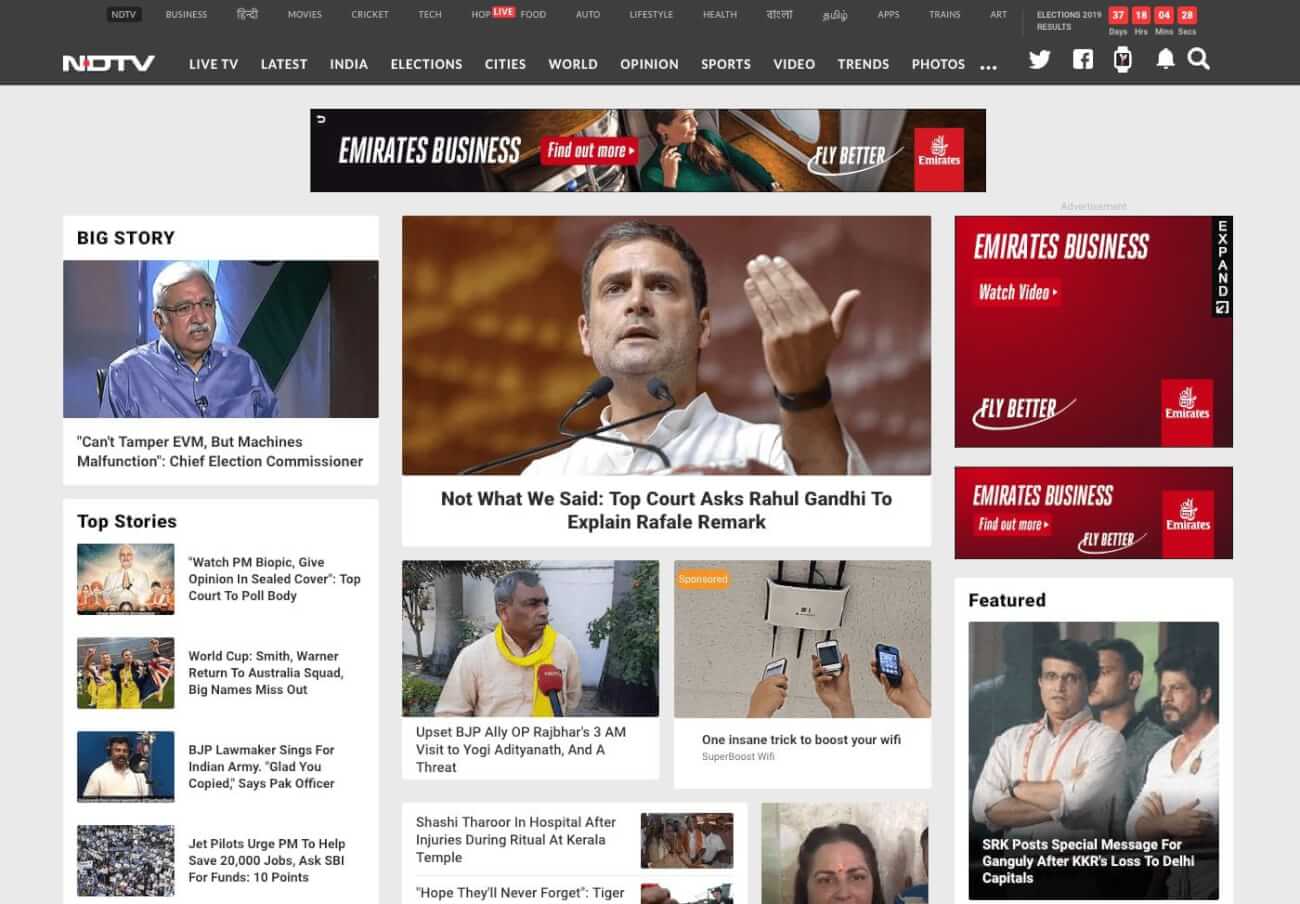
It might look complex, but it is a pretty straight forward Blog posts index page with a ton of custom queries. That’s all.
We will discuss custom queries in a future module.
The thing with the Blog Posts Index page as Homepage is, we don’t have to create a separate page in the Admin Dashboard -> Pages panel.
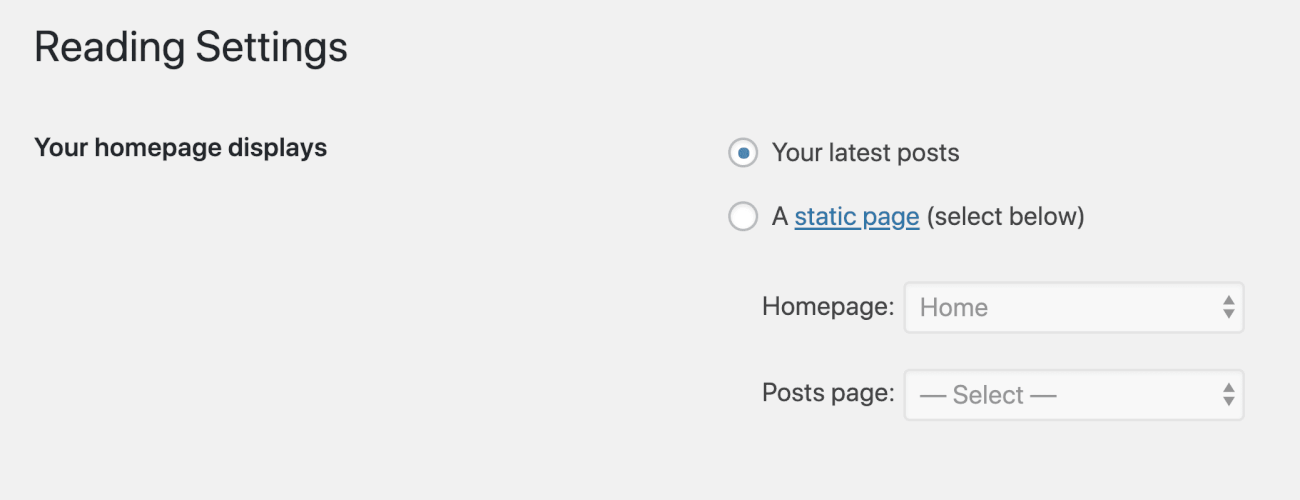
If the “Your Homepage Displays” option from the Settings -> Reading panel is set to “Your latest posts”, WordPress will render the Homepage with a bunch of blog posts using a default theme template file like index.php or home.php file.
Blog Posts Index page as Internal Page
If it is a business based website like the one we are building right now, the Blog Posts index page is definitely an internal page.
Unlike Homepage based blog, we have to implement the following steps to build this blog posts index page which gets displayed as an internal page.
Step 1) Create a page called “Blog” or “Articles” or “Name it what-ever-you-want”.
step 2) Select this newly created page for “Your Homepage Displays” option from the Settings -> Reading panel
step 3) That’s all. WordPress will use index.php or home.php file to render the above created internal page with all the blog posts.
Common, let’s start with the first step.
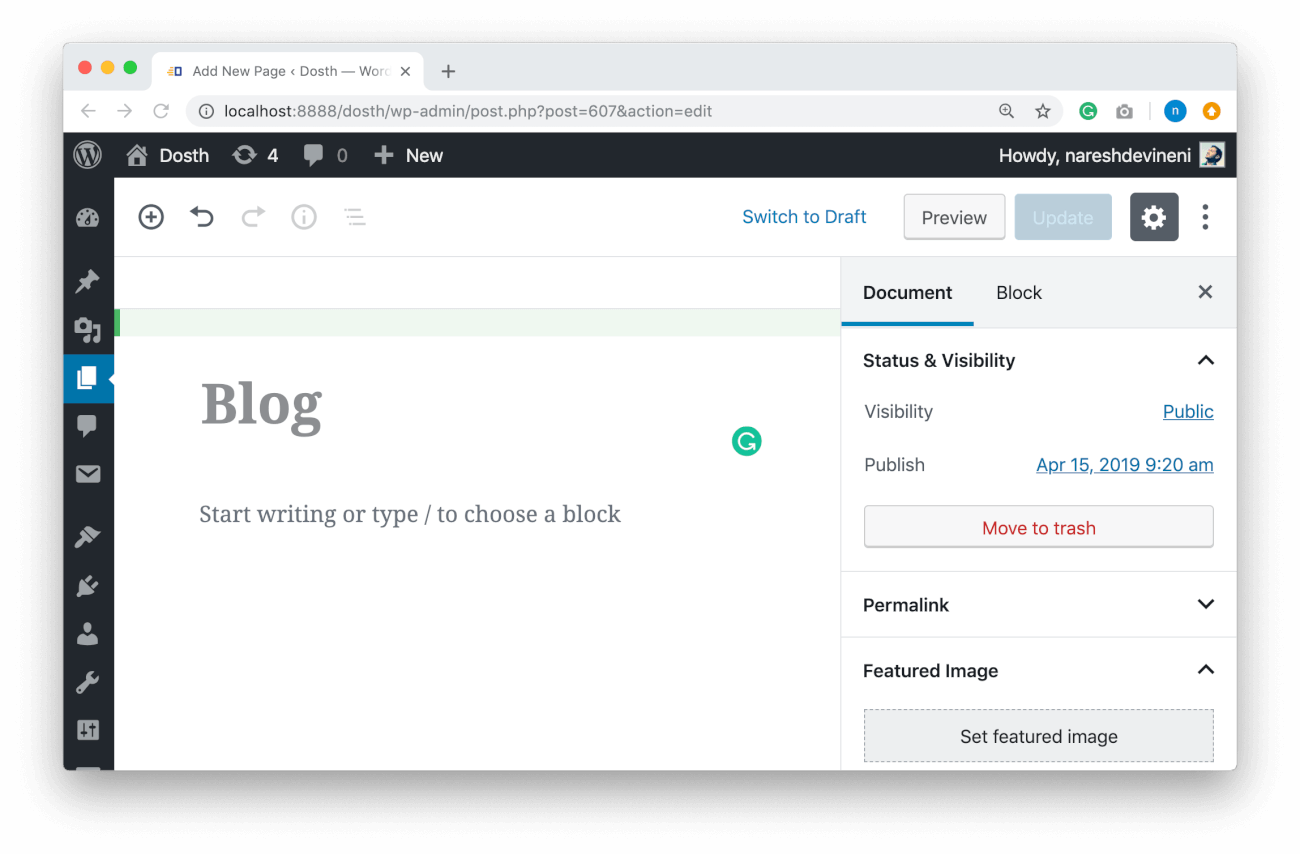
Step 1) Creating a page for the blog
Go to Admin Dashboard -> Pages -> Add New
Majority of the sites on the web will name this page as “Blog”. So, I am gonna follow the convention as well.
You don’t have to add any content to this page. You’ll understand “the why” part in a moment.
Also, you can ignore all page options and just click on the Publish button to create the page.
Step 2) Tell WordPress to use the newly created page for displaying blog posts index
Go to Admin Dashboard -> Settings -> Reading
During the earlier module of this course, For “Your homepage displays” We have selected “A Static Page” as our Homepage and selected “Home” page as the Homepage of our site. But during that time, we did not pay attention to the “Posts page” dropdown at all.
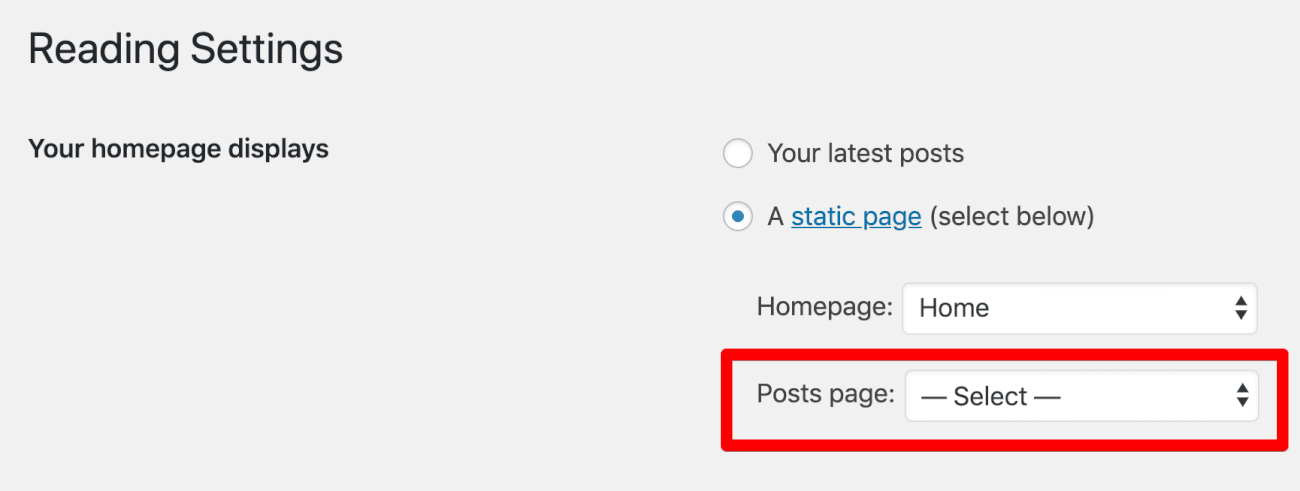
Now it is time to select our Posts page too.
Click on the Posts page dropdown and select the newly created “Blog” page from the list.
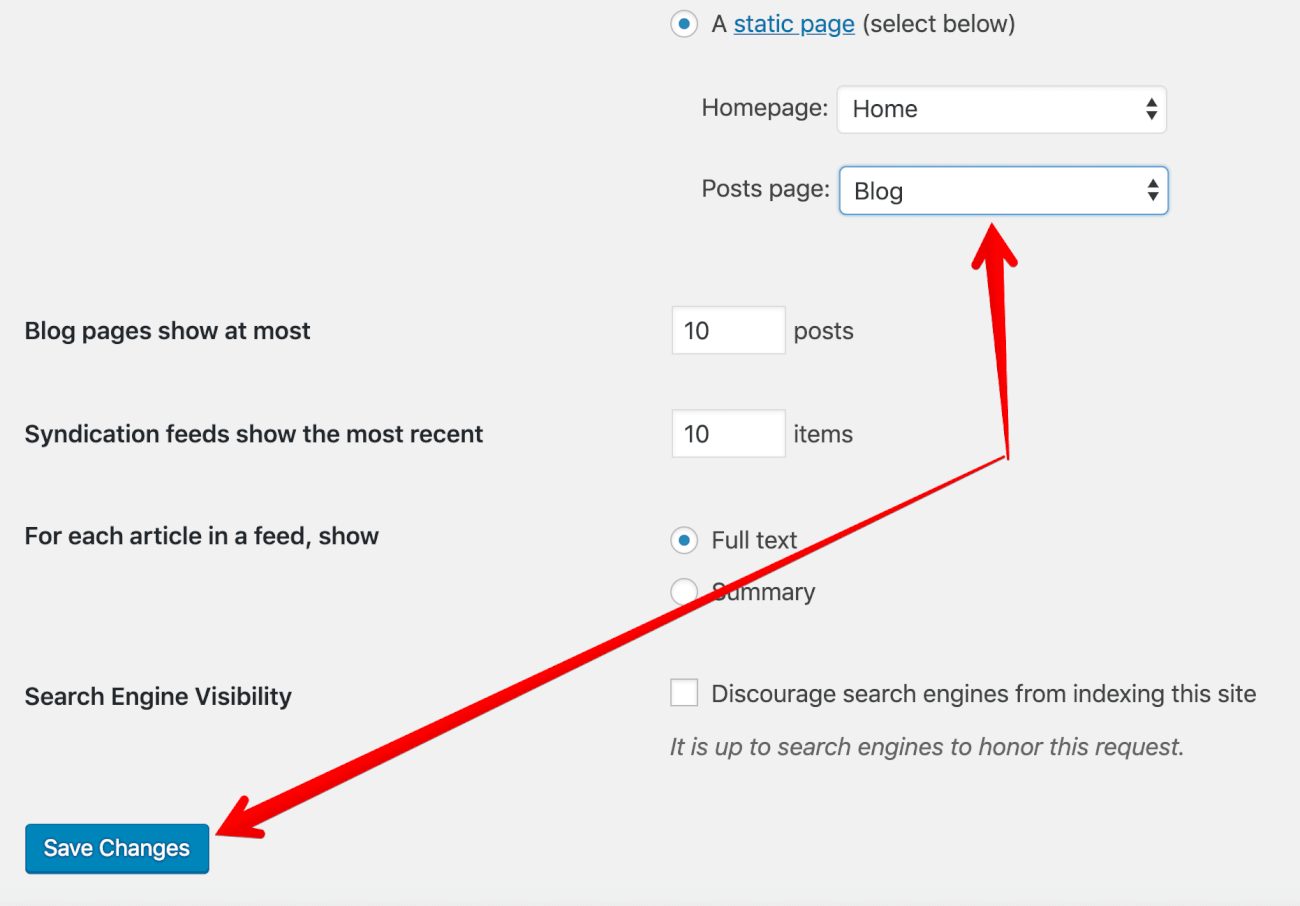
Finally, don’t forget to save the changes.
Now, if you go back to the “Blog” page edit screen in the admin dashboard, you’ll find something interesting.
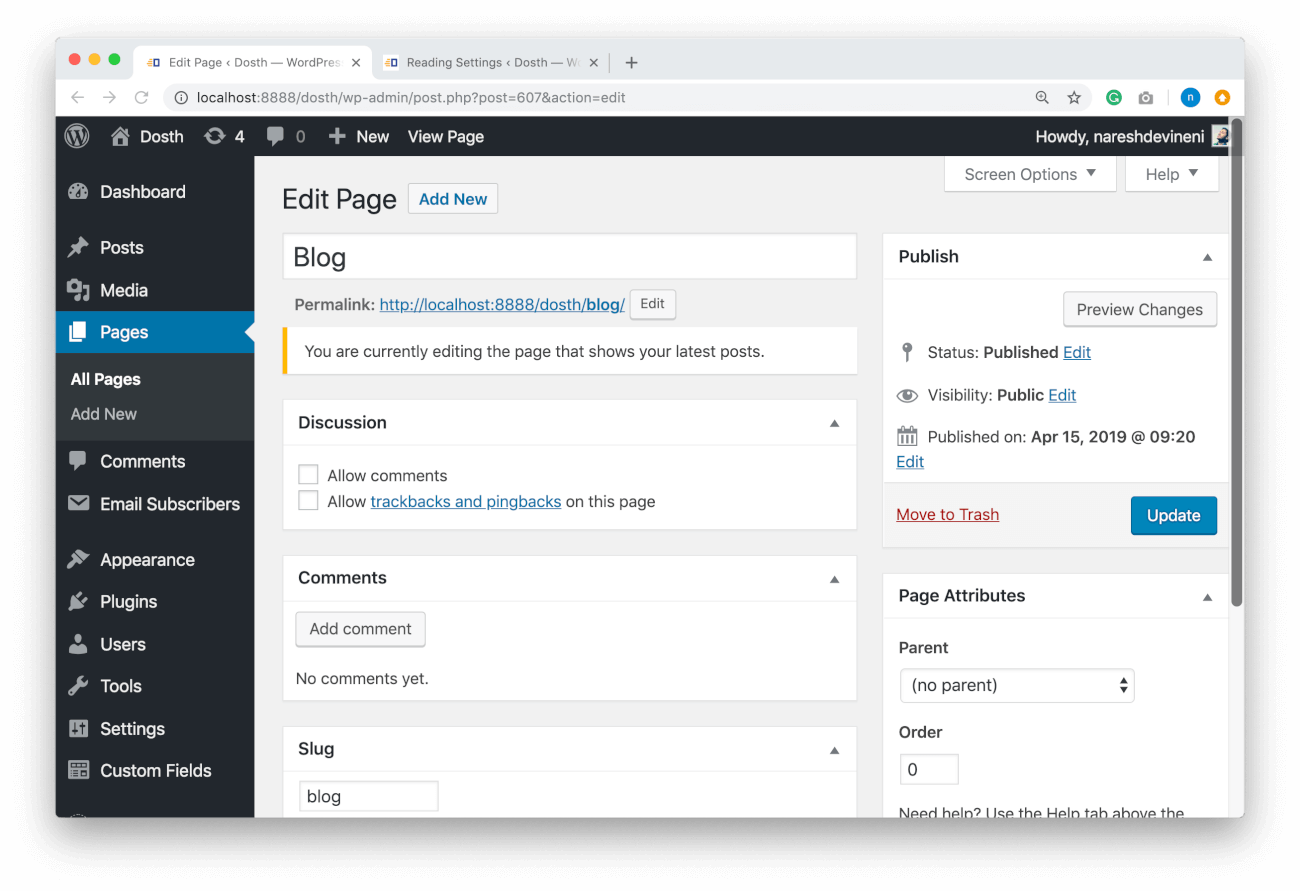
First of all, WordPress switched to its classic interface and it is displaying a message saying
“You are currently editing the page that shows your latest posts.”
Cool, right?
WordPress also removed the content editor altogether. This way, content editors or site administrators doesn’t accidentally edit this page trying to put content in it.
Anyway, that’s all you need to do.
Step 3) WordPress takes care of the rest
If you now visit the Blog page in the frontend, you can see all the blog posts that you have added using:
Admin Dashboard -> Posts panel
That’s pretty much what it takes to create a Blog Posts Index page in WordPress. Nothing complicated at all.
However, the Blog page doesn’t look anything like the below Mockup.
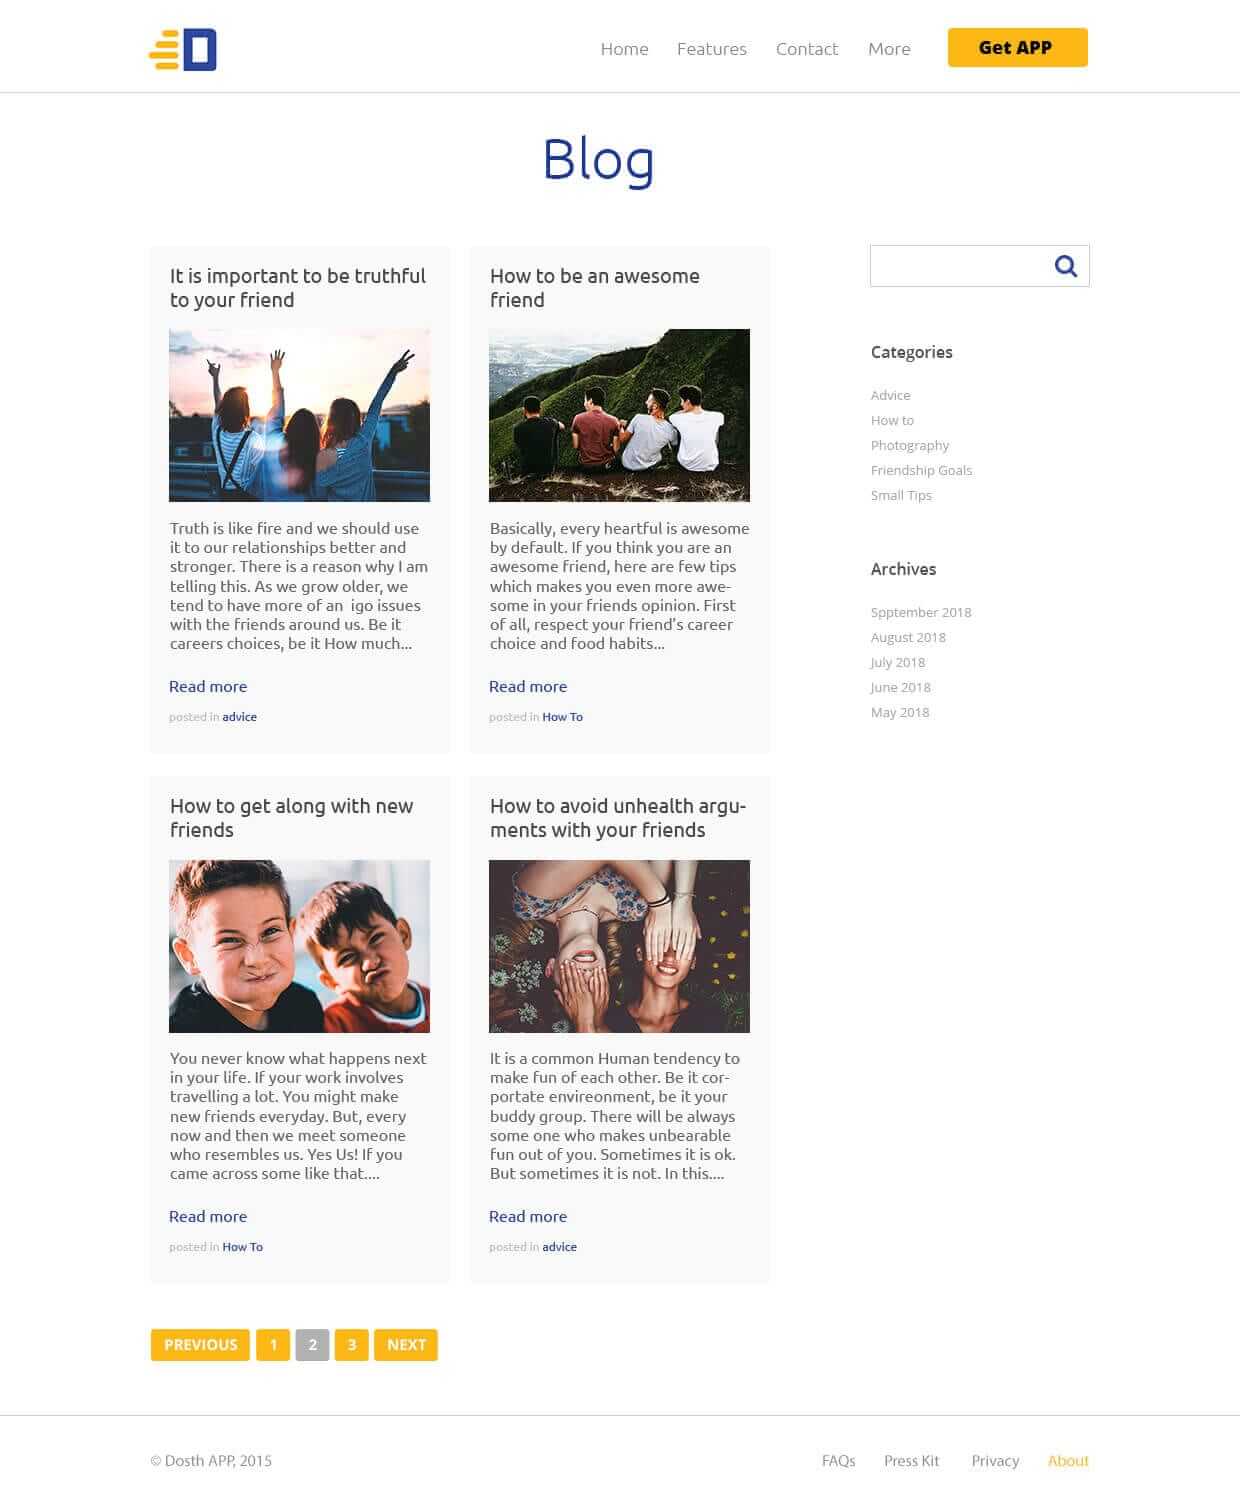
Currently, WordPress is using the index.php file to render the Blog page. WordPress is using this file because it can not find home.php file inside our nd-dosth theme.
But, we are not going to create the home.php file.
Remember? I said that it is totally ok to skip some template files from the WordPress Template Hierarchy.
So, We will modify the code inside the index.php file to make the Blog page look like the above mockup. And, we will do that in the next lesson.
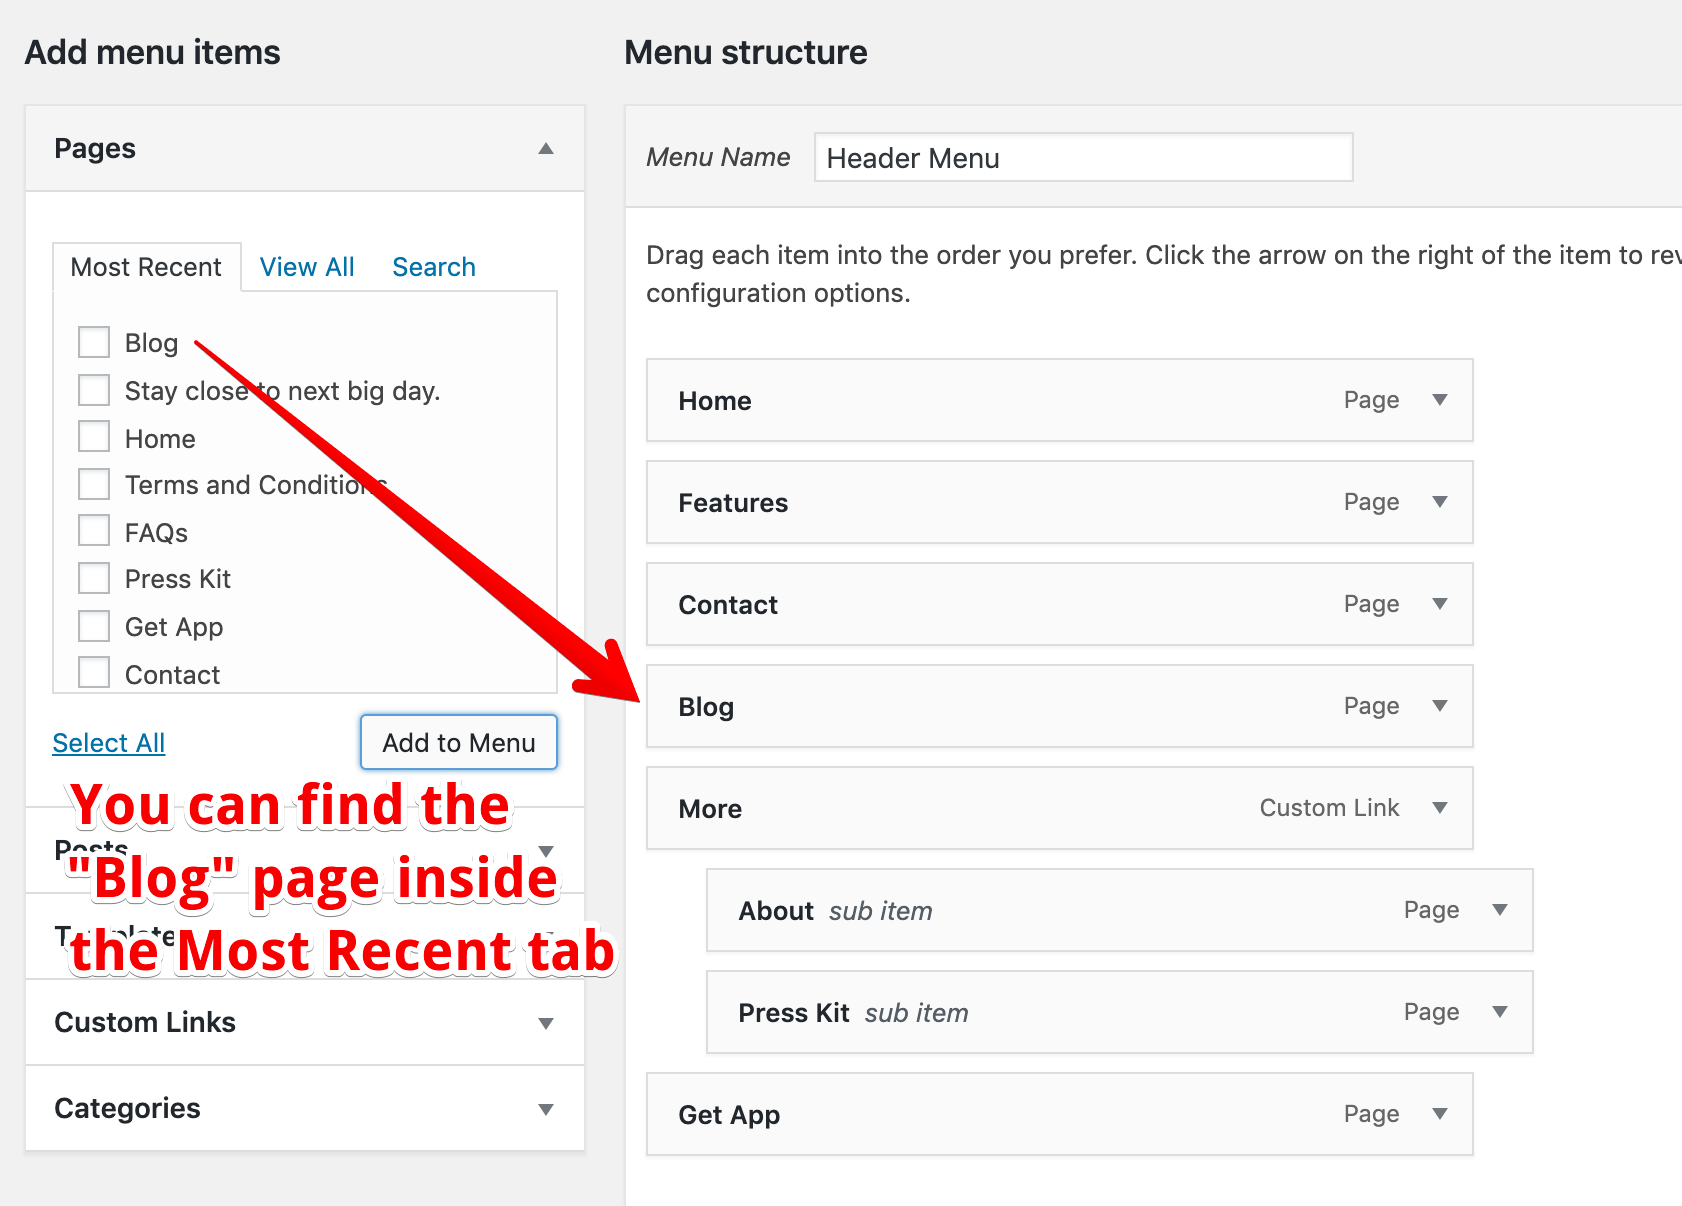
Before that, let’s add the “Blog” page to the menu. The client asked to add it to the Header Navigation. So, we will do just that.
Go to Admin Dashboard -> Appearance -> Menus
Select the Header Navigation if it not already selected.
Finally, add the “Blog” page to the menu and save the menu.
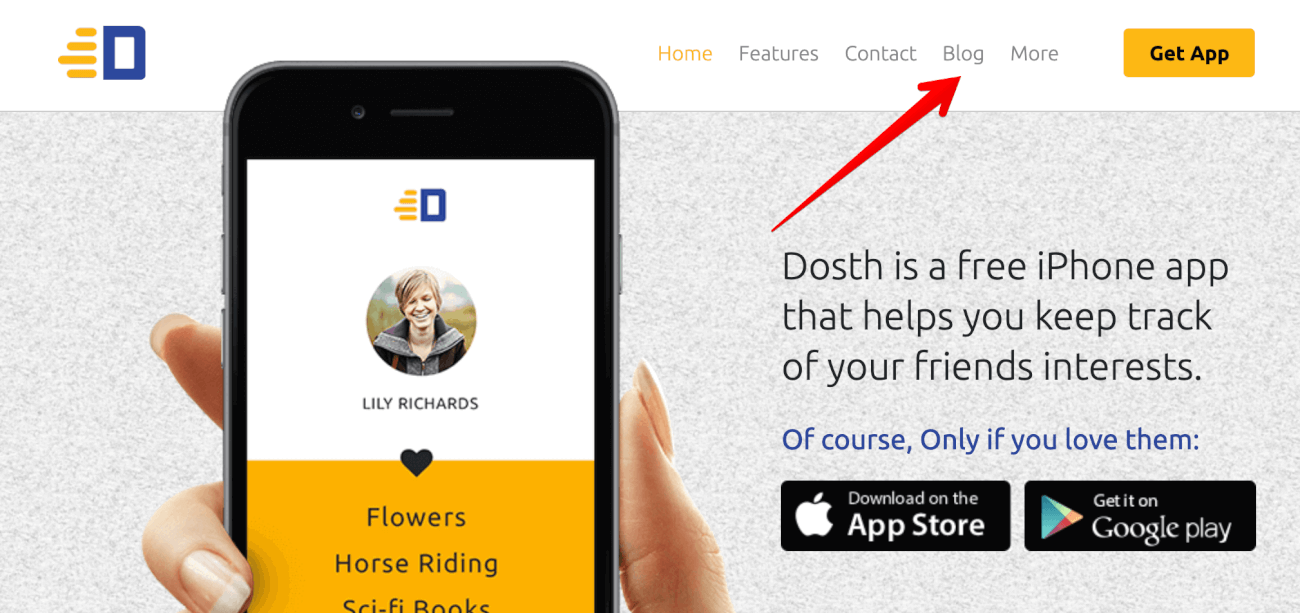
And, it looks like this on the frontend.
“Hey! What if we change the title or slug of the blog page? Does the blog break?”
I will answer this question in the next lesson.
 © 2026 UsableWP. A project by Naresh Devineni.