How to Download and Install WordPress on your computer
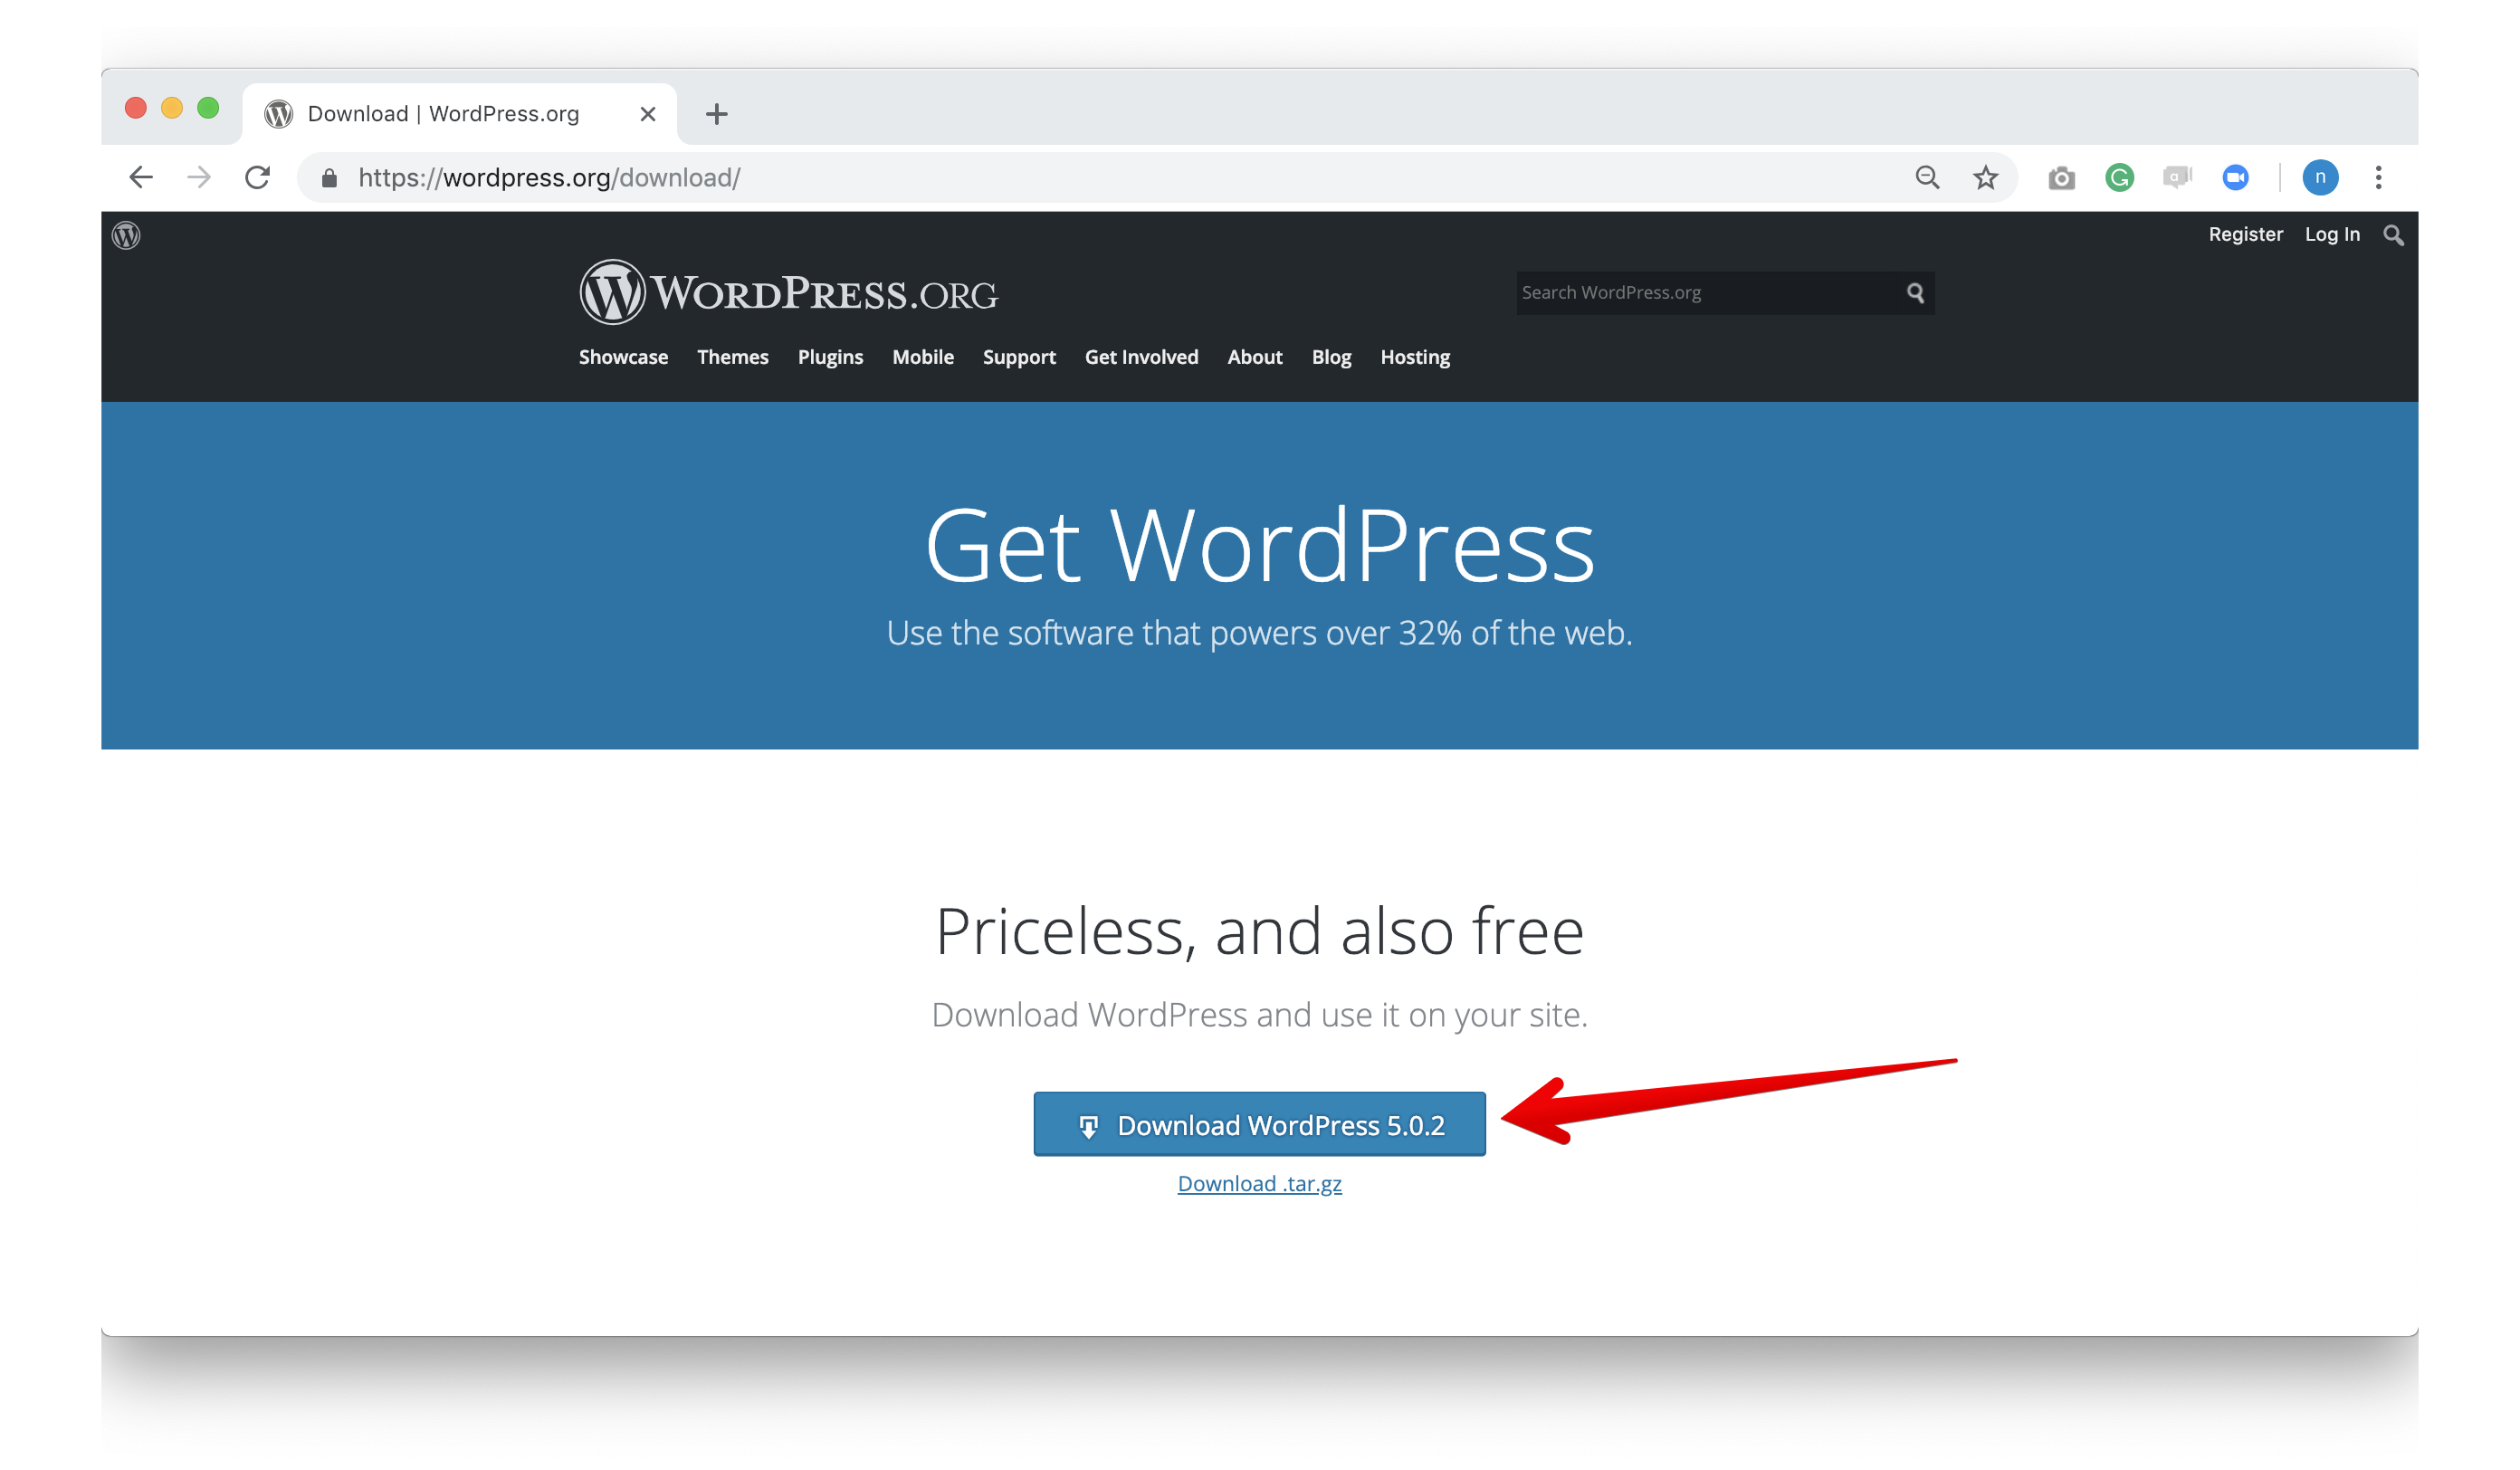
Fire up your browser and go to https://wordpress.org/download to download the latest version of WordPress.
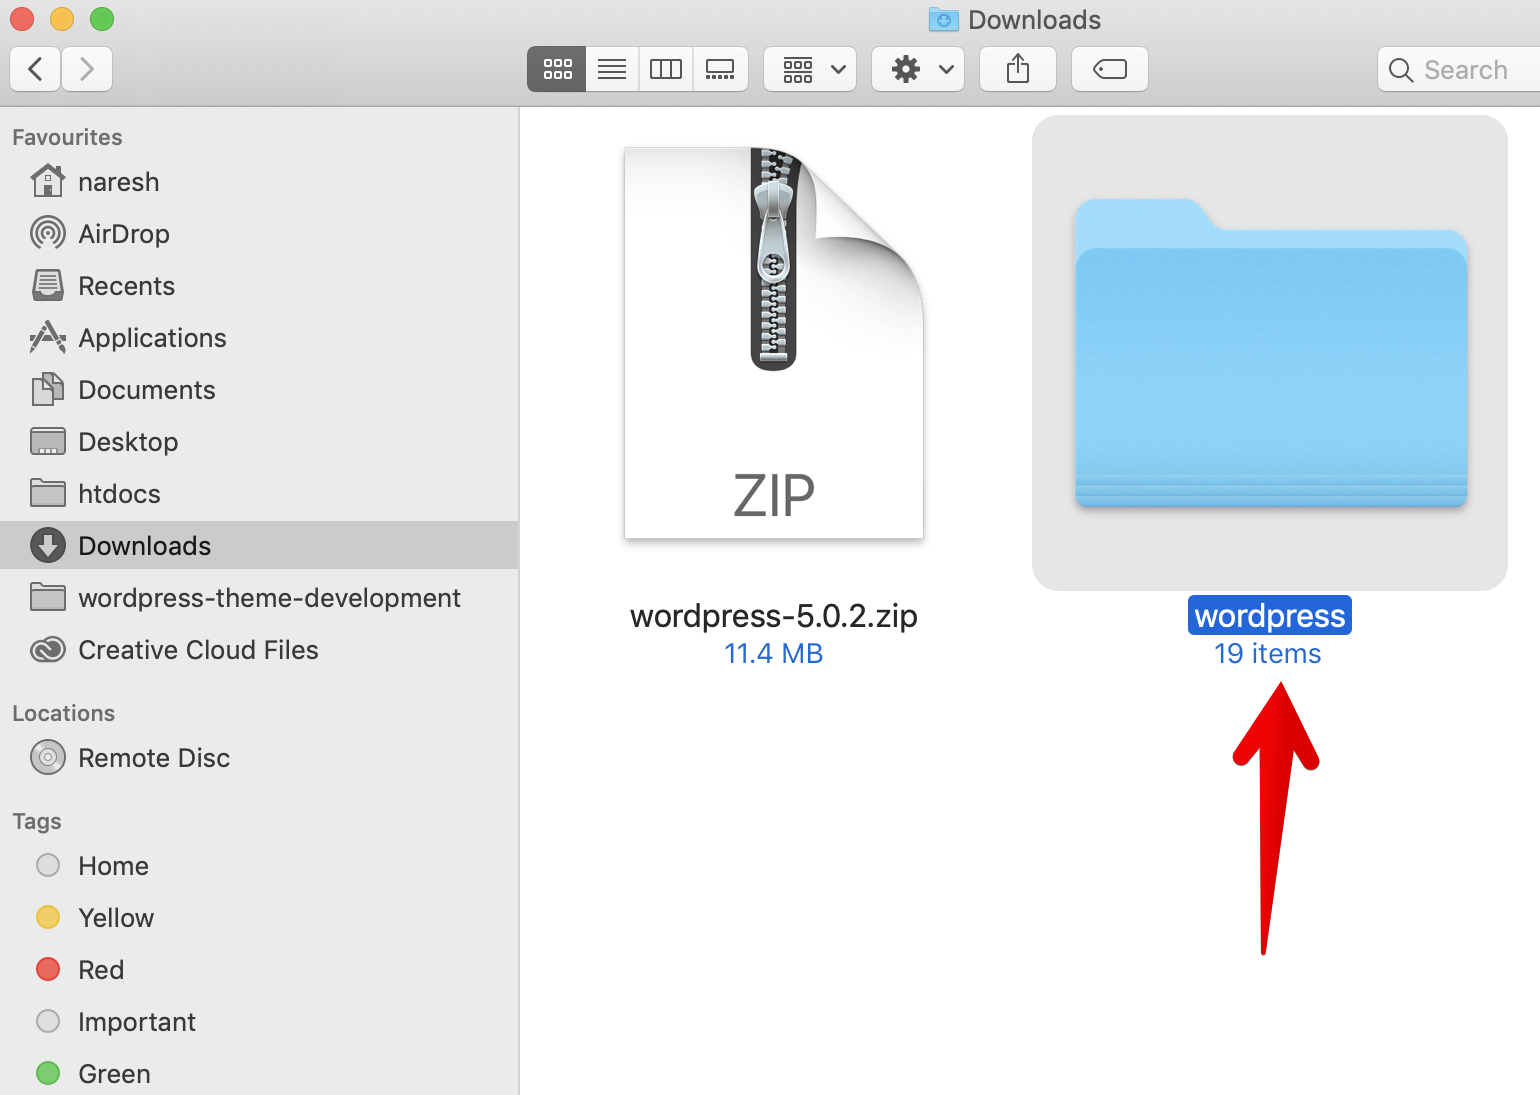
A “.zip” file will be downloaded with a naming convention like “wordpress-version.zip.” Double click on the zip file to extract a folder named wordpress.
Here is a glimpse of folders and files inside “wordpress” folder.
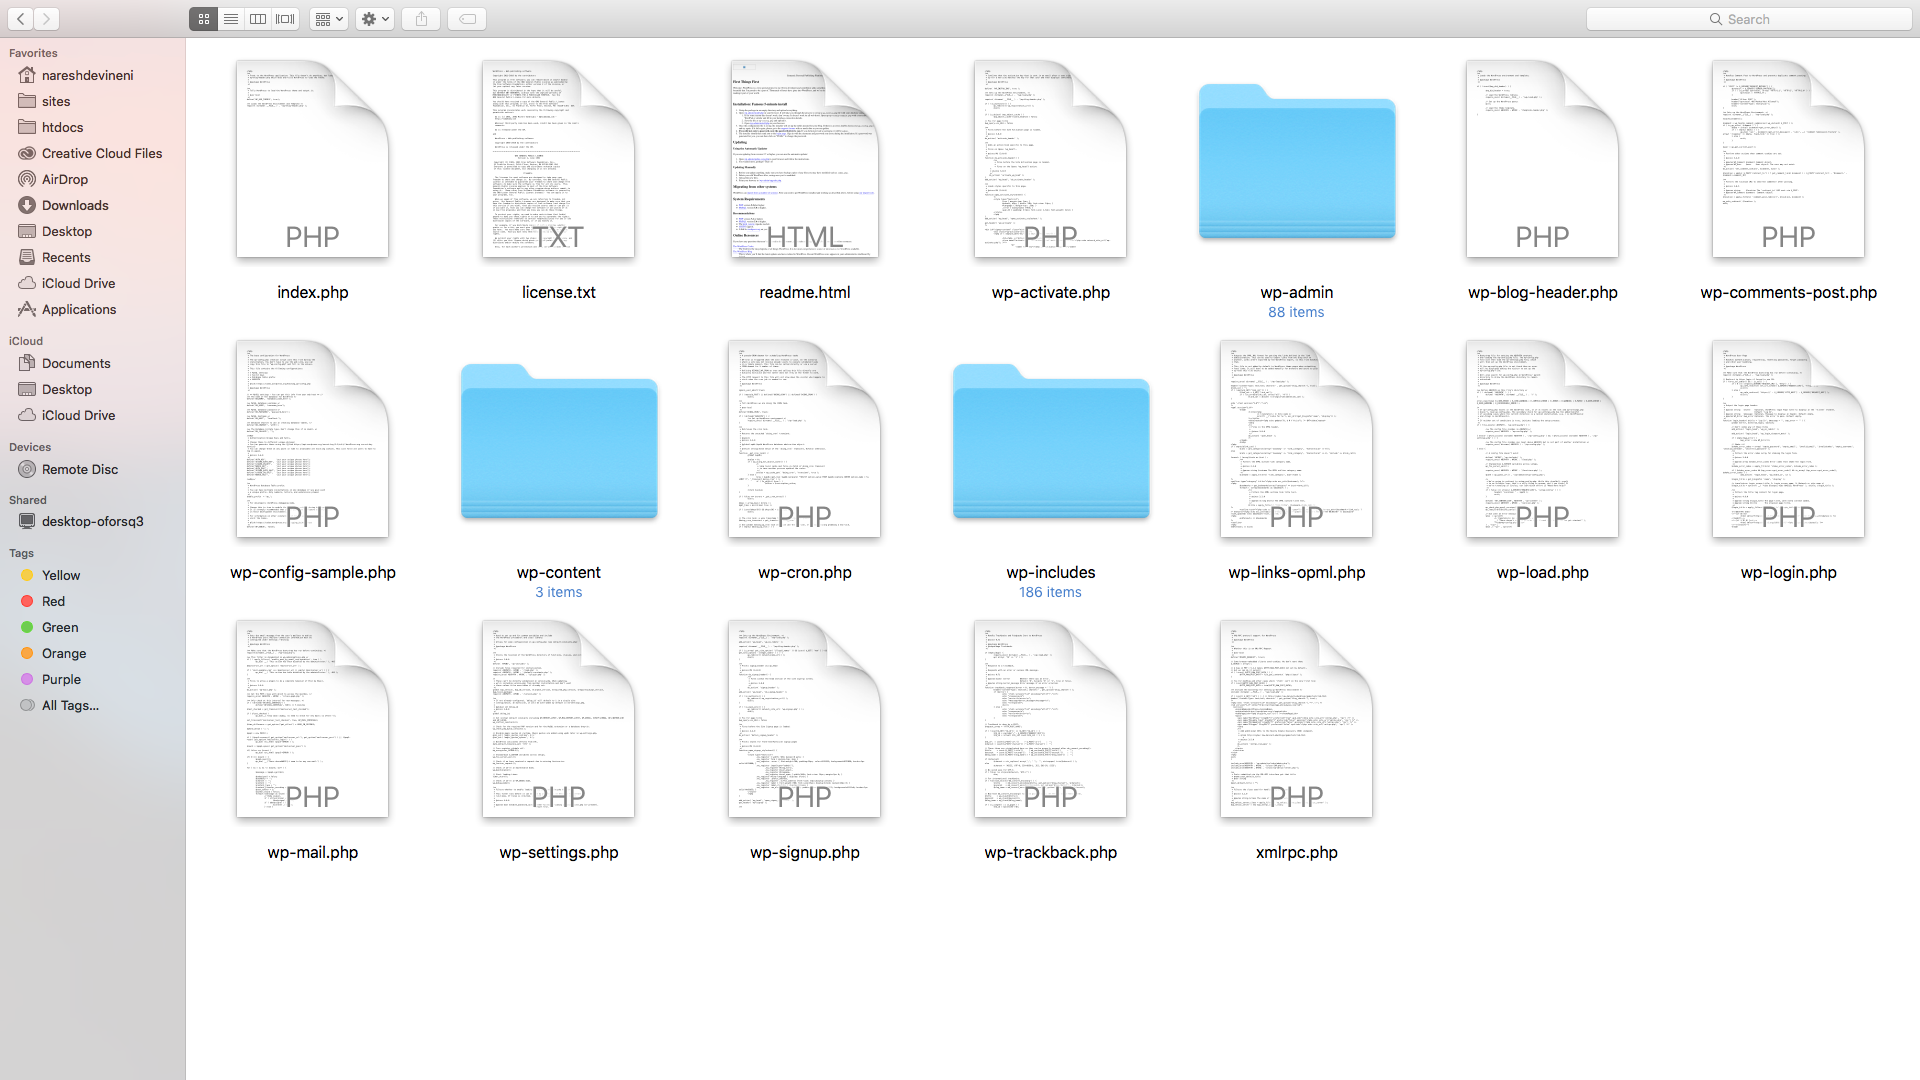
Now, you need to copy this “wordpress” folder. This folder contains WordPress code files. So, copy the entire folder. If even a small file is missing WordPress installation would fail.
Depending on where you installed your server,
WAMP users, go to C drive -> wamp -> www and paste the wordpress folder.

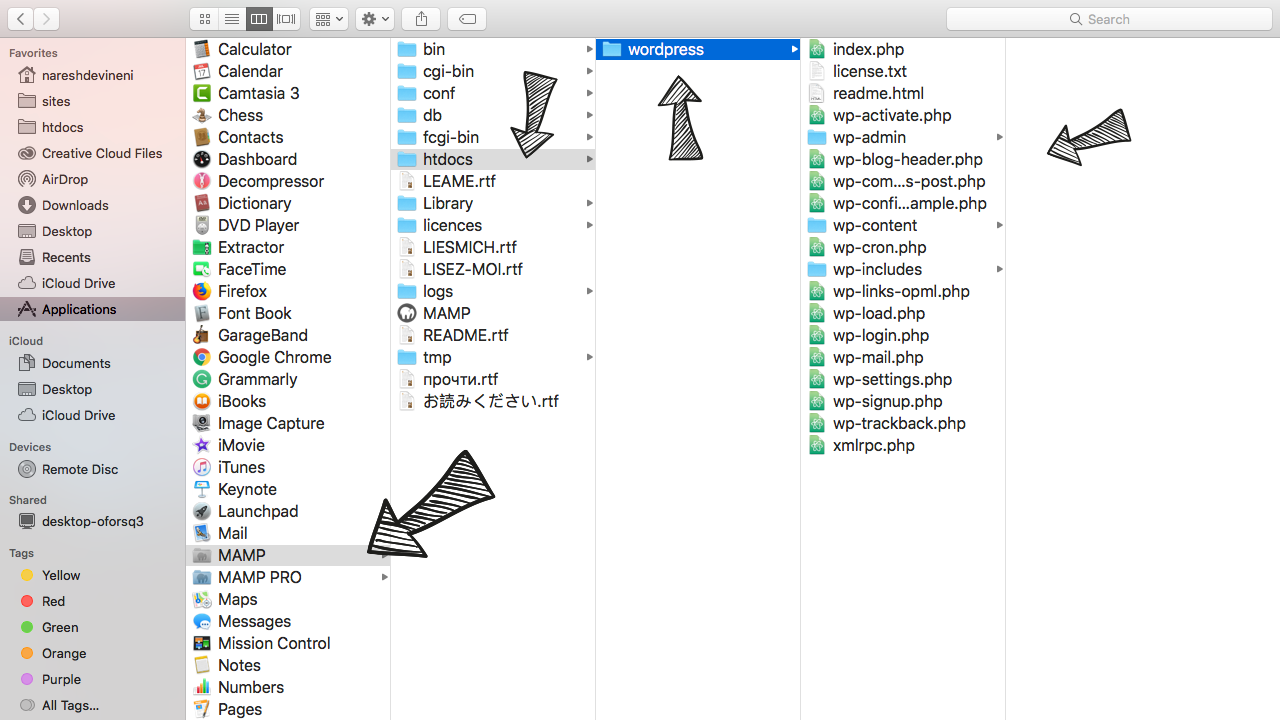
MAMP users, go to Applications -> MAMP -> htdocs and paste the wordpress folder.
Now, we have to rename the folder to something meaningful, something that represents to our project. I tend to rename the wordpress folder based on the clients brand name. For example, for this course, we will be creating a WordPress theme for Dosth mobile app, So, we will rename the folder to dosth.
Also, please remember that, once your WordPress installation is done, you can not rename the folder, if you do so, you can not access the website by entering the below URLs.
To install WordPress, you need to access the dosth folder from the browser, and our local server lets us access this folder using a URL.
WAMP User’s URL
Open up the browser, go to http://localhost/dosth
MAMP User’s URL
Open up the browser and go to http://localhost:8888/dosth
The famous 2-minutes WordPress Installation
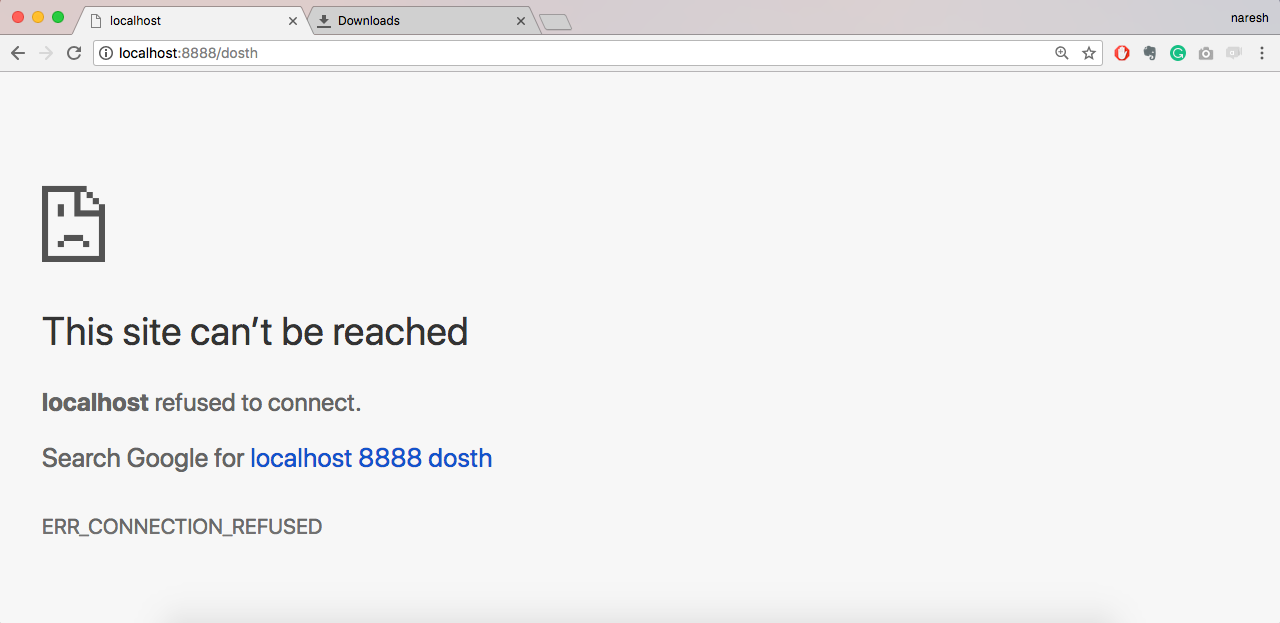
If you see this error after entering the URL, that means either you forgot to start the server or your server is facing a problem.
Once the server is turned on, refresh the URL. Aha! Now you’ll be greeted with WordPress installation step 1.
Step 1: Selecting a Language
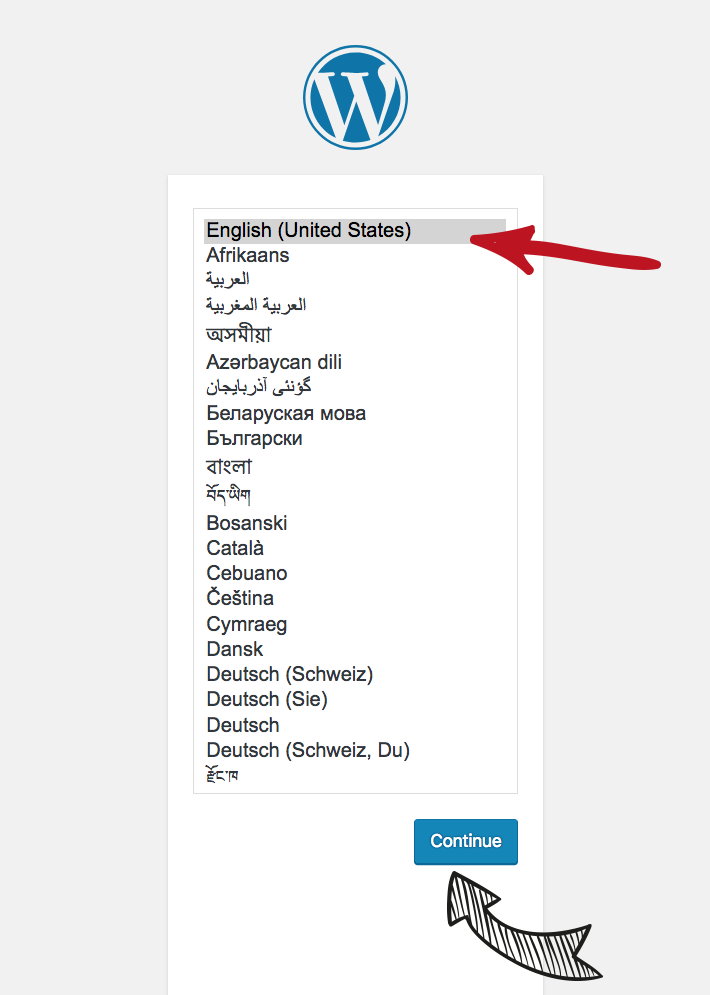
Dosth App project client is an English man, and he wants his website to be in English, so, let’s select English ( United States ), and hit continue.
Step 2: Keeping Database information ready
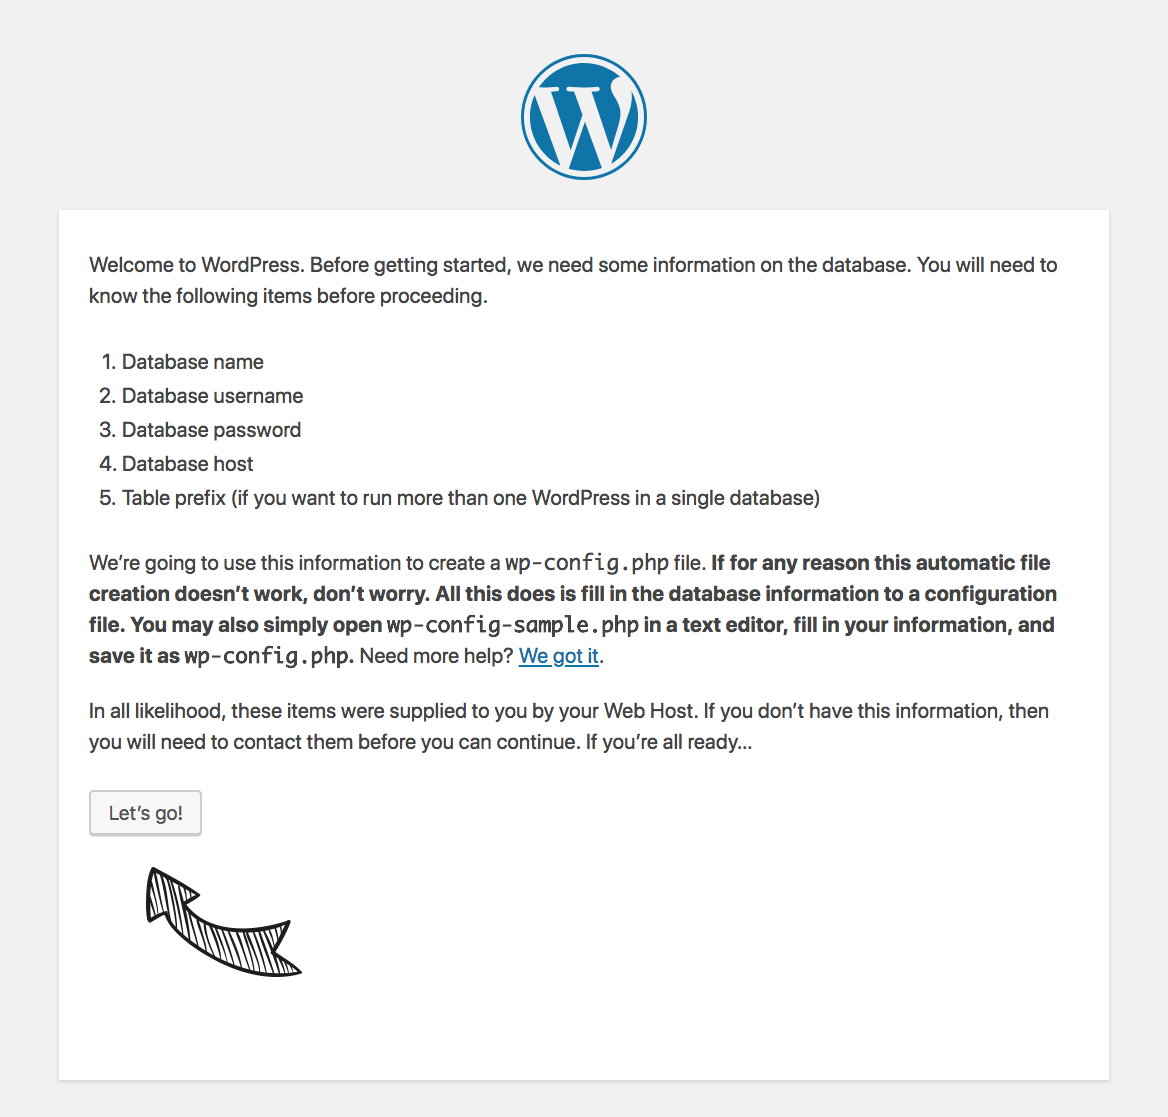
Now, WordPress asks you to keep the information about the database ready because it asks for the information in Step 3. WordPress also says that It will create a wp-config.php based on the database information you’ll be providing during Step 3. We will discuss wp-config.phpfile in-depth in the upcoming lessons.
If you did not skip any previous lessons from this course, you have every information that WordPress set up need. If you did jump, please go ahead and read previous lessons and come back here.
Step 3: Giving Database details to WordPress
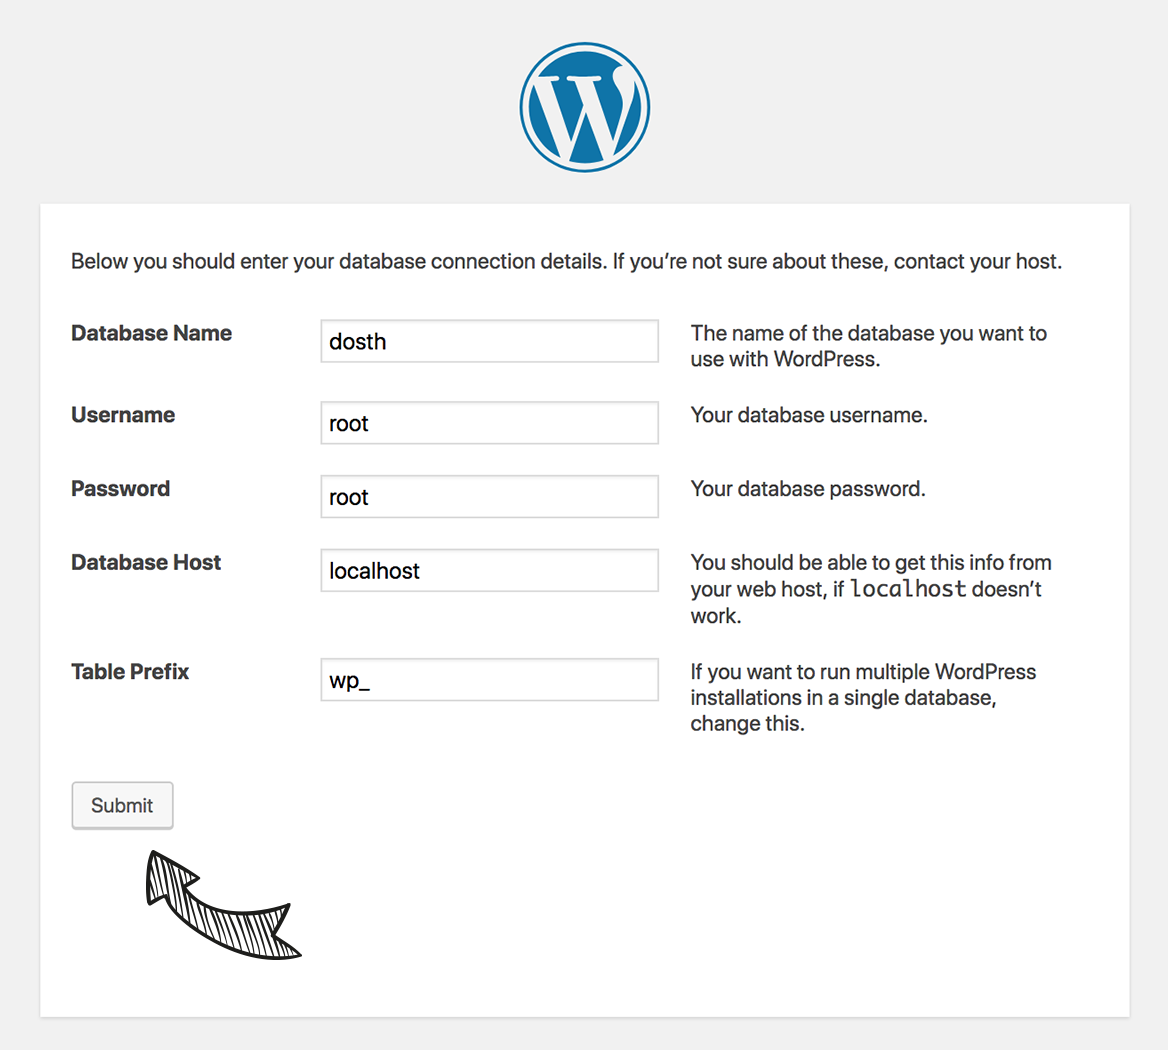
Database Details Form:
Database Name field: dosth
In the Previous lesson, we have created a database and called it dosth.
Username field: root
Remember the previous lesson? I mentioned that every MySQL server comes with the Default “root” user. So, for both MAMP and WAMP, root is the username.
Password field: root or empty
empty for WAMP’s root user, root for MAMP’s root user.
Database Host field: localhost
Not only for WAMP and MAMP, but localhost is also the default value for most of the remote servers provided by GoDaddy, Host Gator, Site Ground, etc.
So, in the near future, if you are tasked with moving a WordPress website from one web hosting service to another and when the new asks for Database Host, give localhost a try. If that doesn’t work out, then go ahead and read their documentation for the Database Hostname.
Database Table Prefix: sometext_
The _ (underscore) is mandatory at the end of a table prefix. Replace “sometext” with something unguessable for security reasons. For example, “wp_”, “dosth5539_”. I usually go with the combination of letters and numbers to make it unguessable. Since this is the local installation, I am going with wp_.
Enter everything correctly and Submit button to proceed forward to step 4. If not, WordPress will redirect you to an error page. If you see this error page, maybe you have entered your database name incorrectly, or you might have forgotten to enter Database User Password.
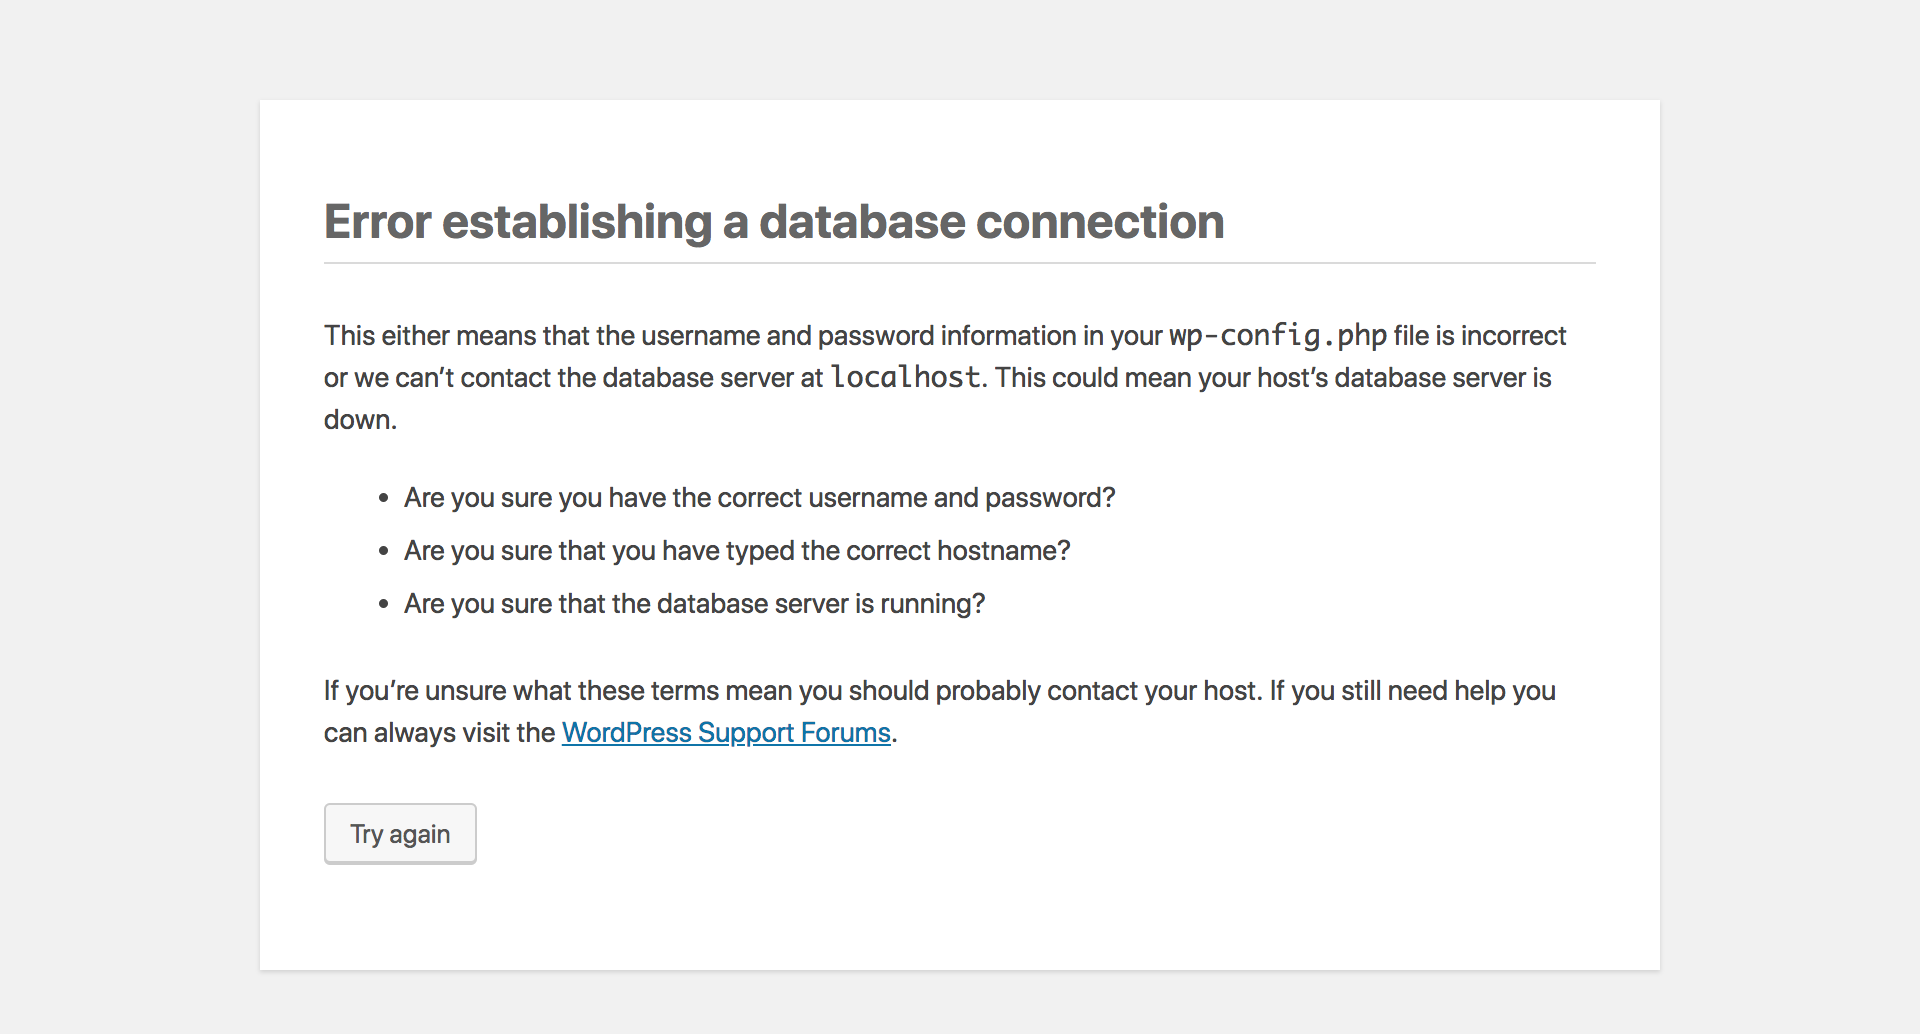
So, if you messed up something, hit try again and this time, enter the details correctly.
Step 4: Run the Installation
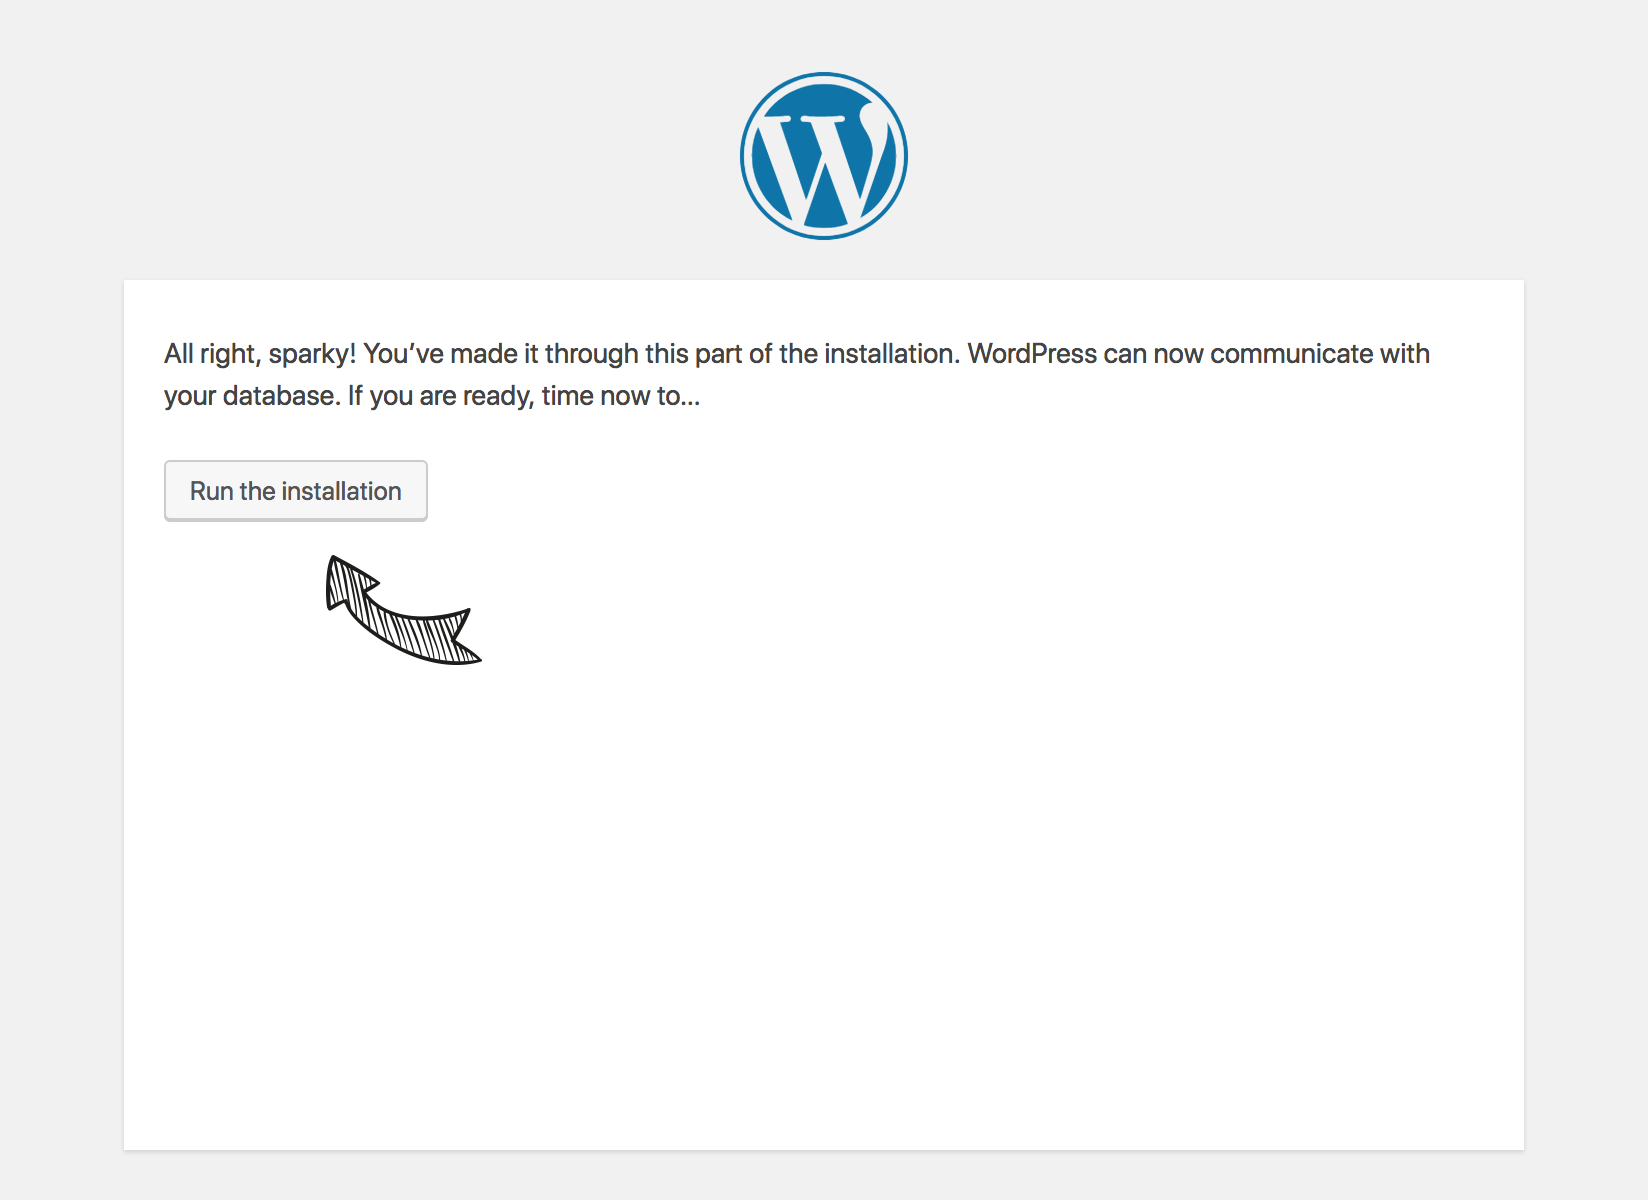
If everything goes well, you will reach this screen. Hit “Run the installation” button to continue installation.
Step 5: Enter the Site Information
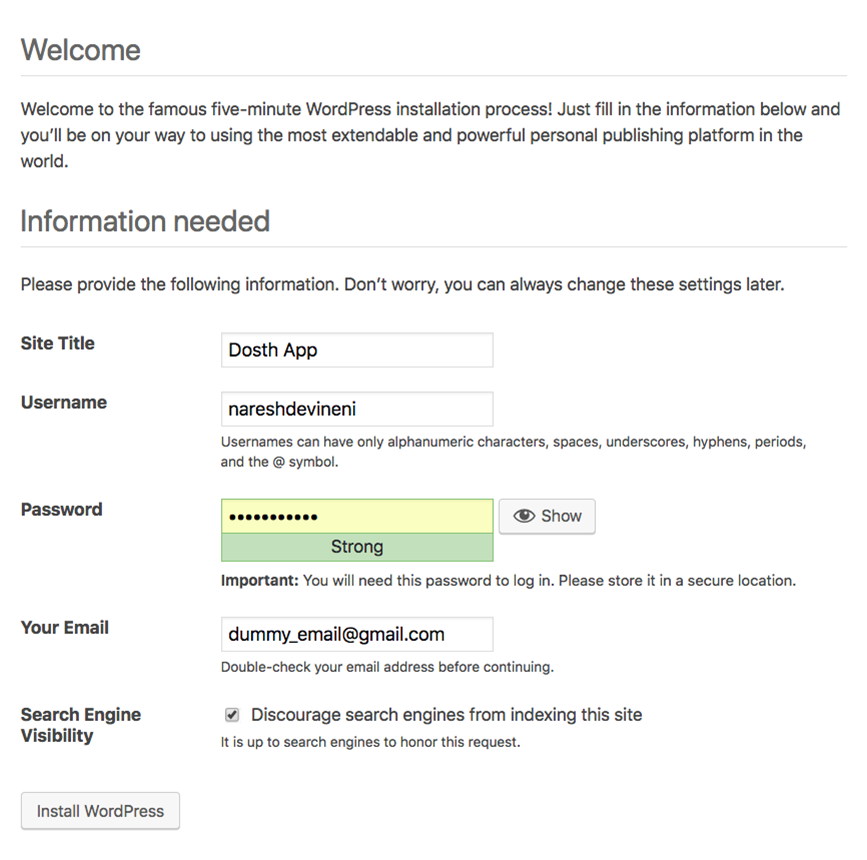
Except for Username, The information you enter here can be changed once we enter our WordPress Admin Dashboard. So choose the username carefully. ( That’s not entirely true, you can change your username using plugins, but that is painful, trust me! ).
Site Title field: Dosth App
Enter the website name, for the purposes of this course, its Dosth App. Later during theme development, you will pull this value from database to display it places like Header and Footer. Copyright statement in the footer is the best example.
Username field: nareshdevineni
The username you enter here is for WordPress Admin Dashboard. It is a common tendency to use something like “admin” or the site name itself. But don’t do that. admin is the first username guess of every hacker.
Password field: nareshdevineni
WordPress automatically generates a not-so-easy-to-hack password. If you don’t like it, you can type your own. But again, don’t give something like “admin” or your phone number. Enemies always hide in plain sight.
Email field: your email or your client’s.
The email given here will be used for a lot of purposes. For example, for password resetting, for notifying you when someone comments on the blog, these are just a few examples. So give the official one.
Search Engine Visibility field: Turn On the checkbox
Turn on the checkbox to discourage search engines. And I suggest you do it until the website goes into the production stage.
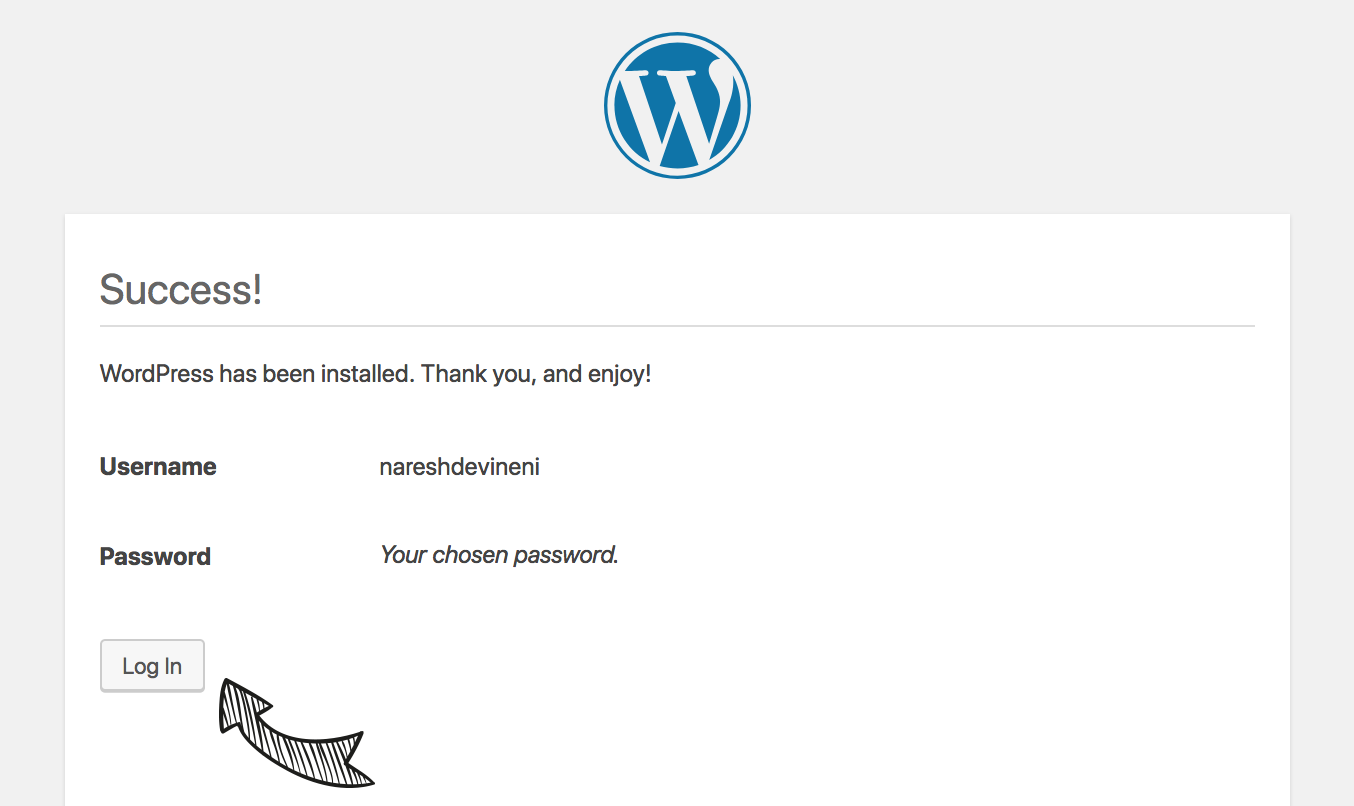
Finally, click on the Install WordPress button to finish the installation and you’ll be redirected to “Success!” screen with a login button. Technically, this is not a login screen. There is no way you can enter your password here! So, click on the Login button to get redirected to the actual WordPress admin login screen.
You can access the same Login screen using http://localhost:8888/dosth/wp-admin. Remove “:8888” from the URL if you are using WAMP.
Login to WordPress Admin Dashboard

Enter the username and password that you have given during Step 5 and Hit Log in. WordPress will redirect you to the Admin Dashboard.
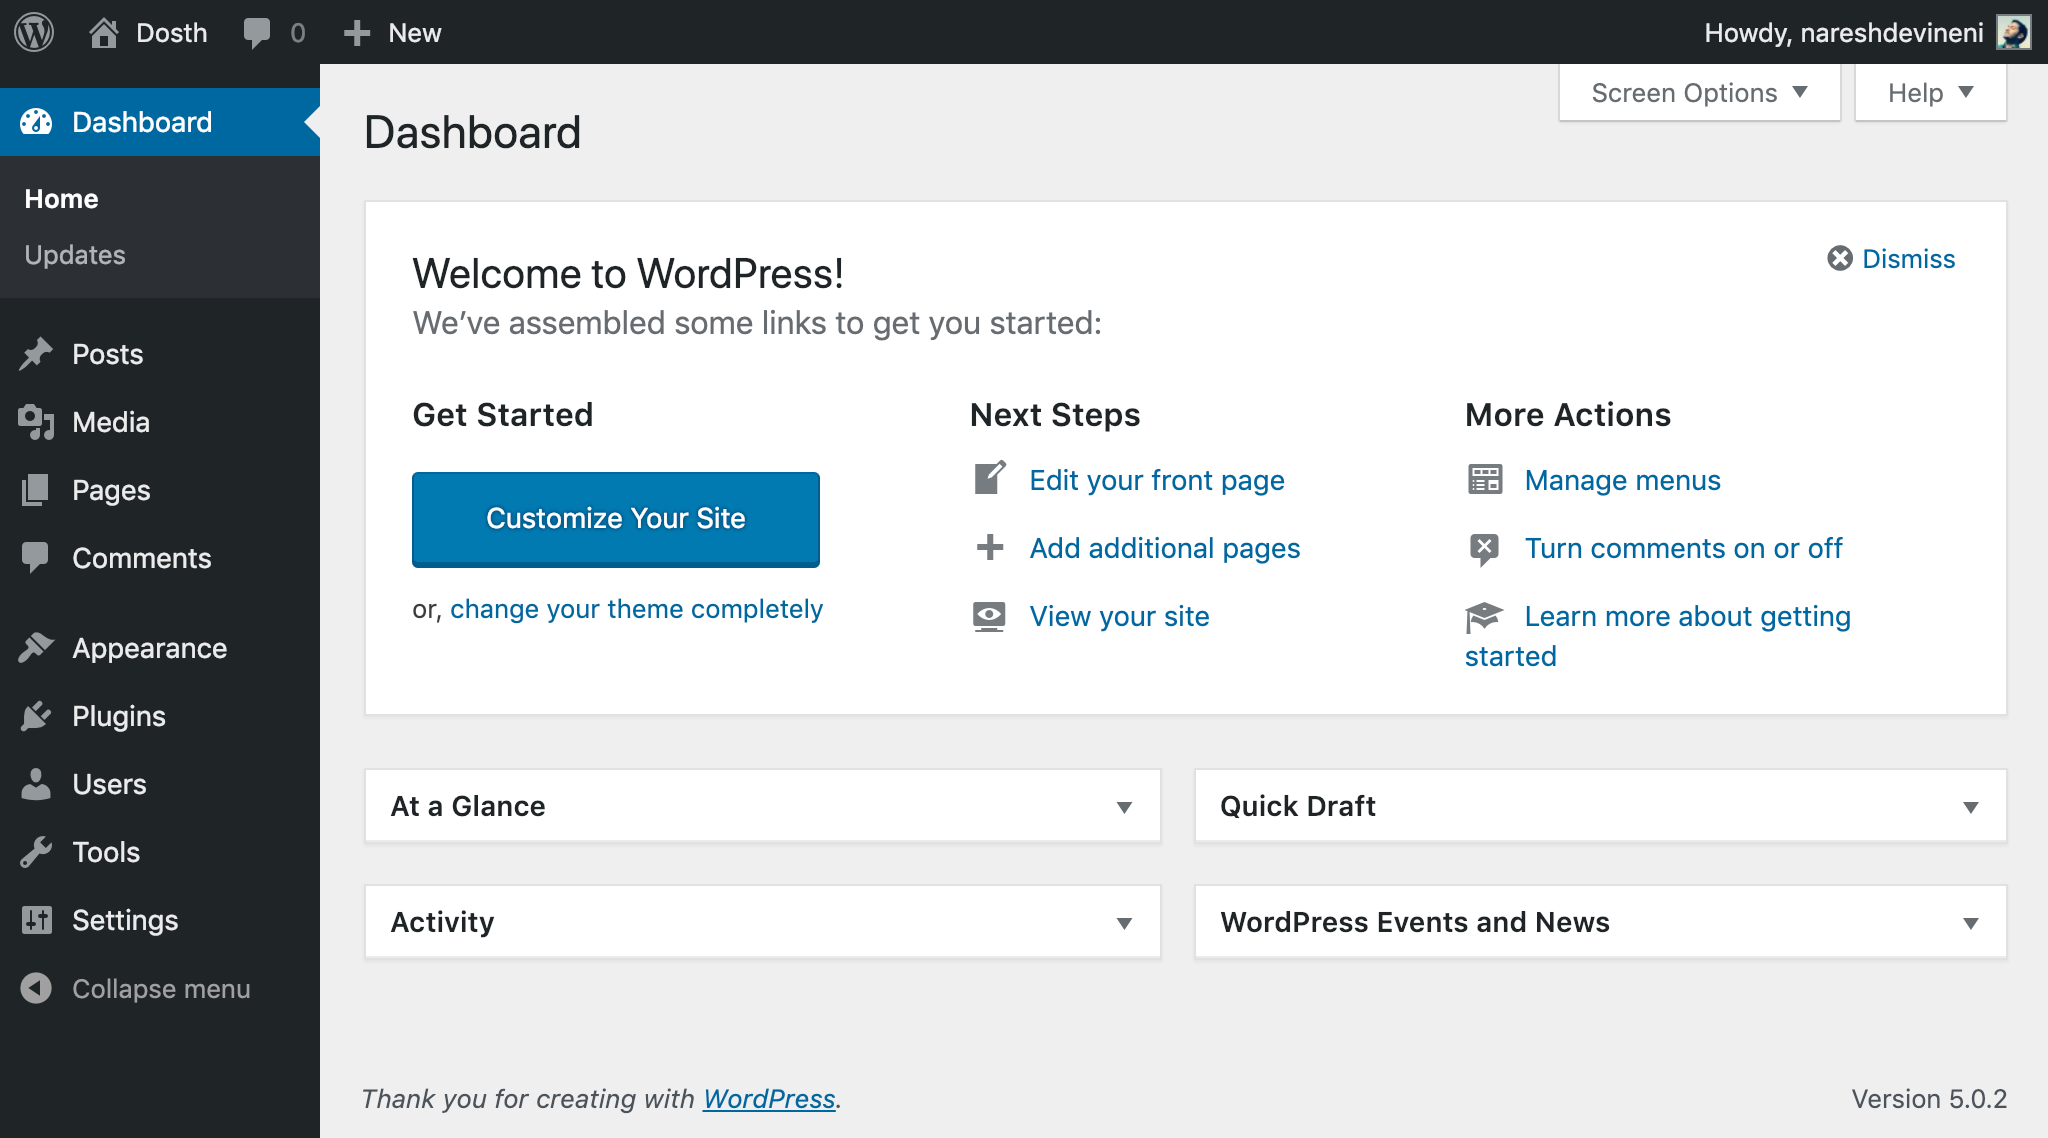
That’s it. The boring yet critical stuff ends here! Be excited. In the next lesson, you will start coding your WordPress theme from scratch.
 © 2026 UsableWP. A project by Naresh Devineni.