A Social Navigation Menu is nothing but a custom menu with social networks links in it. That’s all.
Back in 2013, there used to be no standard way to create social media menus in WordPress. So, the theme developers used theme options frameworks to create theme options so that it’ easy for the client to enter/modify Social Media URLs at will.
The following image is a screenshot of the theme options from an old 2013 website that I developed for my client.
This Theme Options panel was built using Slightly Modified Options Framework plugin. This plugin used to be my life saver.
But there is a problem with this approach.
If you observe the above image, I added an option for every popular social network that was popular in 2013. But what if a new social network pops up? And what if the client wants to support that new social network on his/her website?
To support a new social network in our social menu, we have to do two things. First, we have to add a new theme option so that the client/administrator can enter the URL. Next, we have to update the Hard-Coded markup that we put inside our theme to output the new social network along with the others.
Tedious, isn’t it?
But things suddenly changed for me when I stumbled upon Justin Tadlock‘s article about how to properly create Social Menus in WordPress.
http://justintadlock.com/archives/2013/08/07/social-media-nav-menus
This article changed the way I create Social Menus forever. Also, made me realize how dumb I am.
In this article, Justin explains how to create client friendly social media menus using the WordPress Custom Menus. And this technique has the following advantages over the theme options technique.
Anyway, now we are going to slightly modify Justin’s technique to create our SVG based modern social menu.
It takes four steps to create and output our modern social menu:
Now, the above points may sound hard, but they are really easy to implement. So, let’s start by creating the custom “Social Menu”.
You already know how to do this, Don’t you?
Common, go ahead and create a custom menu like this:
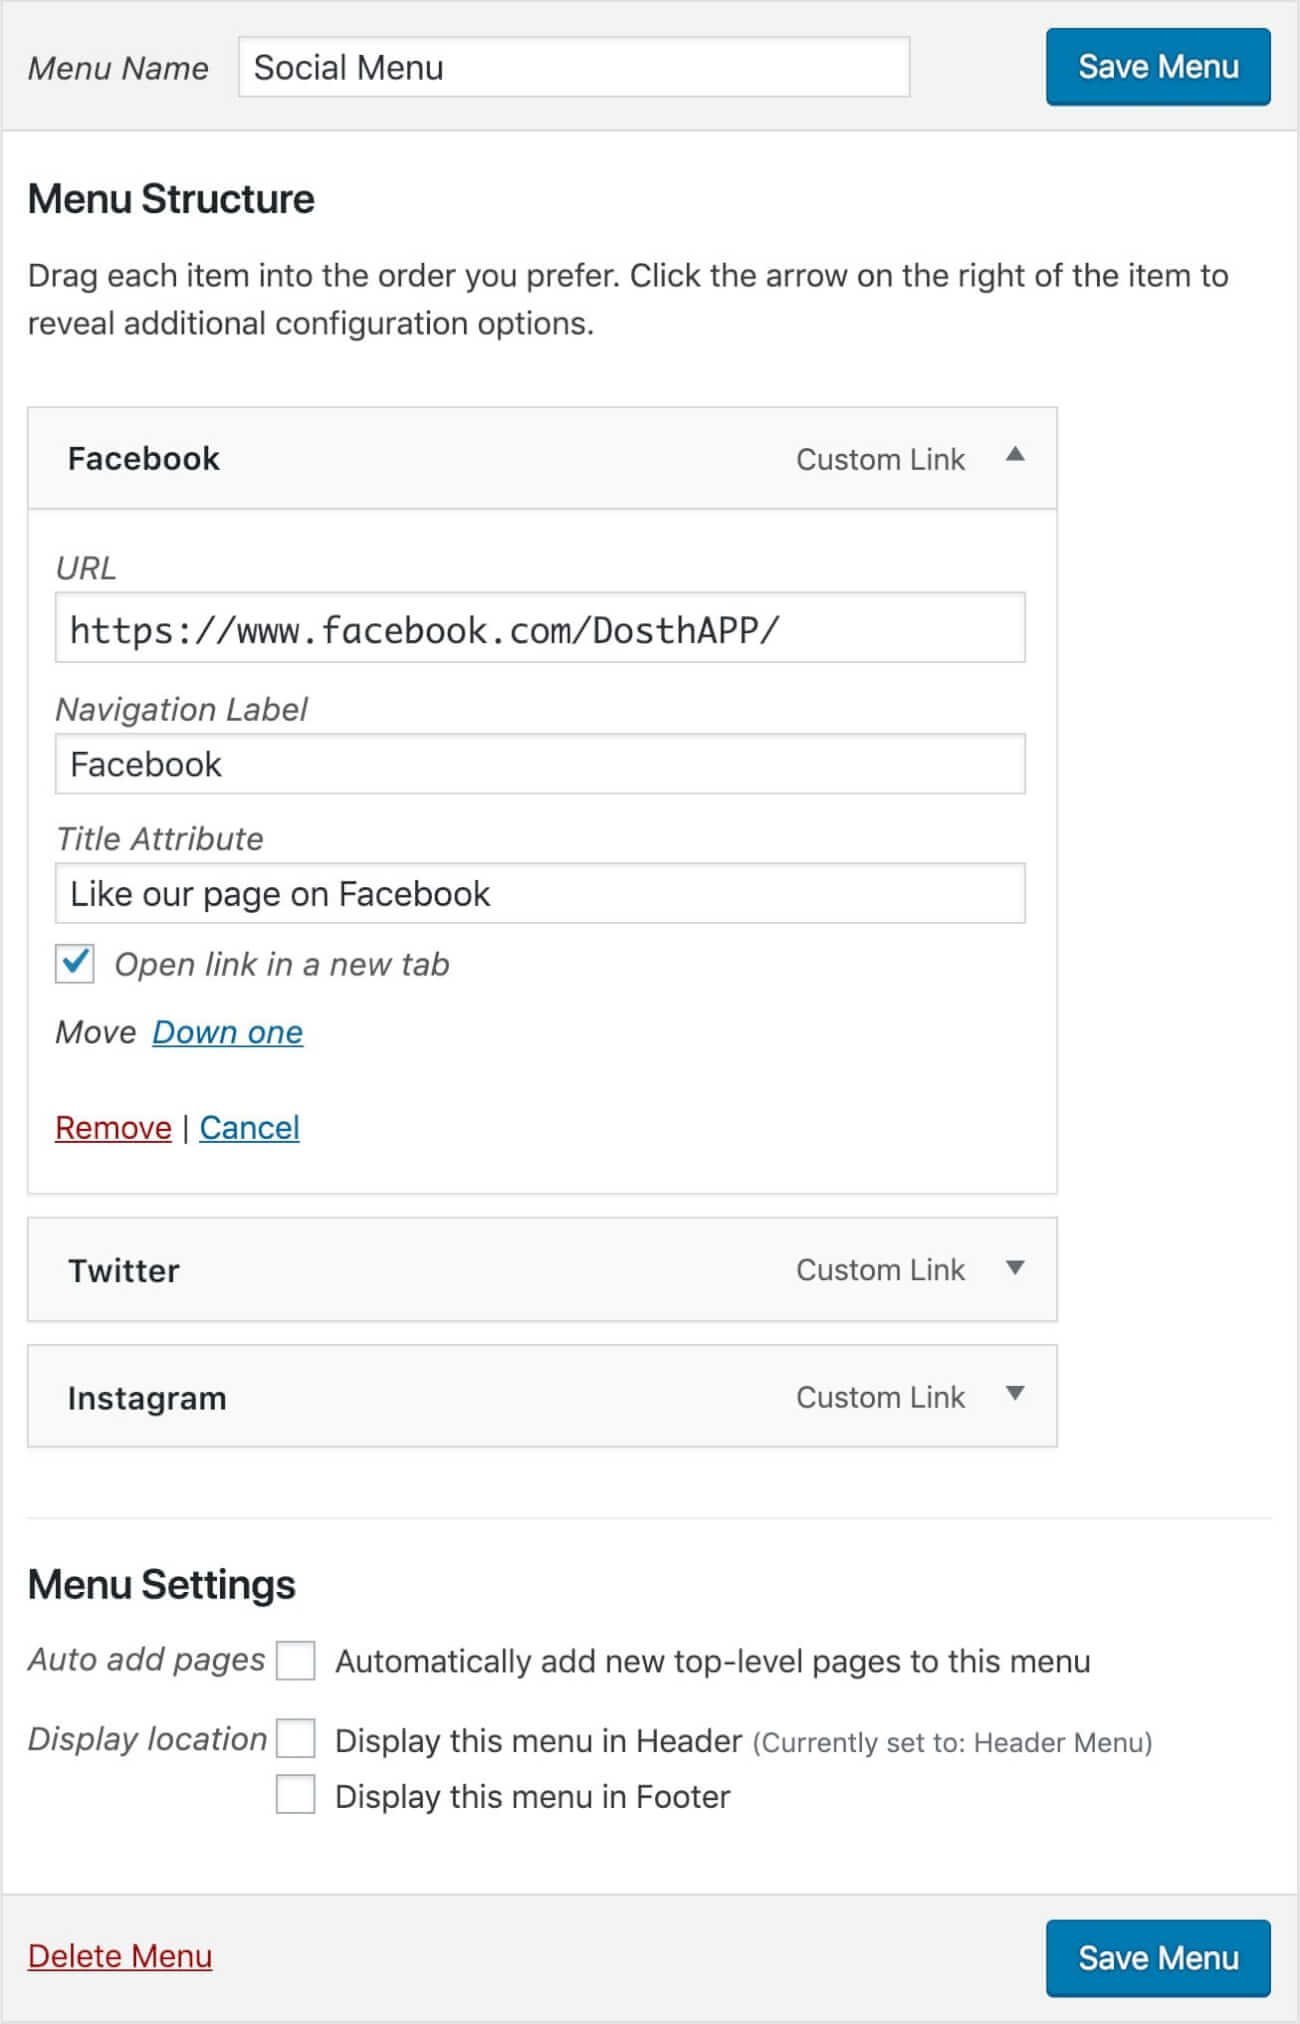
I created three custom links and put the Dosth App’s social media URLs in them. That’s all.
If you observe the Menu Settings for this menu, I did not assign this menu to any Display Location. Why? Because we will be displaying this menu using the “Navigation Menu” widget.
Also, just because we are displaying this menu using a widget, it doesn’t mean you can not assign it to a Display Location. You can still do it. Both solve two unique problems. Clear?
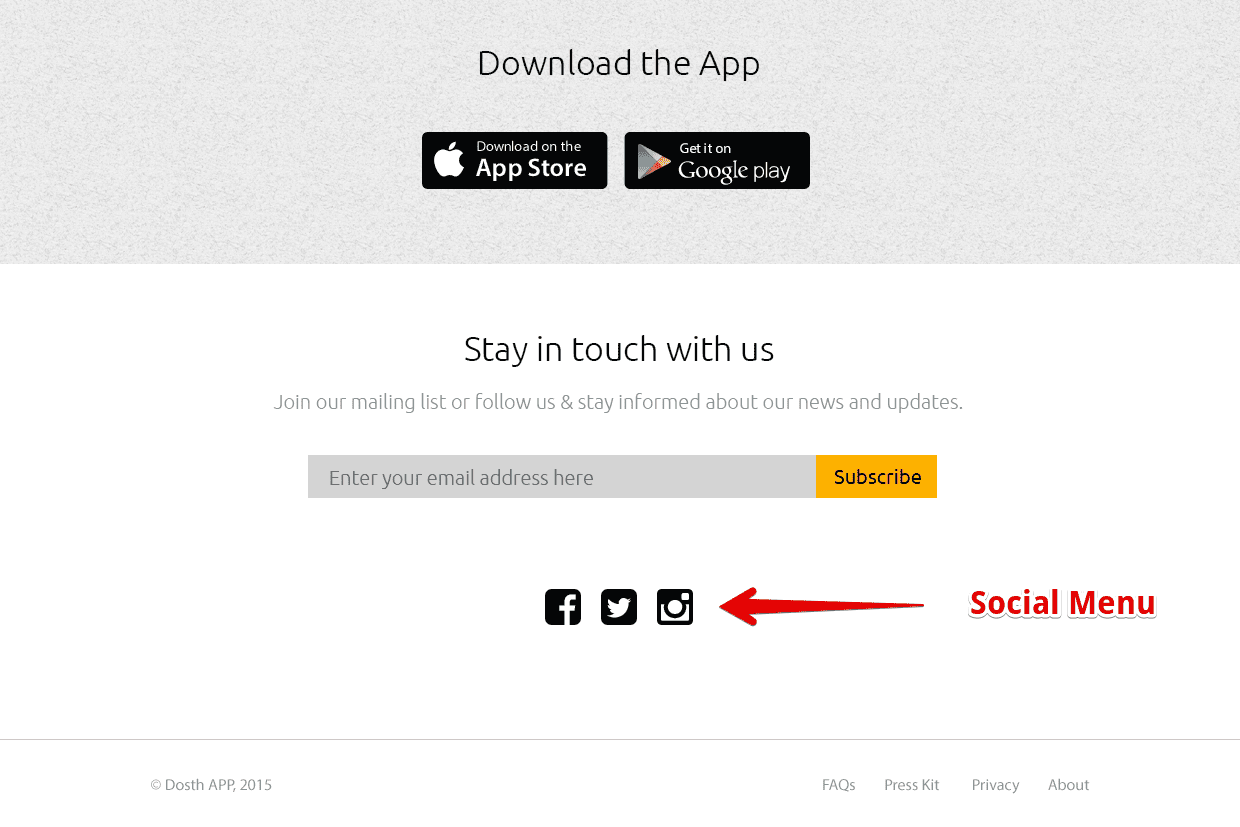
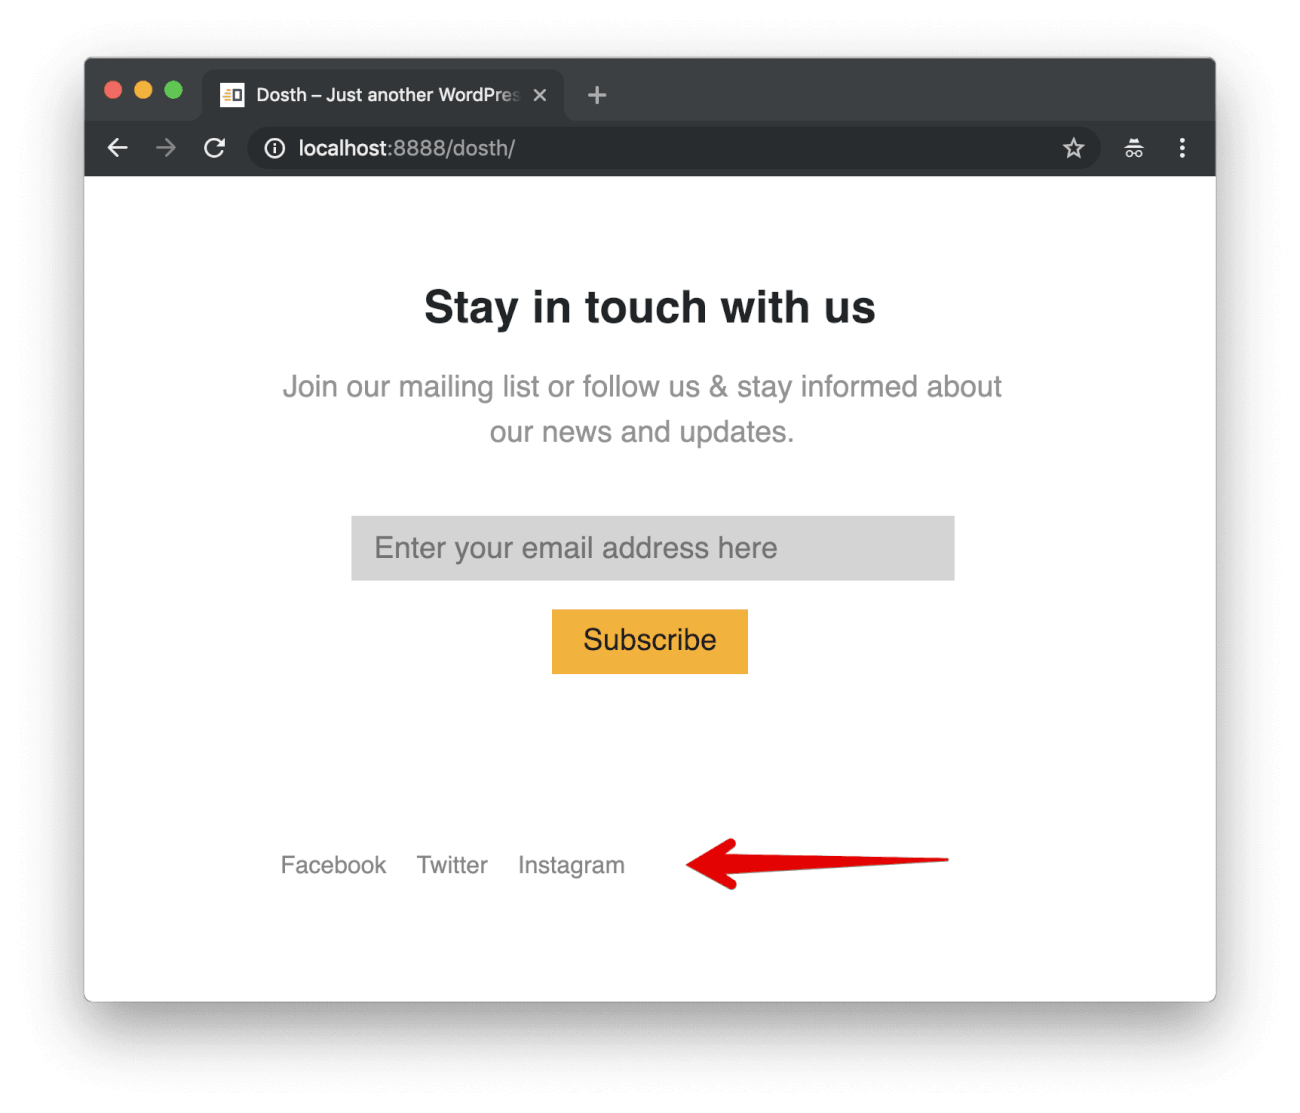
It’s time to output this menu to the frontend. I want to display this menu right below the email subscription from.
So, let’s go to the Widgets panel and put the “Navigation Menu” widget inside the “Footer Section Two” Sidebar.
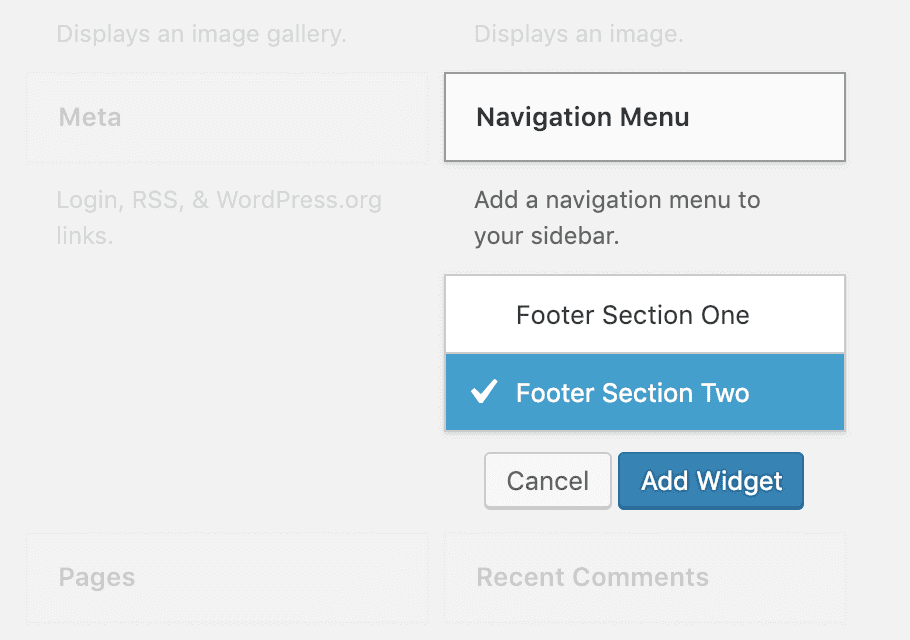
This widget outputs a navigation menu to the frontend. Period. You can select any you created using the Menus Panel.
So, click on the “Select Menu” option and choose “Social Menu” from the list and Save the widget.
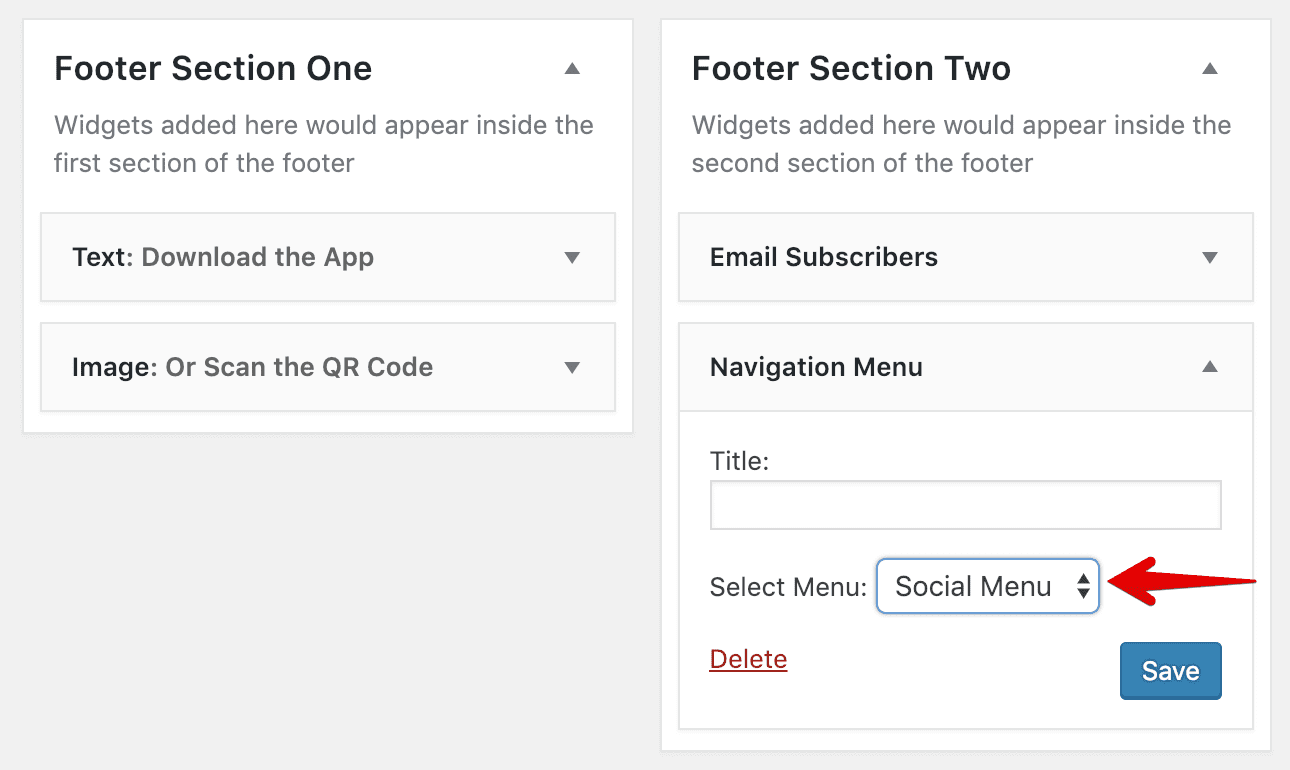
Also, I didn’t want to display a title for this widget, so I left it empty.
Anyway, let’s check out how the menu is getting displayed on the frontend.
That’s all you need to do from the backend side. What follows now is purely a front-end CSS technique.
Go ahead and download the SVG and PNG icons for Facebook, Twitter, and Instagram and put them inside the assets/images directory.
I generated these icons using the infamous IcoMoon website.
If for some reason you can not use IcoMoon App for generating the icons, I provided these icons inside the exercise files. But I’d love it if you can try the IcoMoon app. It is really handy and powerful.
Here is my updated images directory for this lesson:

“Hey! Why do we need PNG versions of these icons, isn’t SVG is enough?”
It totally depends upon what browsers you want to support. SVG is not supported by older browsers like IE8. So, we will detect the support for SVG using the Modernizr Javascript plugin. If the browser supports SVG, we will use SVG Icons, if not we will use Png icons.
So, here is a small exercise for you. Download the Modernizr plugin and enqueue it with our theme.
If you are not interested in supporting older browsers, skip this Modernize exercise.
But, I am interested in providing fallback support for the old browsers. So, I went ahead and downloaded the Modernizr. You can download the same build by visiting the following URL:
https://modernizr.com/download?svg-svgasimg-setclasses&q=svg
I only want to check the browser support for the SVG, So I only included SVG in my custom build for Modernizr.
Anyway, after enqueuing the Modernizr script, here is my final nd_dosth_enqueue_scripts action for this lesson:
function nd_dosth_enqueue_scripts() {
    wp_enqueue_script(
        'modernizr',
        get_stylesheet_directory_uri() . '/assets/js/modernizr.min.js',
        array(),
        '1.0.0',
        false
    );
    wp_enqueue_script(
        'superfish',
        get_stylesheet_directory_uri() . '/assets/js/superfish.min.js',
        array('jquery'),
        '1.0.0',
        true
    );
    wp_enqueue_script(
        'main-js',
        get_stylesheet_directory_uri() . '/assets/js/main.js',
        array('jquery'),
        '1.0.0',
        true
    );
    $translation_array = array(
        "email_placeholder" => esc_attr__( 'Enter your email address here', 'nd_dosth' ),
        'ajax_url' => admin_url('admin-ajax.php'),
    );
    wp_localize_script( 'main-js', 'translated_text_object', $translation_array );
}
add_action( 'wp_enqueue_scripts', 'nd_dosth_enqueue_scripts' );
If you notice the enqueue code for Modernizr, I provided false to the $in_footer argument. This is because I want to output the Modernizr script inside the <head> element.
Now, if your browser supports SVG, you’ll see the “svg” class on the <html> tag. If not, you’ll see the “no-svg” class.
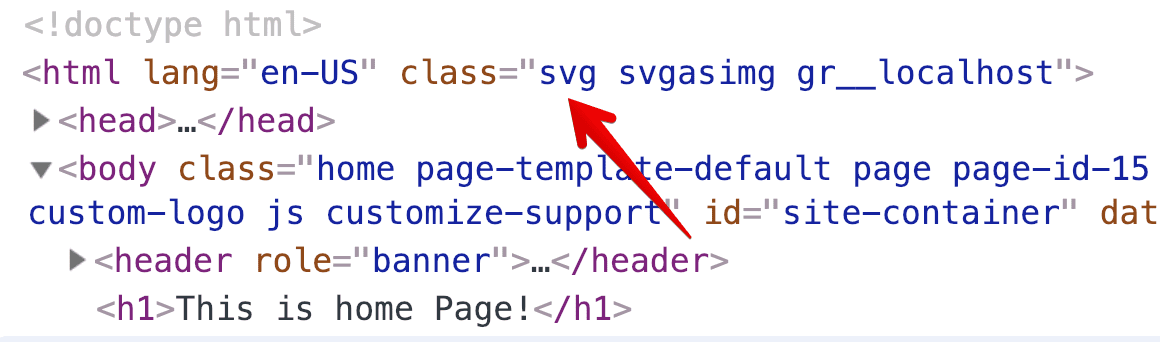
Neat! Right?
Alright, let’s deal with the CSS now.
First of all, let’s take a look at the markup that “Navigation Menu” is generating.
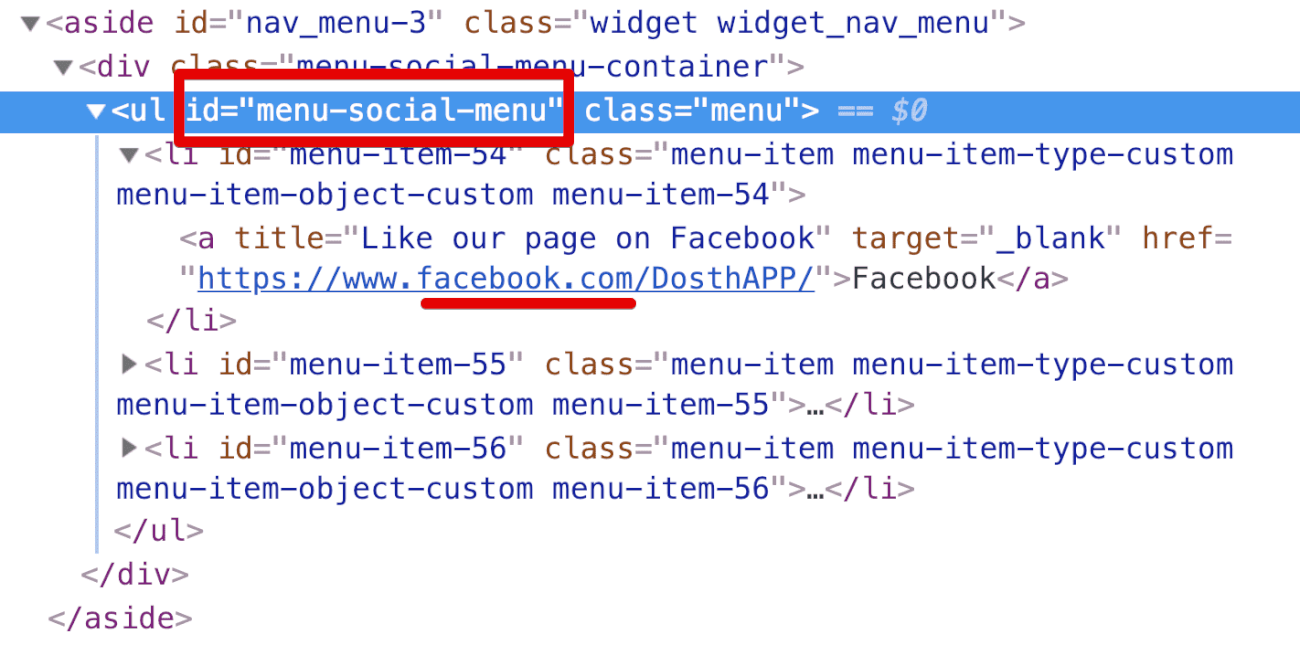
If you notice, the social menu links are wrapped inside a container with an ID of “menu-social-menu”. This ID is unique to the Navigation Menu widget that we placed inside the “Footer Section Two” sidebar. So, although I will use this ID to center the social Icons in the footer, I am not going to use to replace the text with Social Icons.
This is because we could end up displaying this social icons menu in multiple places on the same webpage. So, I would style this menu using the generic “menu” class which is right beside that ID.
To be frank, this is the drawback if we are trying to display a menu using the widget. We have no control over the classes and IDs that it will generate. This is not the case with wp_nav_menu() function because we have full control over the markup of the Menu.
At the end of the way, It all boils down to your personal preference.
Important Realization: You don’t have to style it the way I am styling it. You can use the ID to style the menu. It totally depends on how much you know about the design of the website and how much control you have over the styling of the theme.
So, open up the style.css file and put the following CSS code at the end of it:
/*-------------------------------------------------------------------------------
  7.Social Menu Styles
-------------------------------------------------------------------------------*/
#menu-social-menu{
    text-align: center;
}
#menu-social-menu li{
    display:inline-block;
    float:none;
}
.menu li a[href*="facebook.com"],
.menu li a[href*="instagram.com"],
.menu li a[href*="twitter.com"] {
    background-repeat: no-repeat;
    background-size:30px;
    width:30px;
    height: 30px;
    display: block;
    text-indent:-9999px;
    margin:10px;
}
.menu li a[href*="facebook.com"]{
    background-image:url(assets/images/facebook2.svg);
}
.menu li a[href*="twitter.com"]{
    background-image:url(assets/images/twitter.svg);
}
.menu li a[href*="instagram.com"]{
    background-image:url(assets/images/instagram.svg);
}
.no-svg .menu li a[href*="facebook.com"]{
	background-image:url(assets/images/facebook2.png);
}
.no-svg .menu li a[href*="twitter.com"]{
	background-image:url(assets/images/twitter.png);
}
.no-svg .menu li a[href*="instagram.com"]{
	background-image:url(assets/images/instagram.png);
}
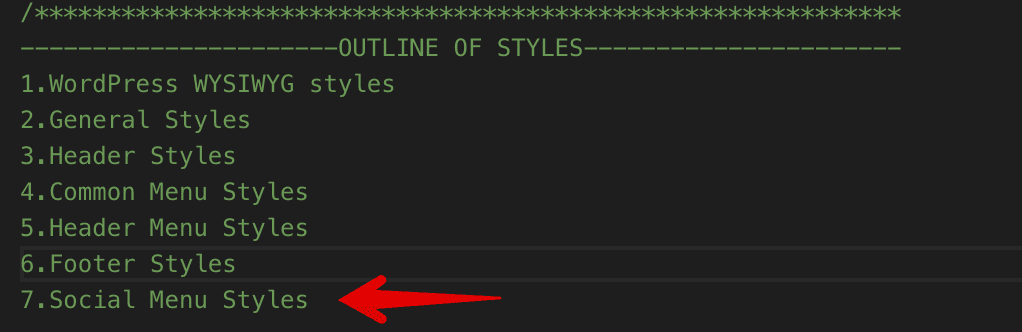
Here is the updated outlines of Styles inside the style.css file.
Now, let’s go back Homepage in the browser and check out the new styling of the Social Menu.
It is looking great, isn’t it? Our footer finally took its true shape from the mockup.
And, that’s it for this lesson, in the next lesson, we finish our site’s footer by dealing with the copyright statement and a footer menu.