In MAMP, M stands for macOS; A for Apache, the web server; M for MySQL, the database management system, and P for PHP, the dynamic programming language.
MAMP is a software that gives us an easy to use interface to start and stop our Apache and MySQL servers with one click. Now, let’s go ahead and Install it.
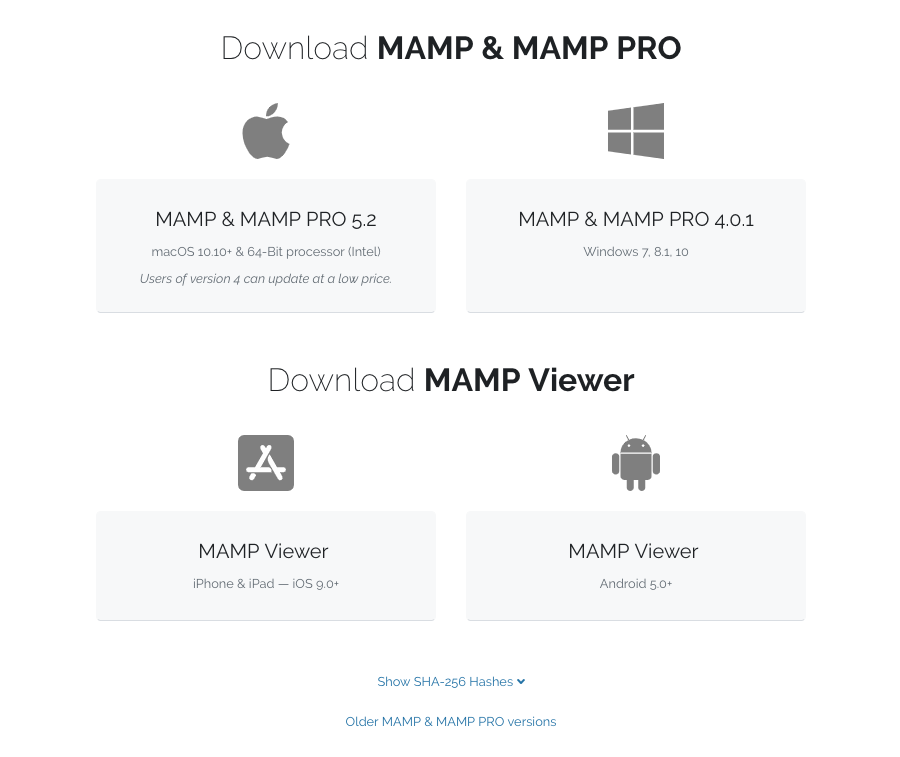
Open up your browser to fire up https://www.mamp.info/ and go to the downloads page to download the latest MAMP version that is compatible with your operating system.
MAMP works on Windows too.
“Wait! I can see MAMP & MAMP PRO. What is MAMP Pro?”
As the name suggests, It is a premium version of MAMP. You’ll get a lot of time-saving features along with the features of MAMP Free version. For example, if you notice the above screenshot, there is another tool called MAMP Viewer and when it combined with the features of MAMP Pro, it will let us test our websites on Mobiles without much effort.
Anyway, I never tried MAMP pro and this lesson is all about MAMP free version.
If you notice the file size, it is huge, It is around 360 MB. Like it or not, MAMP website forces us to install both Free and Pro versions under a single download. So, when you hit install, You’ll also install MAMP Pro along with MAMP Free version. There is no opt-out option. Anyway, it does not get in our way. So don’t worry about it.
Once you have the download, click on the downloaded pkg file to bring up the MAMP installation start screen. Click the continue button to proceed forward to the Read Me section. Once you have read the important information, click the continue button again to proceed forward to the Licence section.

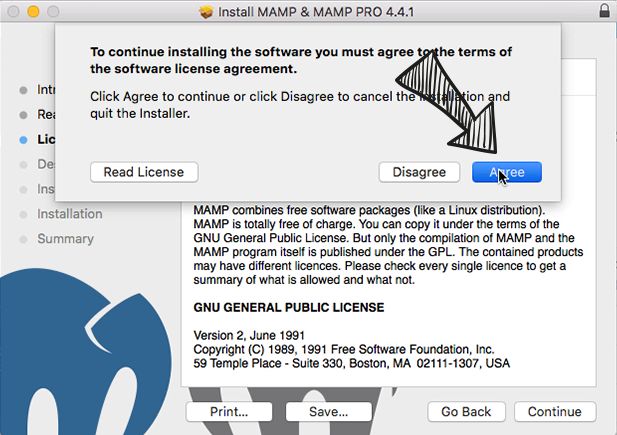
Once you have landed on License section, read the license and hit Continue button. MAMP will open up a “license agreement” dialogue box. If you are ok with the terms, hit agree and continue to the Destination Select section.
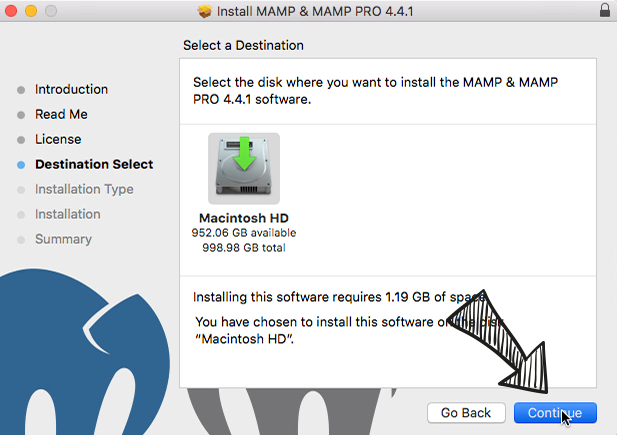
Unlike a Windows Machine, Mac does not come with multiple partitions on a single hard drive. So most of the time, you’ll only see a single disk where you can install the MAMP. Hit continue for one last time to get into the Installation Type section.
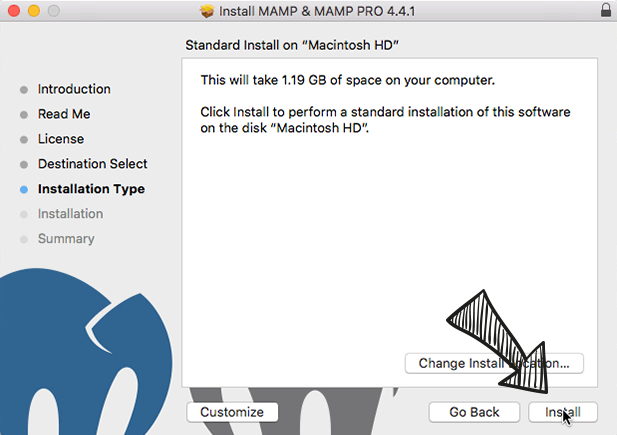
In the Installation Type section, either you can go with the standard installation, or you can customize the installation to your liking. Trust me; I noticed the customize button only when I started creating this course. So, you can blindly hit the install button.
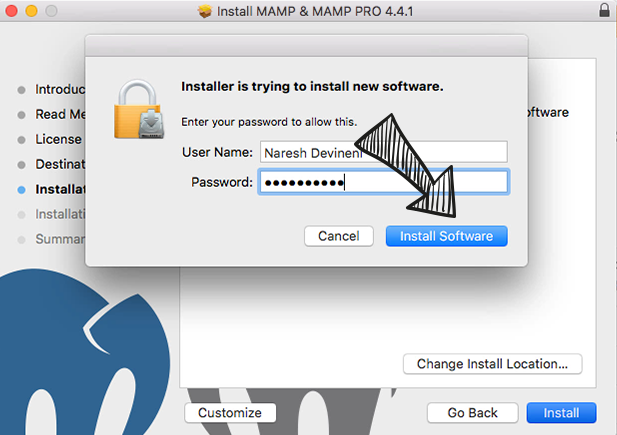
If your Mac is password protected, It will ask you to approve the install. Enter the password or use your Touch ID if you own a latest MacBook Pro to start the installation process.
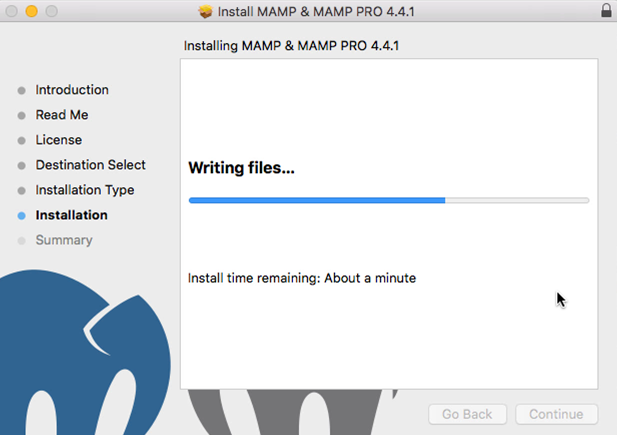
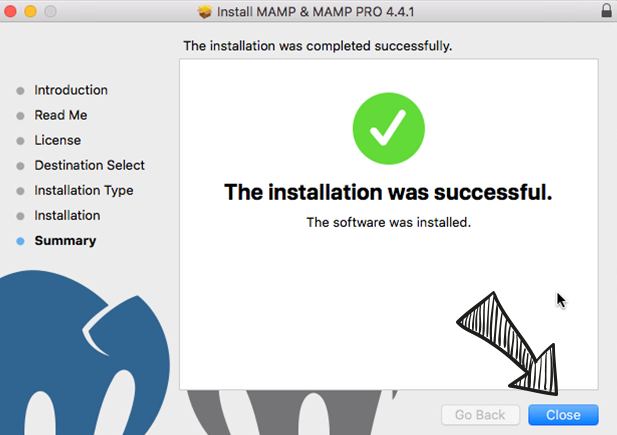
Once the installation is successful, hit the Close button to close the installer.
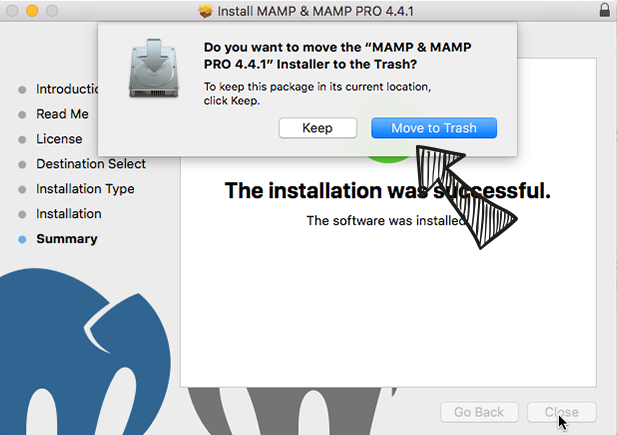
If your Mac is running on the latest macOS High Sierra or higher, it will ask whether you want to move the “MAMP & MAMP PRO” installer to the trash. Because your installation was successful, you can safely hit “Move to Trash button” as you no longer need it.
Alright, now you can open up MAMP in two easy ways.

1) On your keyboard, hold Command and press spacebar. This keyboard shortcut opens up Spotlight search. Now start typing “MAMP” and hit enter.
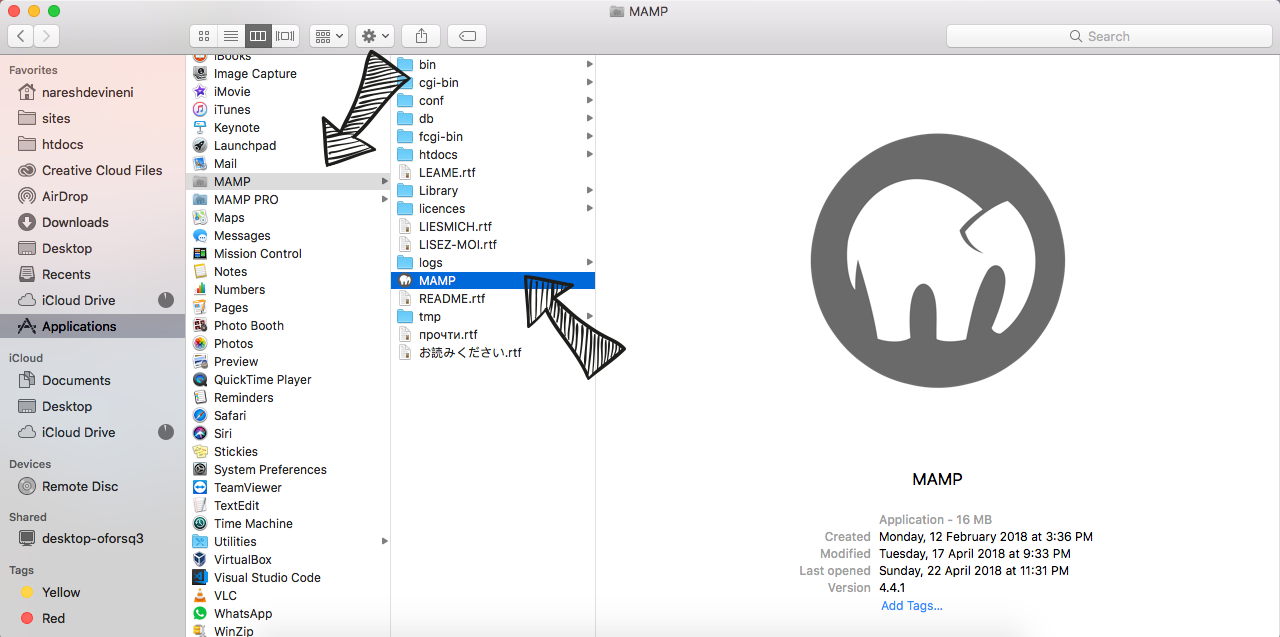
Fire up Finder by hitting on the Finder Icon on the dock. Go to the Applications -> MAMP folder and double click on MAMP icon to open it.
Finally, to start rolling our server we have to hit the Start Servers button.
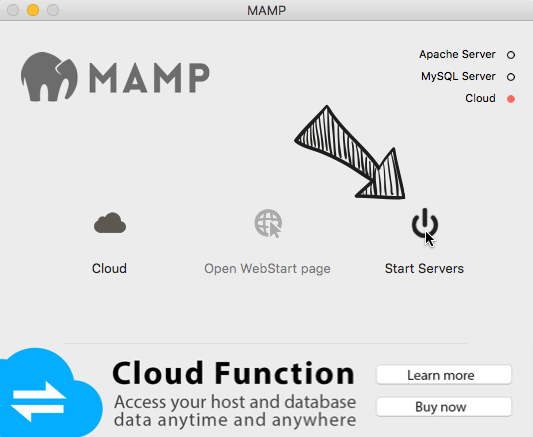
Now, keep an eye on Apache Server and MySQL Server indicators. If everything went well, they would turn to green, and you are good to go with WordPress installation. If somehow, even one of them failed to turn in to green, that is a problem. Don’t panic; It is easy to solve the problem without banging our heads against the wall :P. So, let’s take a look at some common MAMP Problems.
If Apache Server is not starting, chances are it is already running somehow.
Solution: For the MAMP to start the Apache server, you should stop what is already running. To do that, open up the Terminal, type the following command and hit enter.
sudo apachectl stop
If MySQL Server is not starting, chances are it is already running because we did not shut down the MAMP properly previously.
Solution: For the MAMP to start the MySQL server, you should stop what is already running. To do that, open up the Terminal, type the following command and hit enter.
killall -9 mysqld
For more alternatives on how to stop already running MySQL server, please refer to this answer on StackOverflow and this blog post.
I personally never faced these problems on macOS, but I faced them on Windows version of MAMP a lot of times.
But how do you start the free version of MAMP?
I have downloaded MAMP and MAMP Pro – seems to be the only way. Now I have both icons on my desktop but the system wants to force me to use the Pro version no matter what. It’s saying I have 14 days left as a trial. Doesn’t seem to be anyway around it. Any advice. I’m running it on an iMac v. 10.13 (High Sierra) with the intention of using WordPress.org.
Hi Wanda, MAMP only forces you to download MAMP Pro, but it doesn’t force you to use it. Just delete the MAMP PRO completely and keep the free version. They both work independently 🙂